
Write text to introduce a standard
You can design Jax prompts to generate content tailored to specific standards. When a standard and its unwrapped content is attached, Jax automatically recognizes and uses this information. This document explains how to generate student-friendly introductory text for a linked standard within a lesson plan. The generated text is then added directly to the lesson.
Plan smarter this year
ClassJax is free for teachers. No credit card required.
- 1
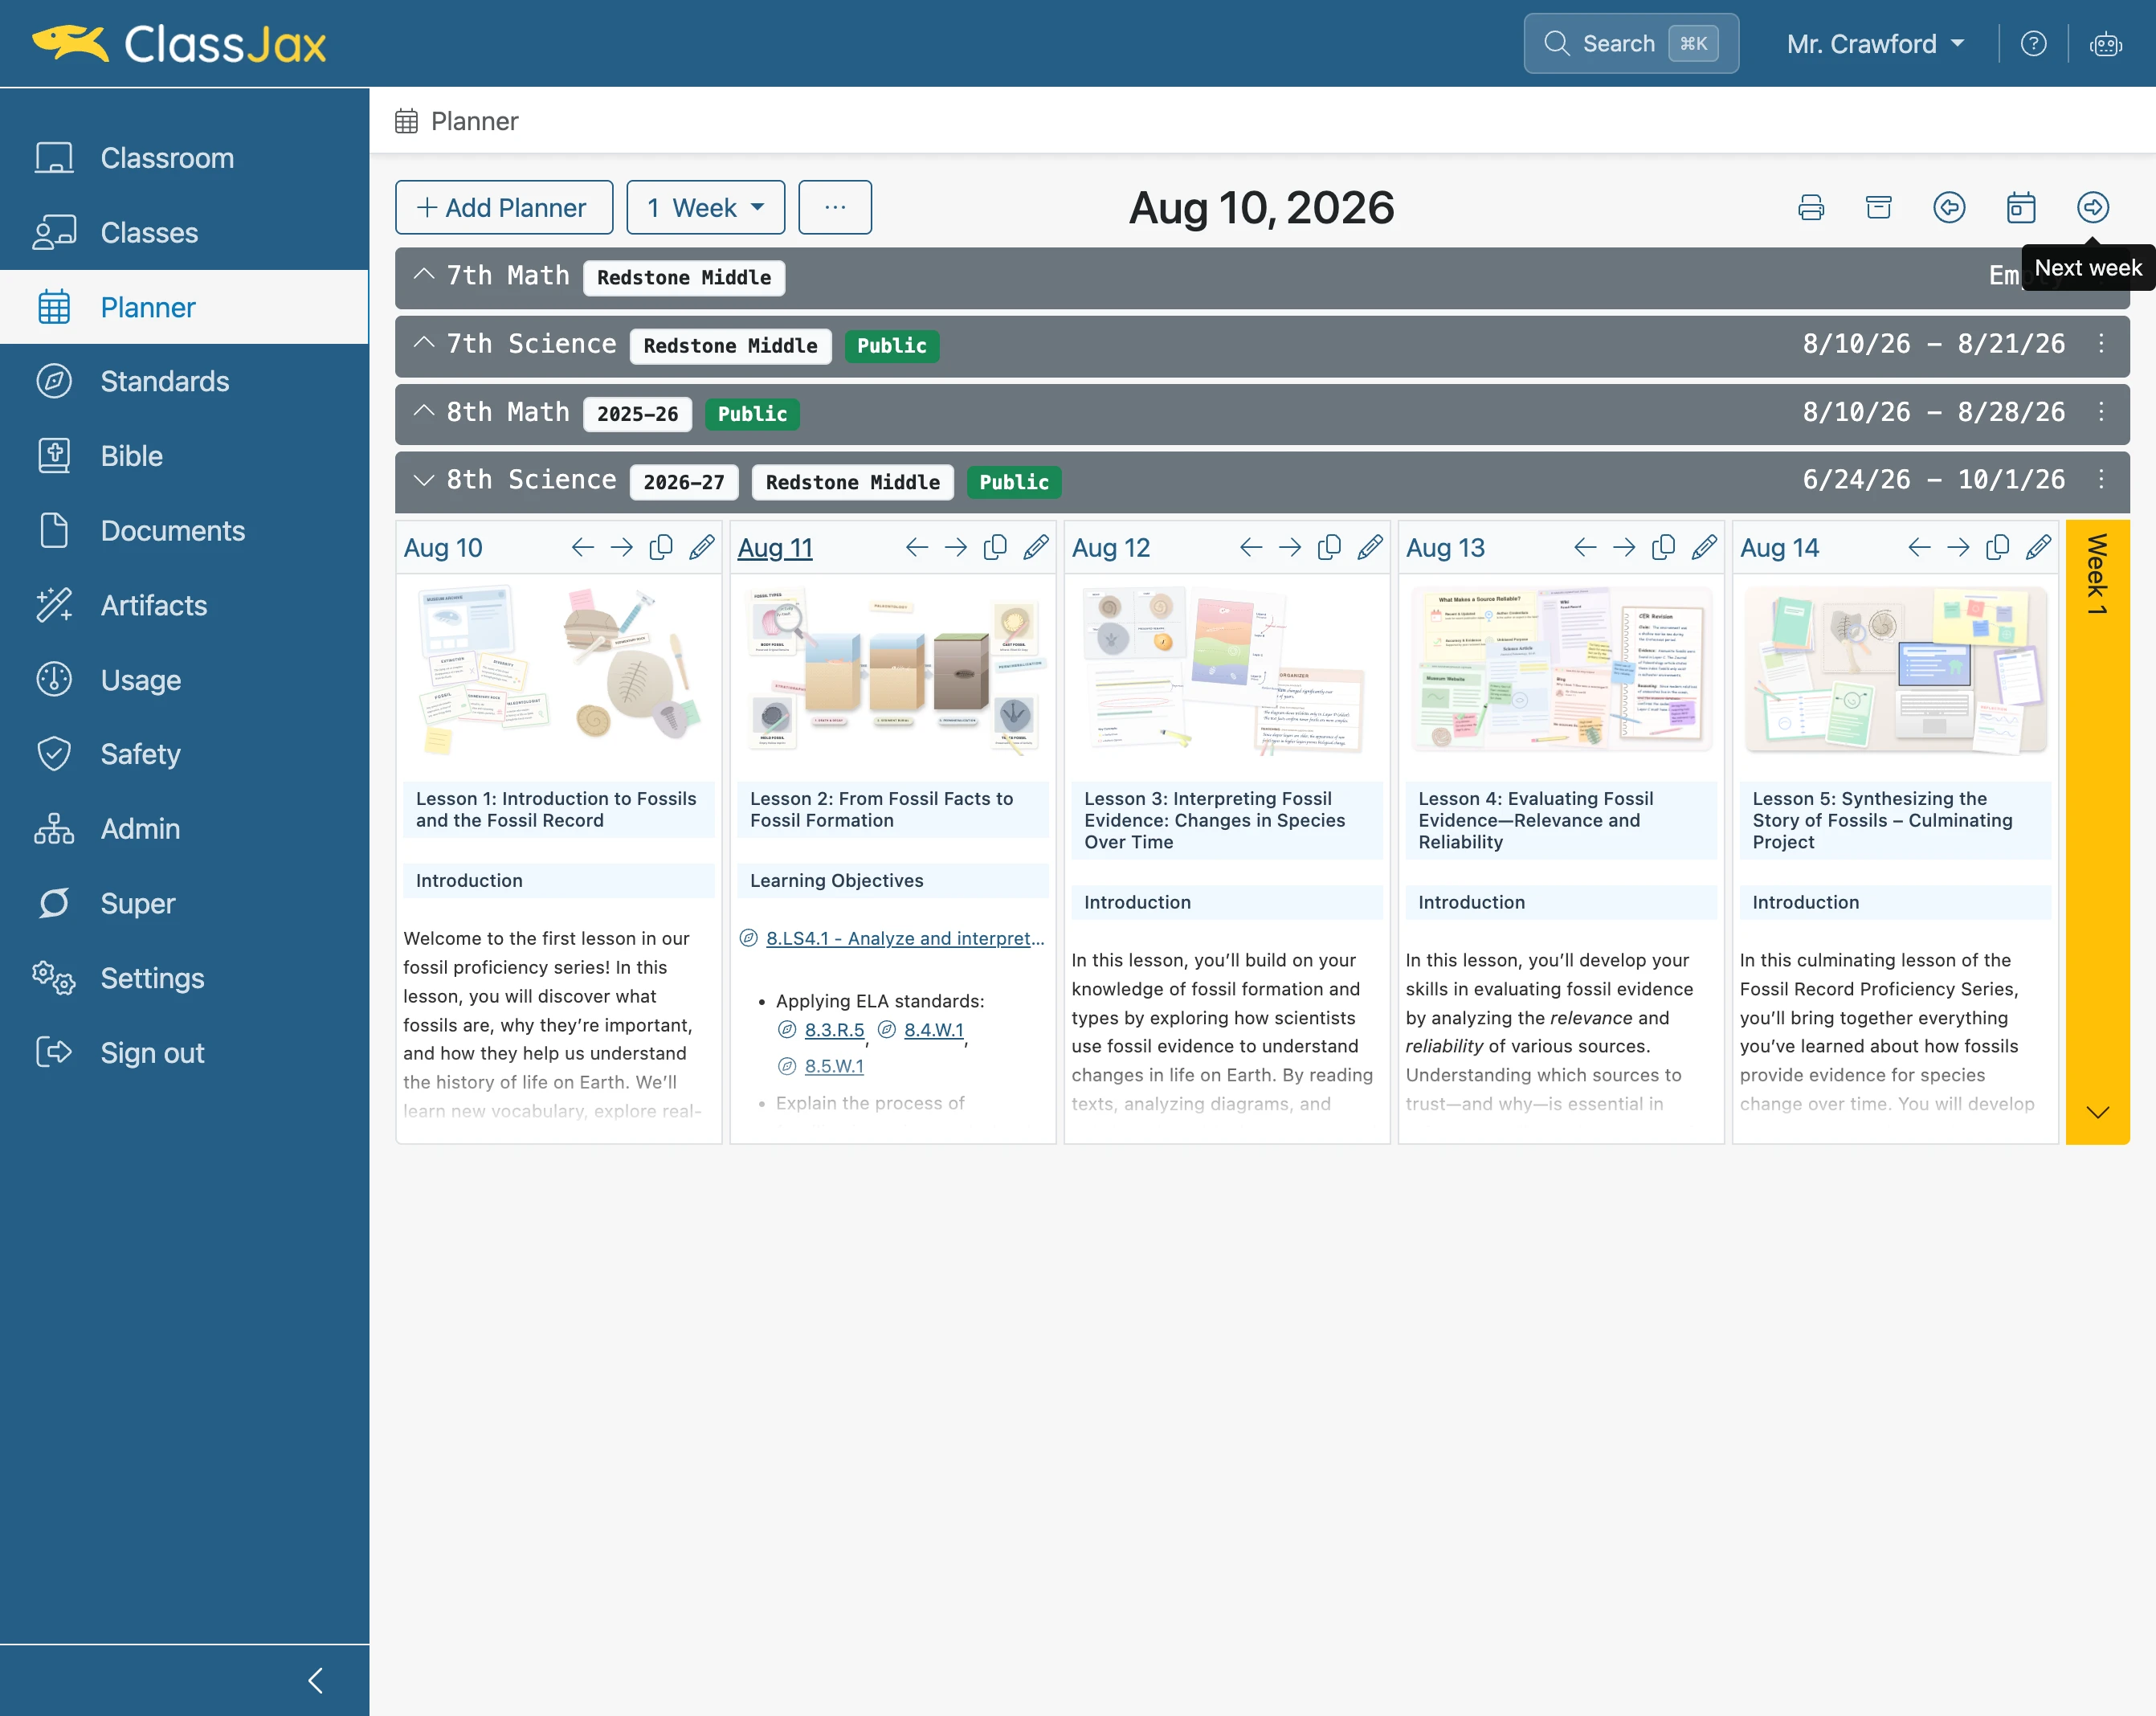
Click the 'Aug 11' link
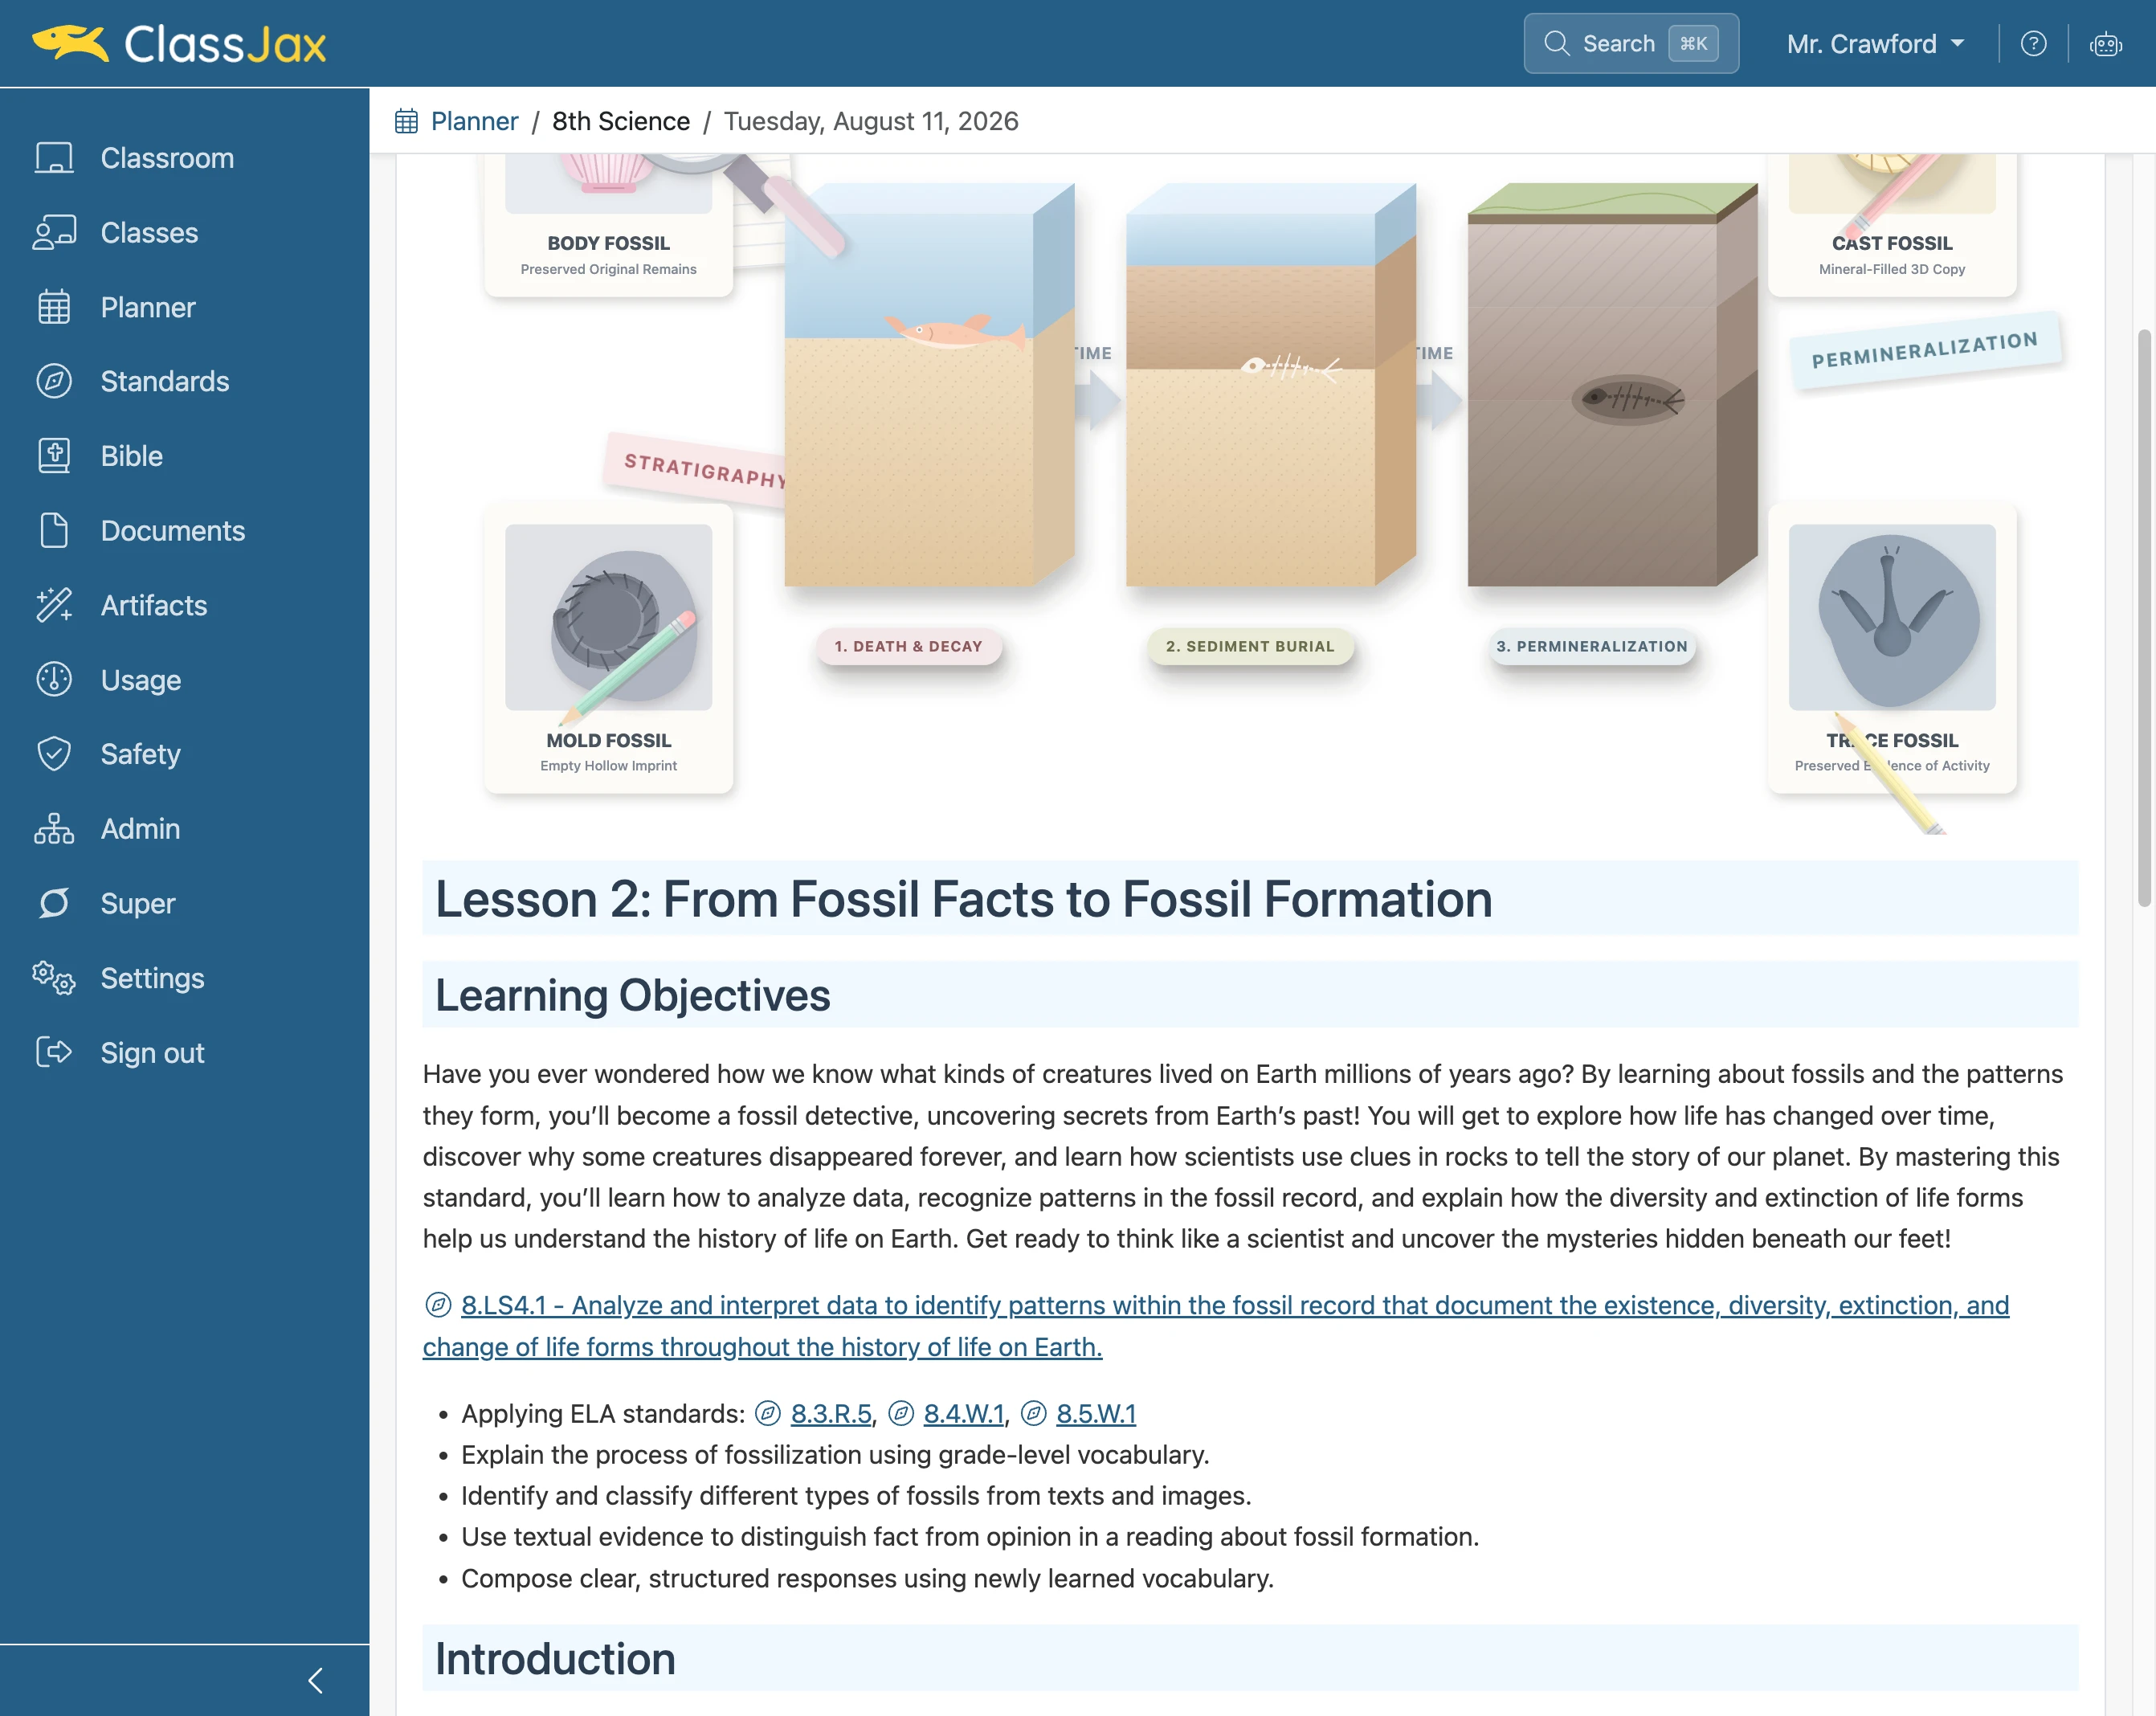
Let’s take a closer look at the standard embedded in the lesson plan before we use Jax.
- 2
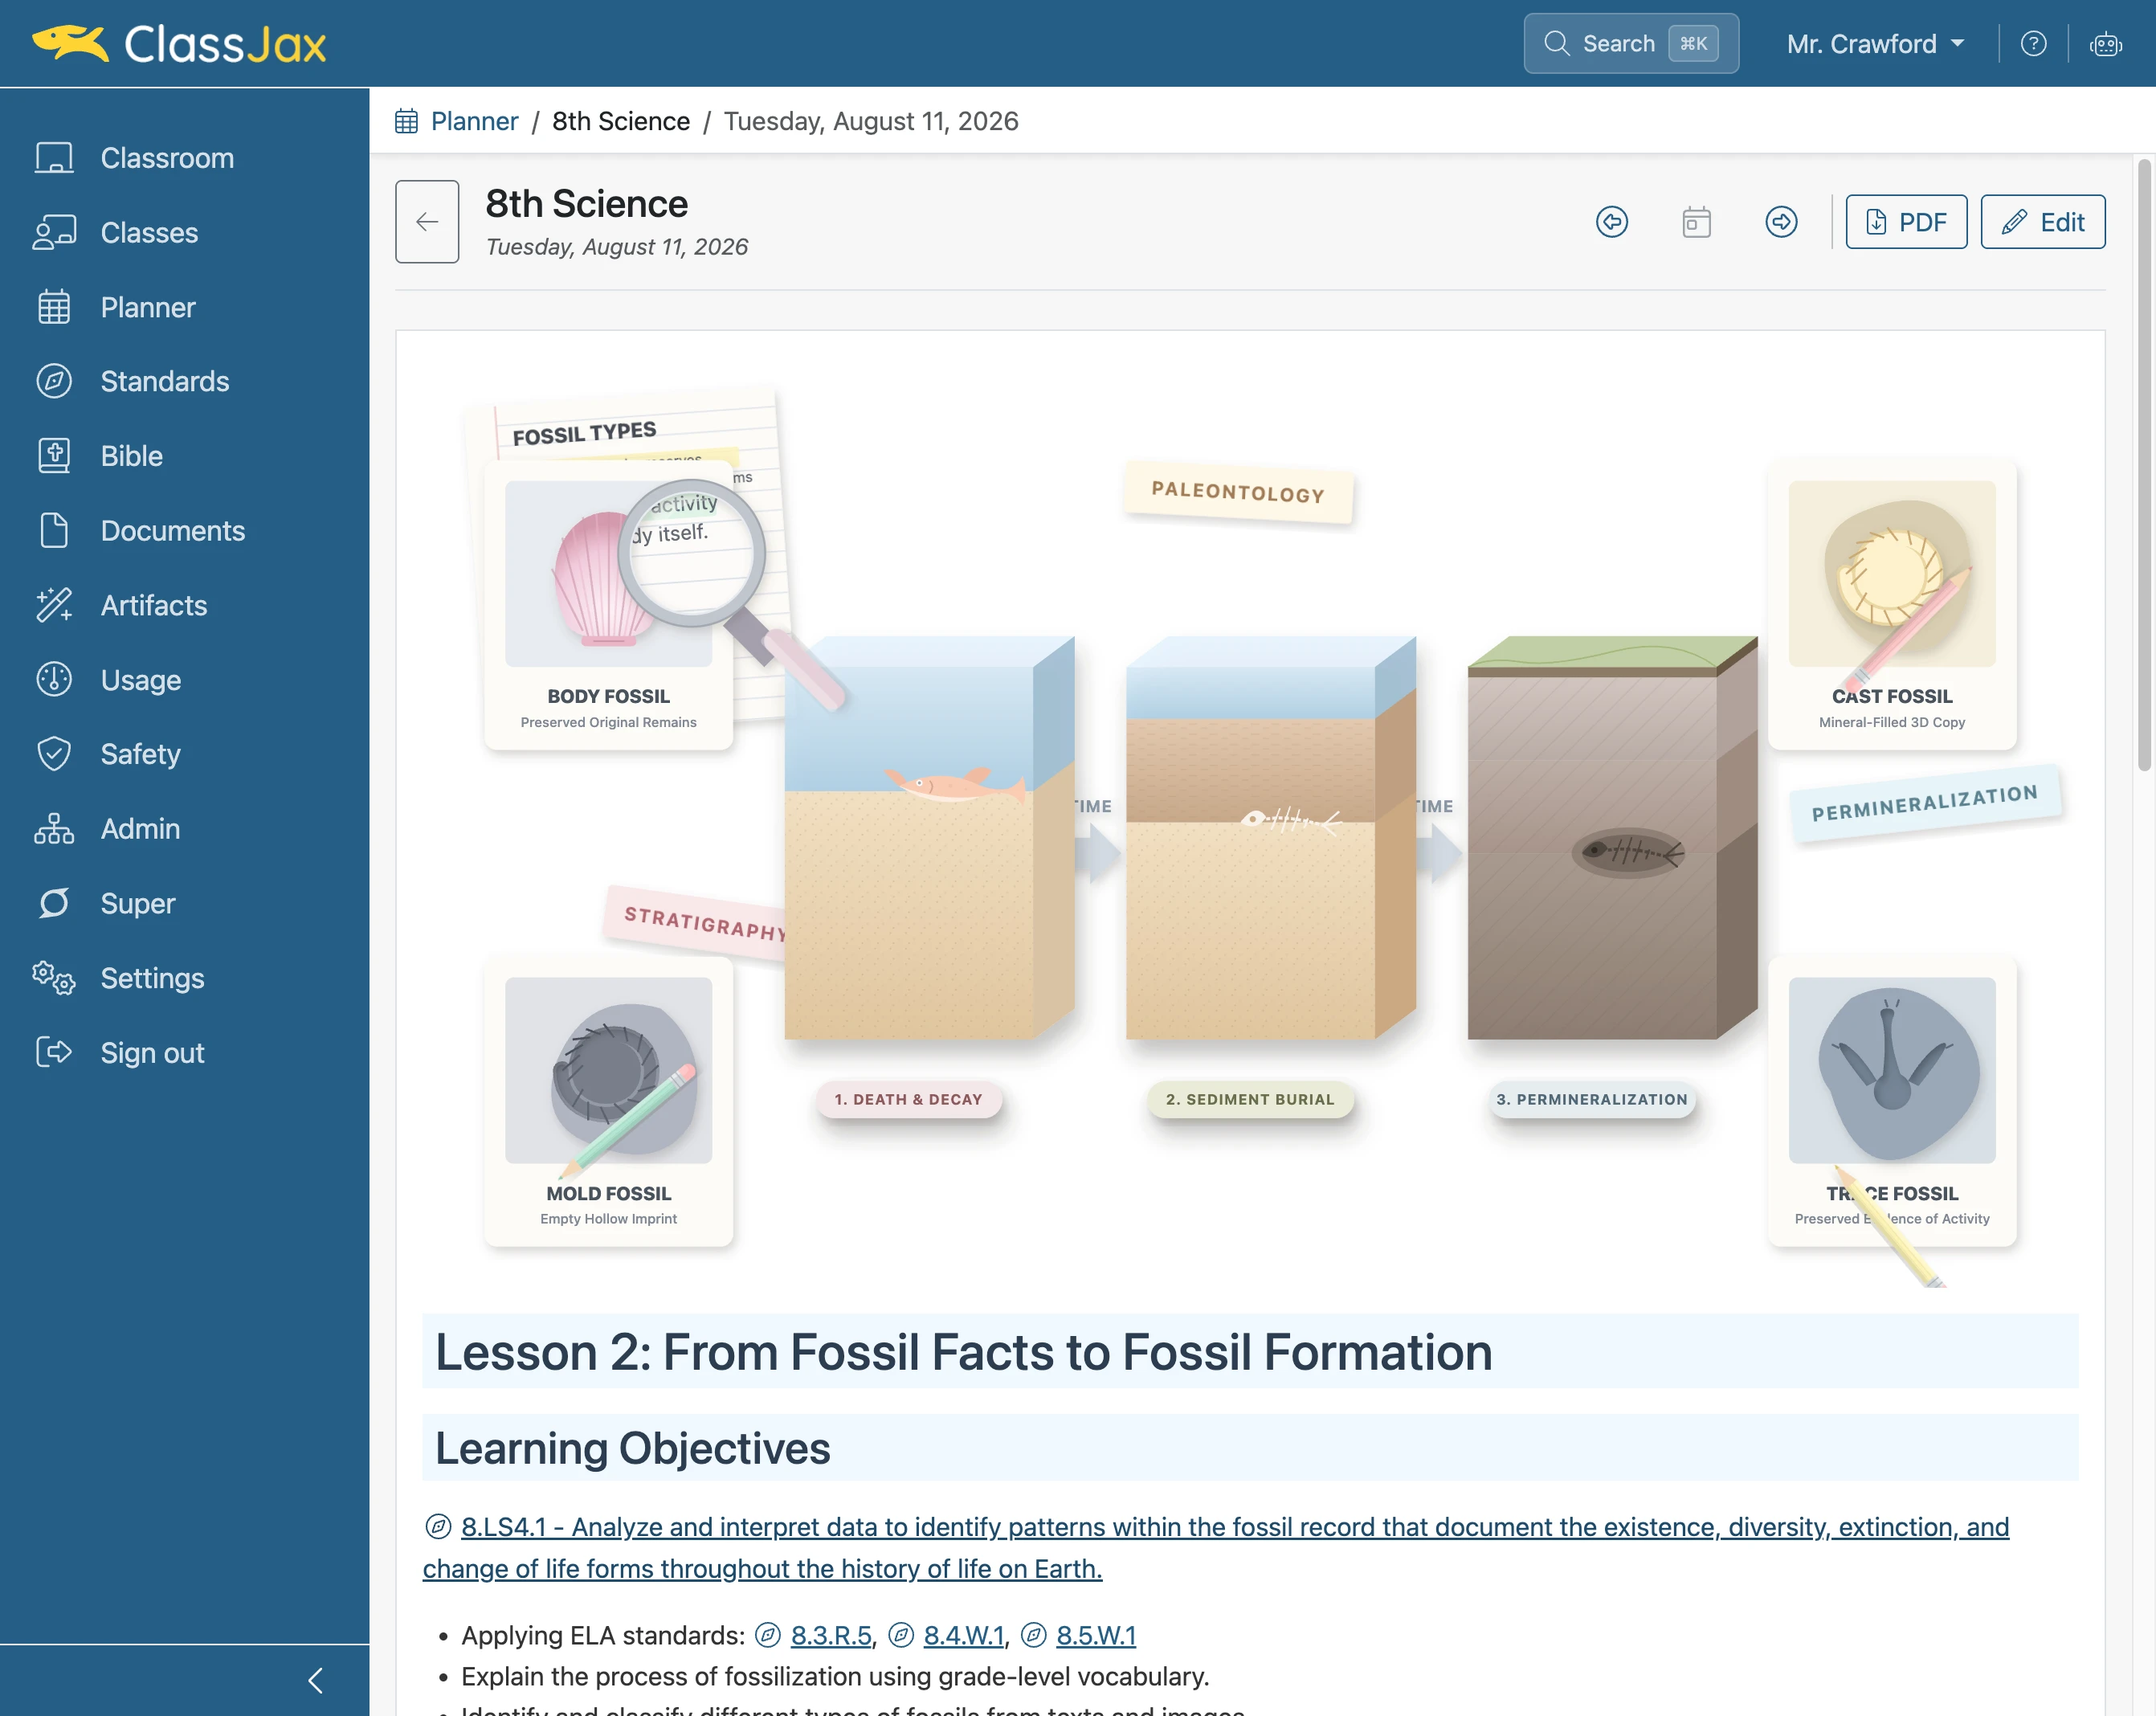
Click the 'Standard' link
Click the standard to view its unwrapped content.
- 3
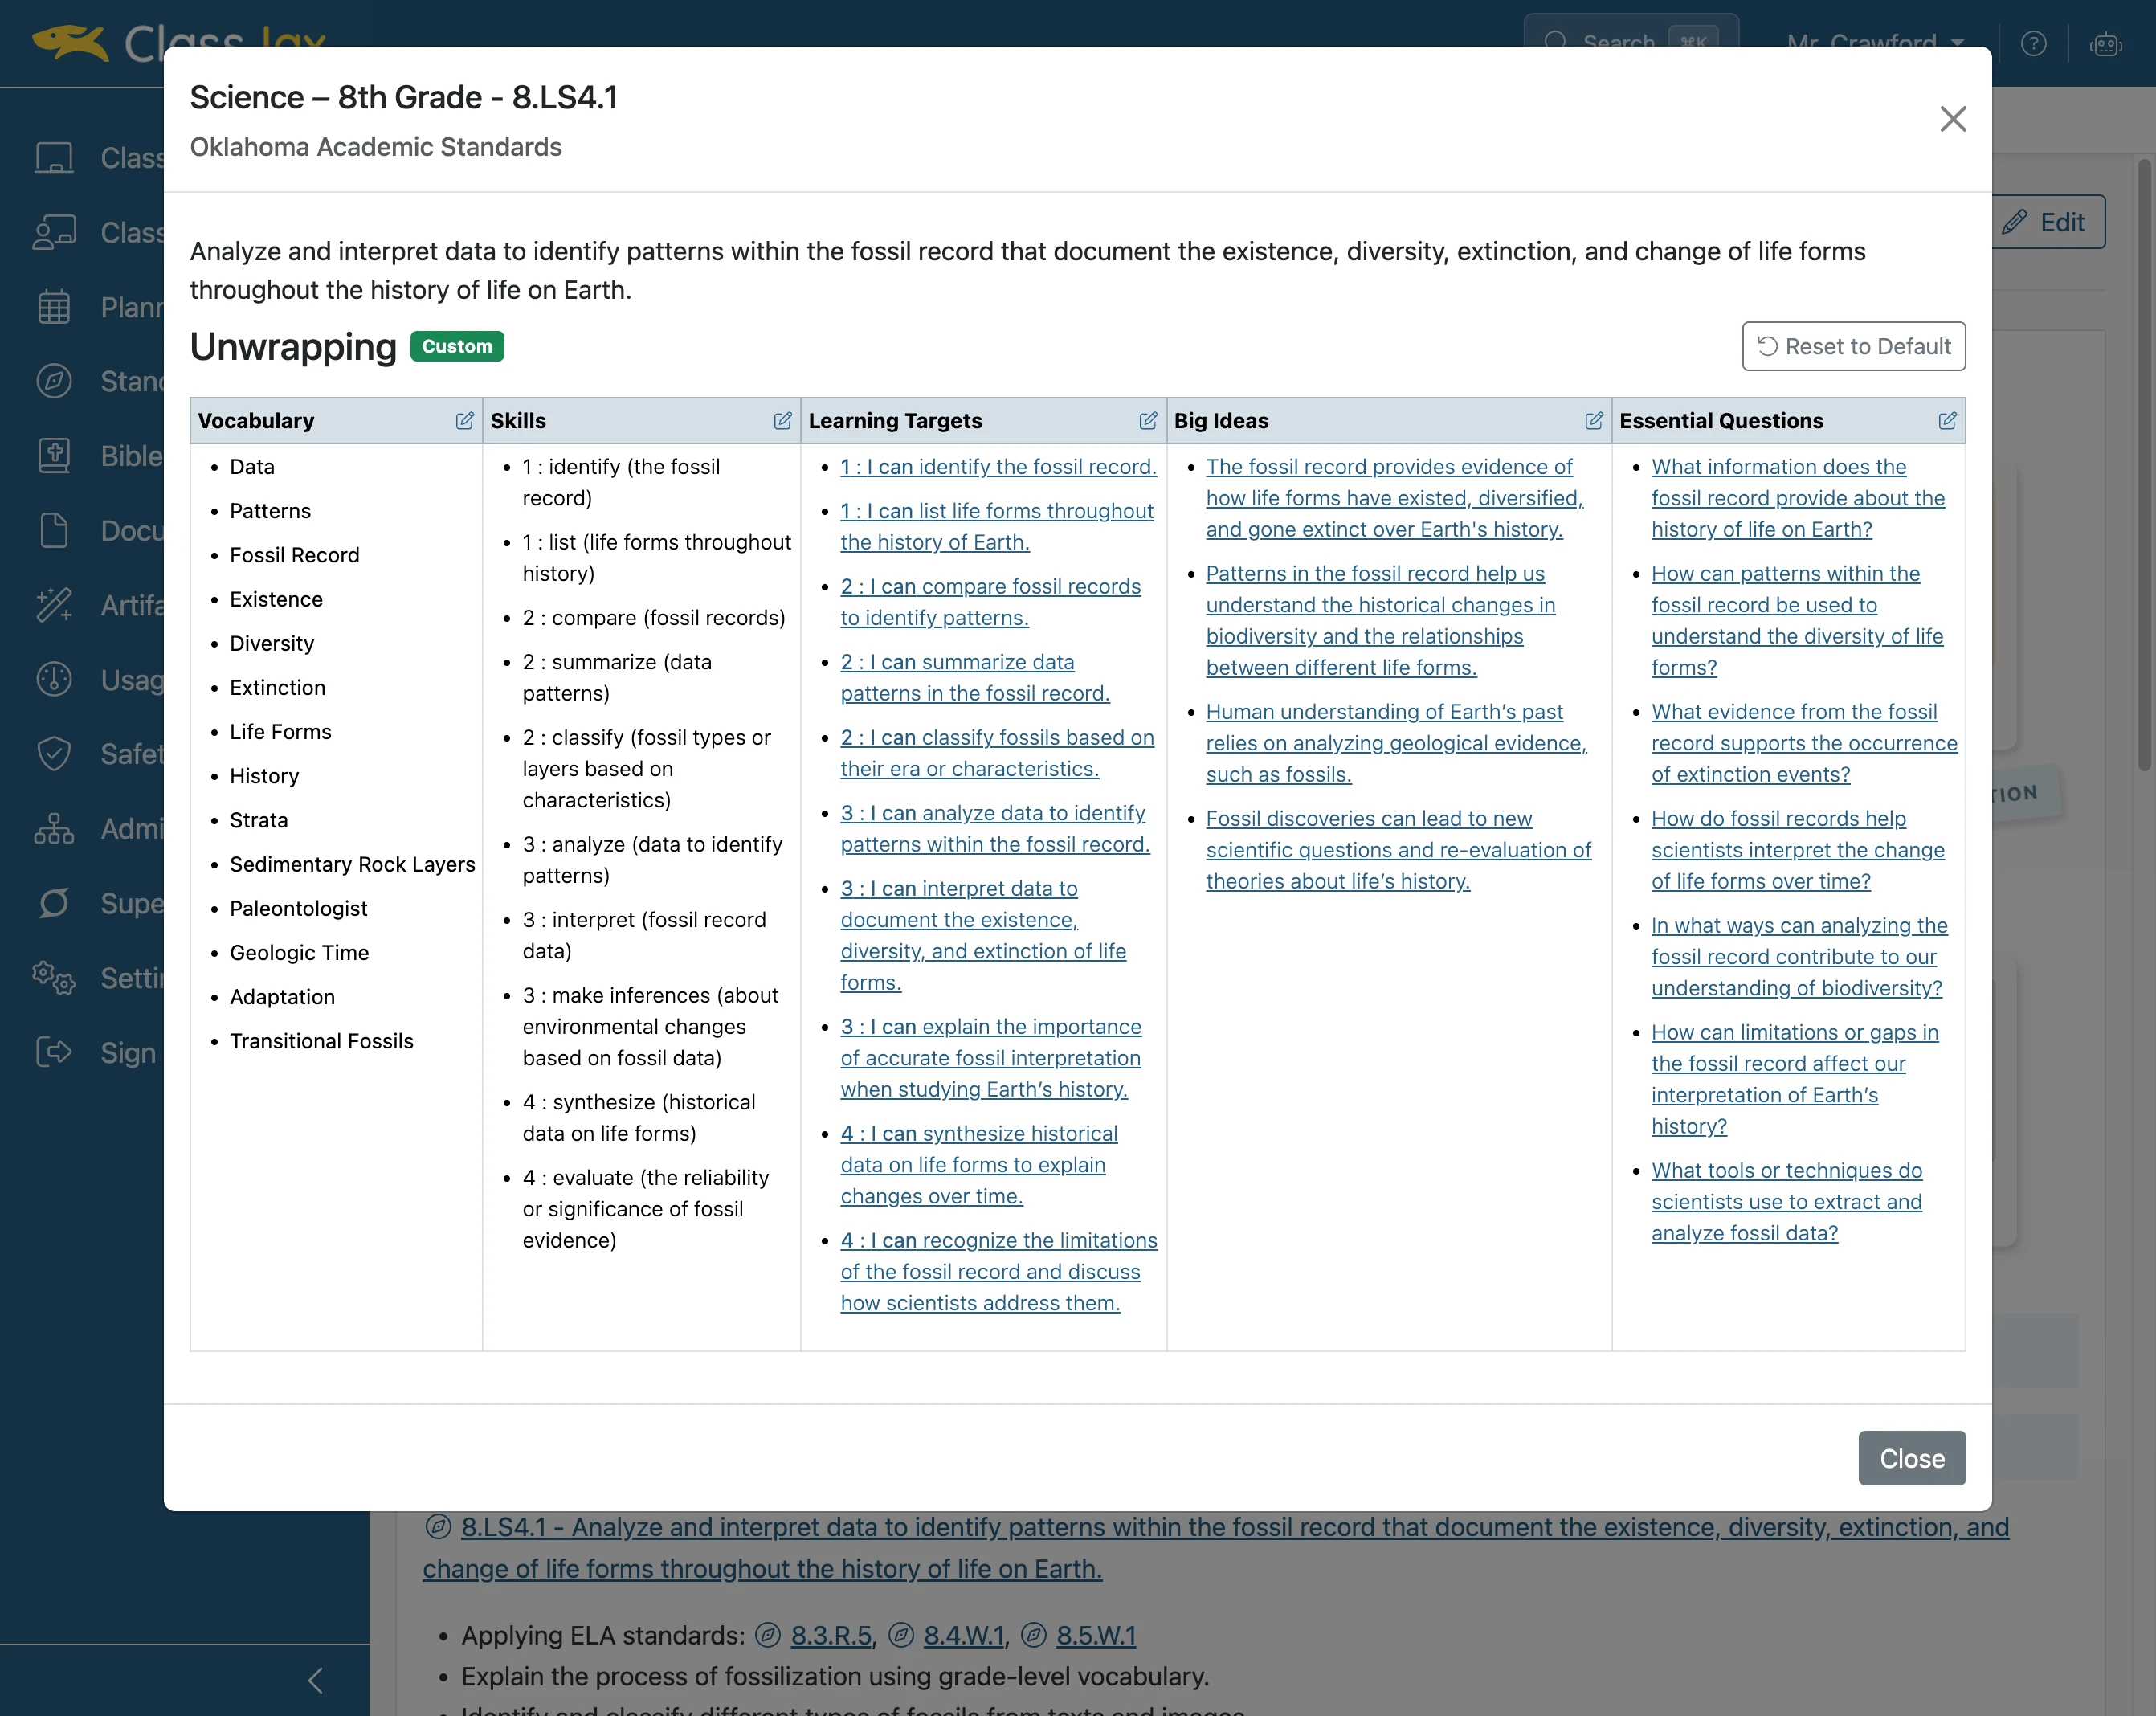
Click 'Close'
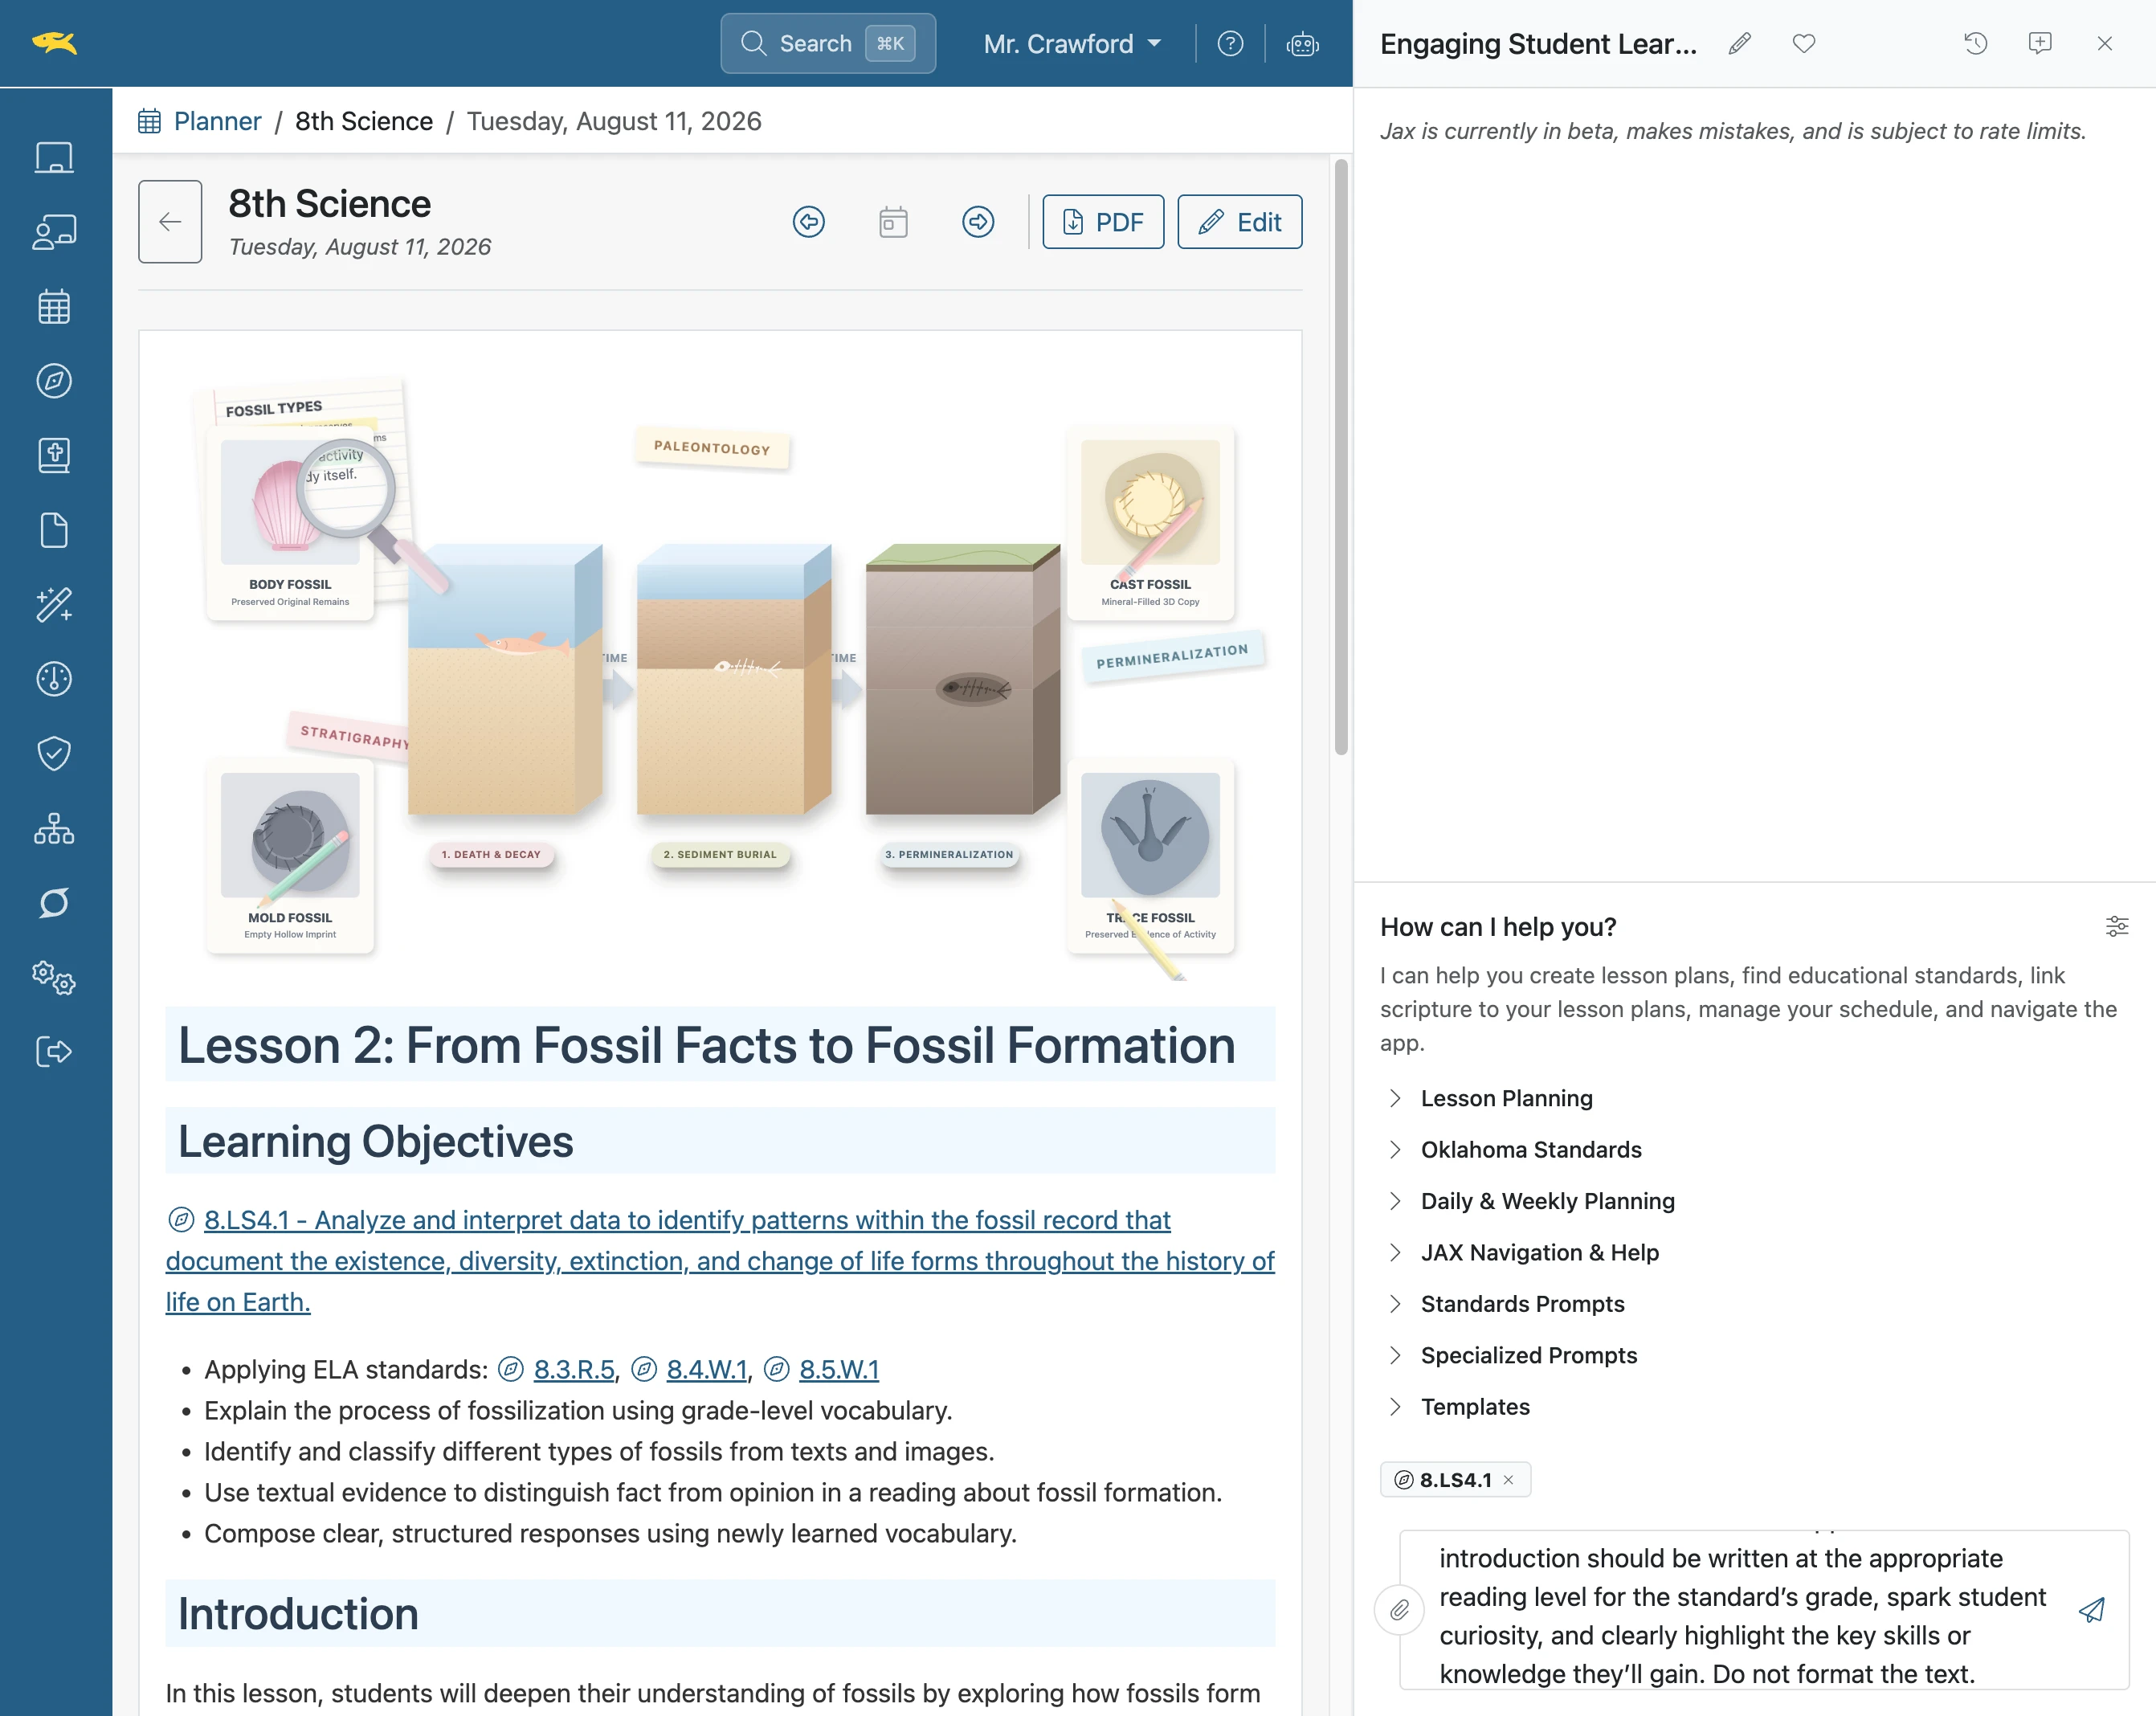
Jax will incorporate the standard and its unwrapped content in creating a student-friendly introduction to the standard.
- 4
Click the 'AI Assistant' icon
Note: Jax is the name used for the AI Assistant
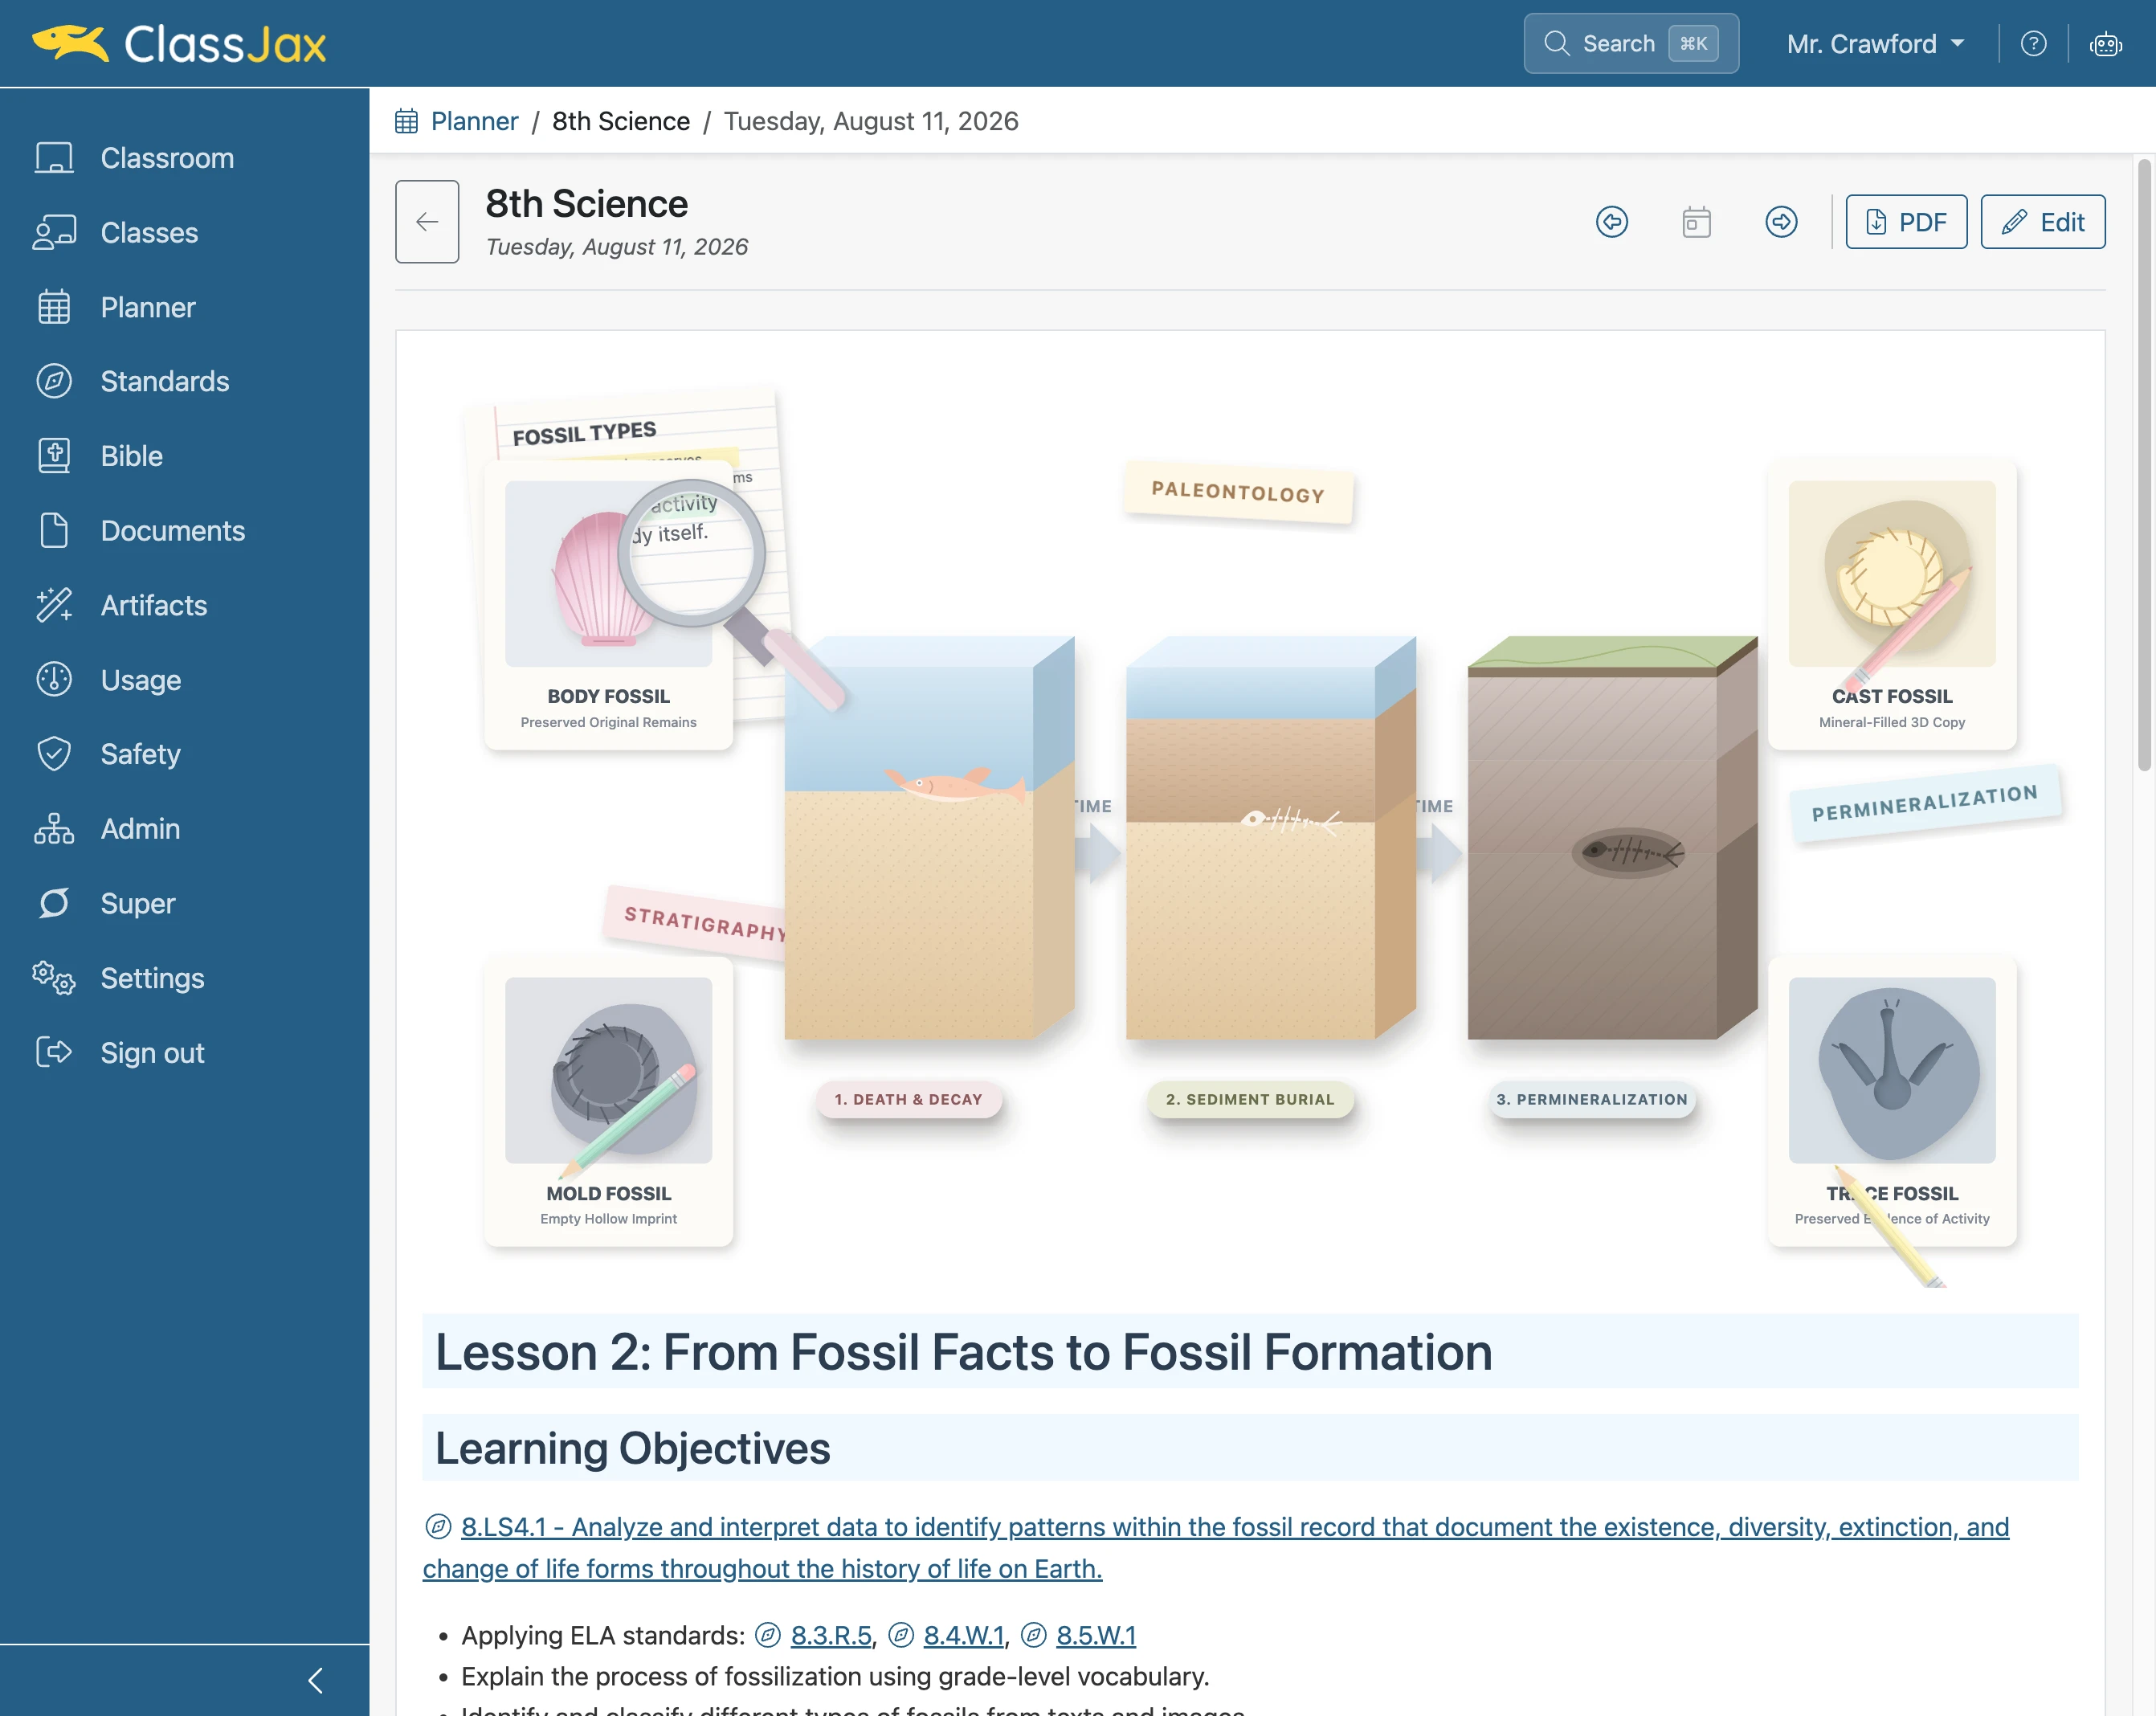
- 5
Click 'New Chat'
Clicking this icon creates a new Jax chat.
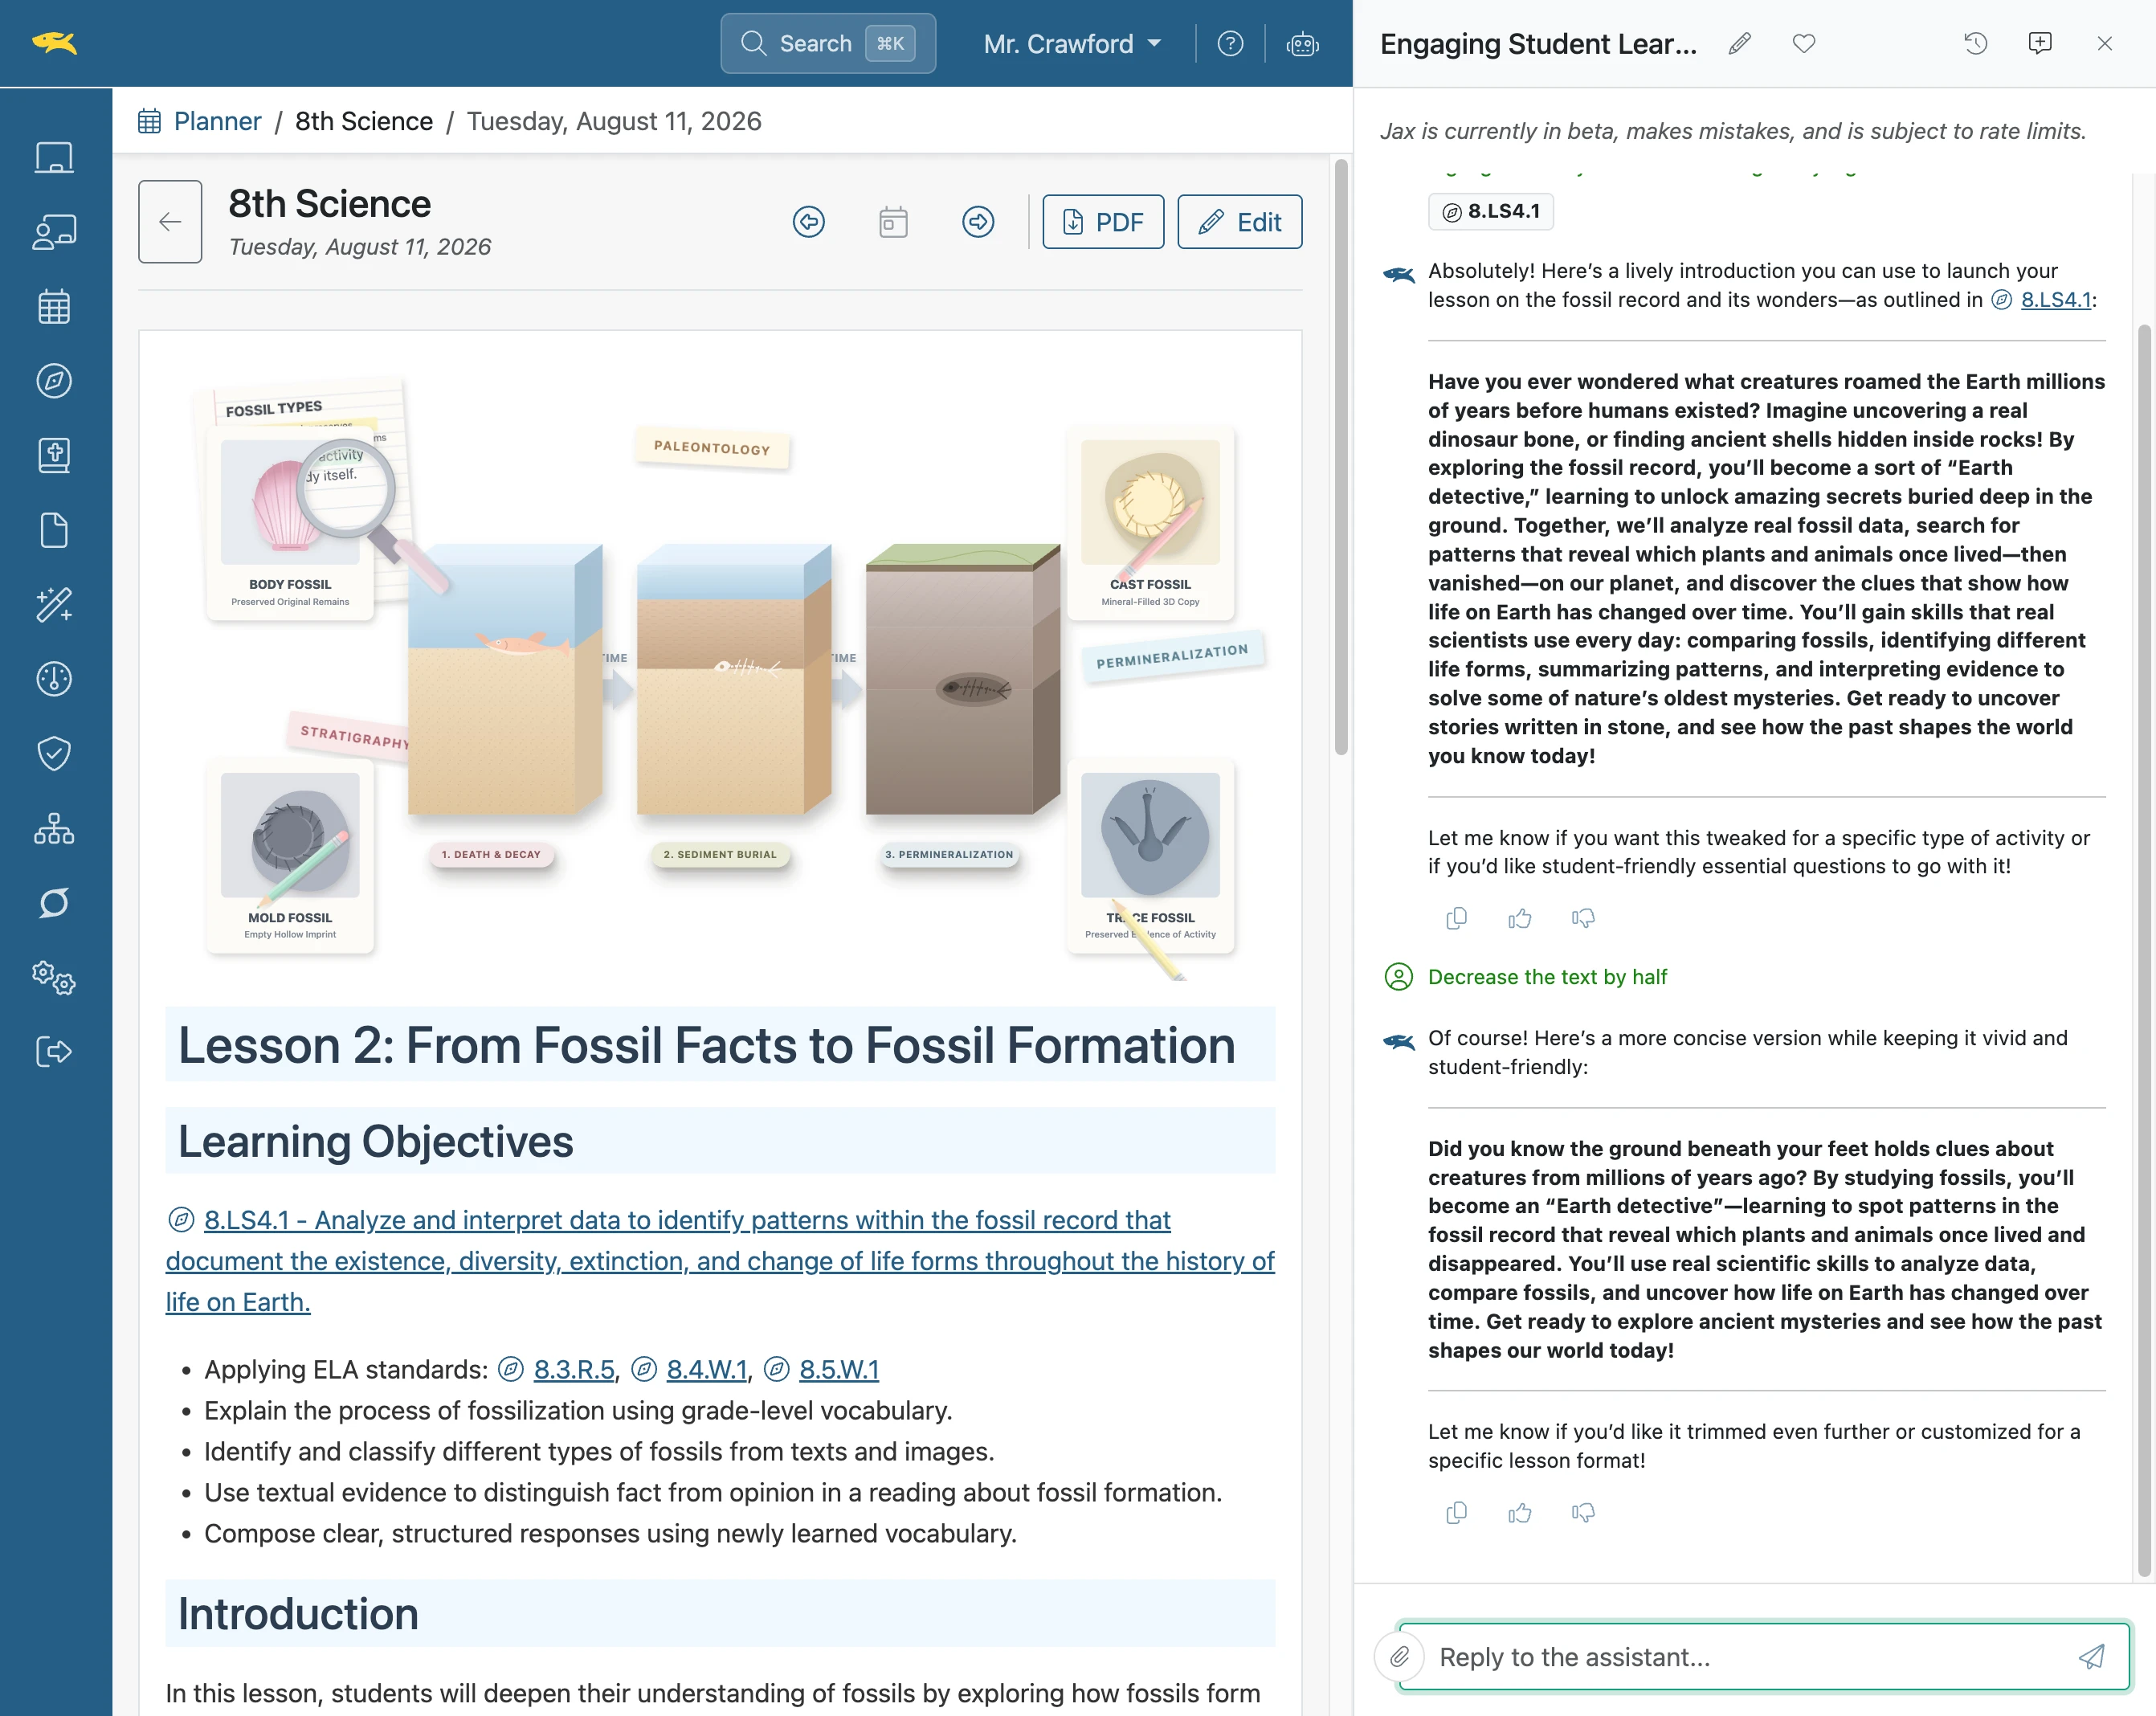
- 6
Click 'Reply to the assistant...'
Click this field to begin adding the text of the prompt.
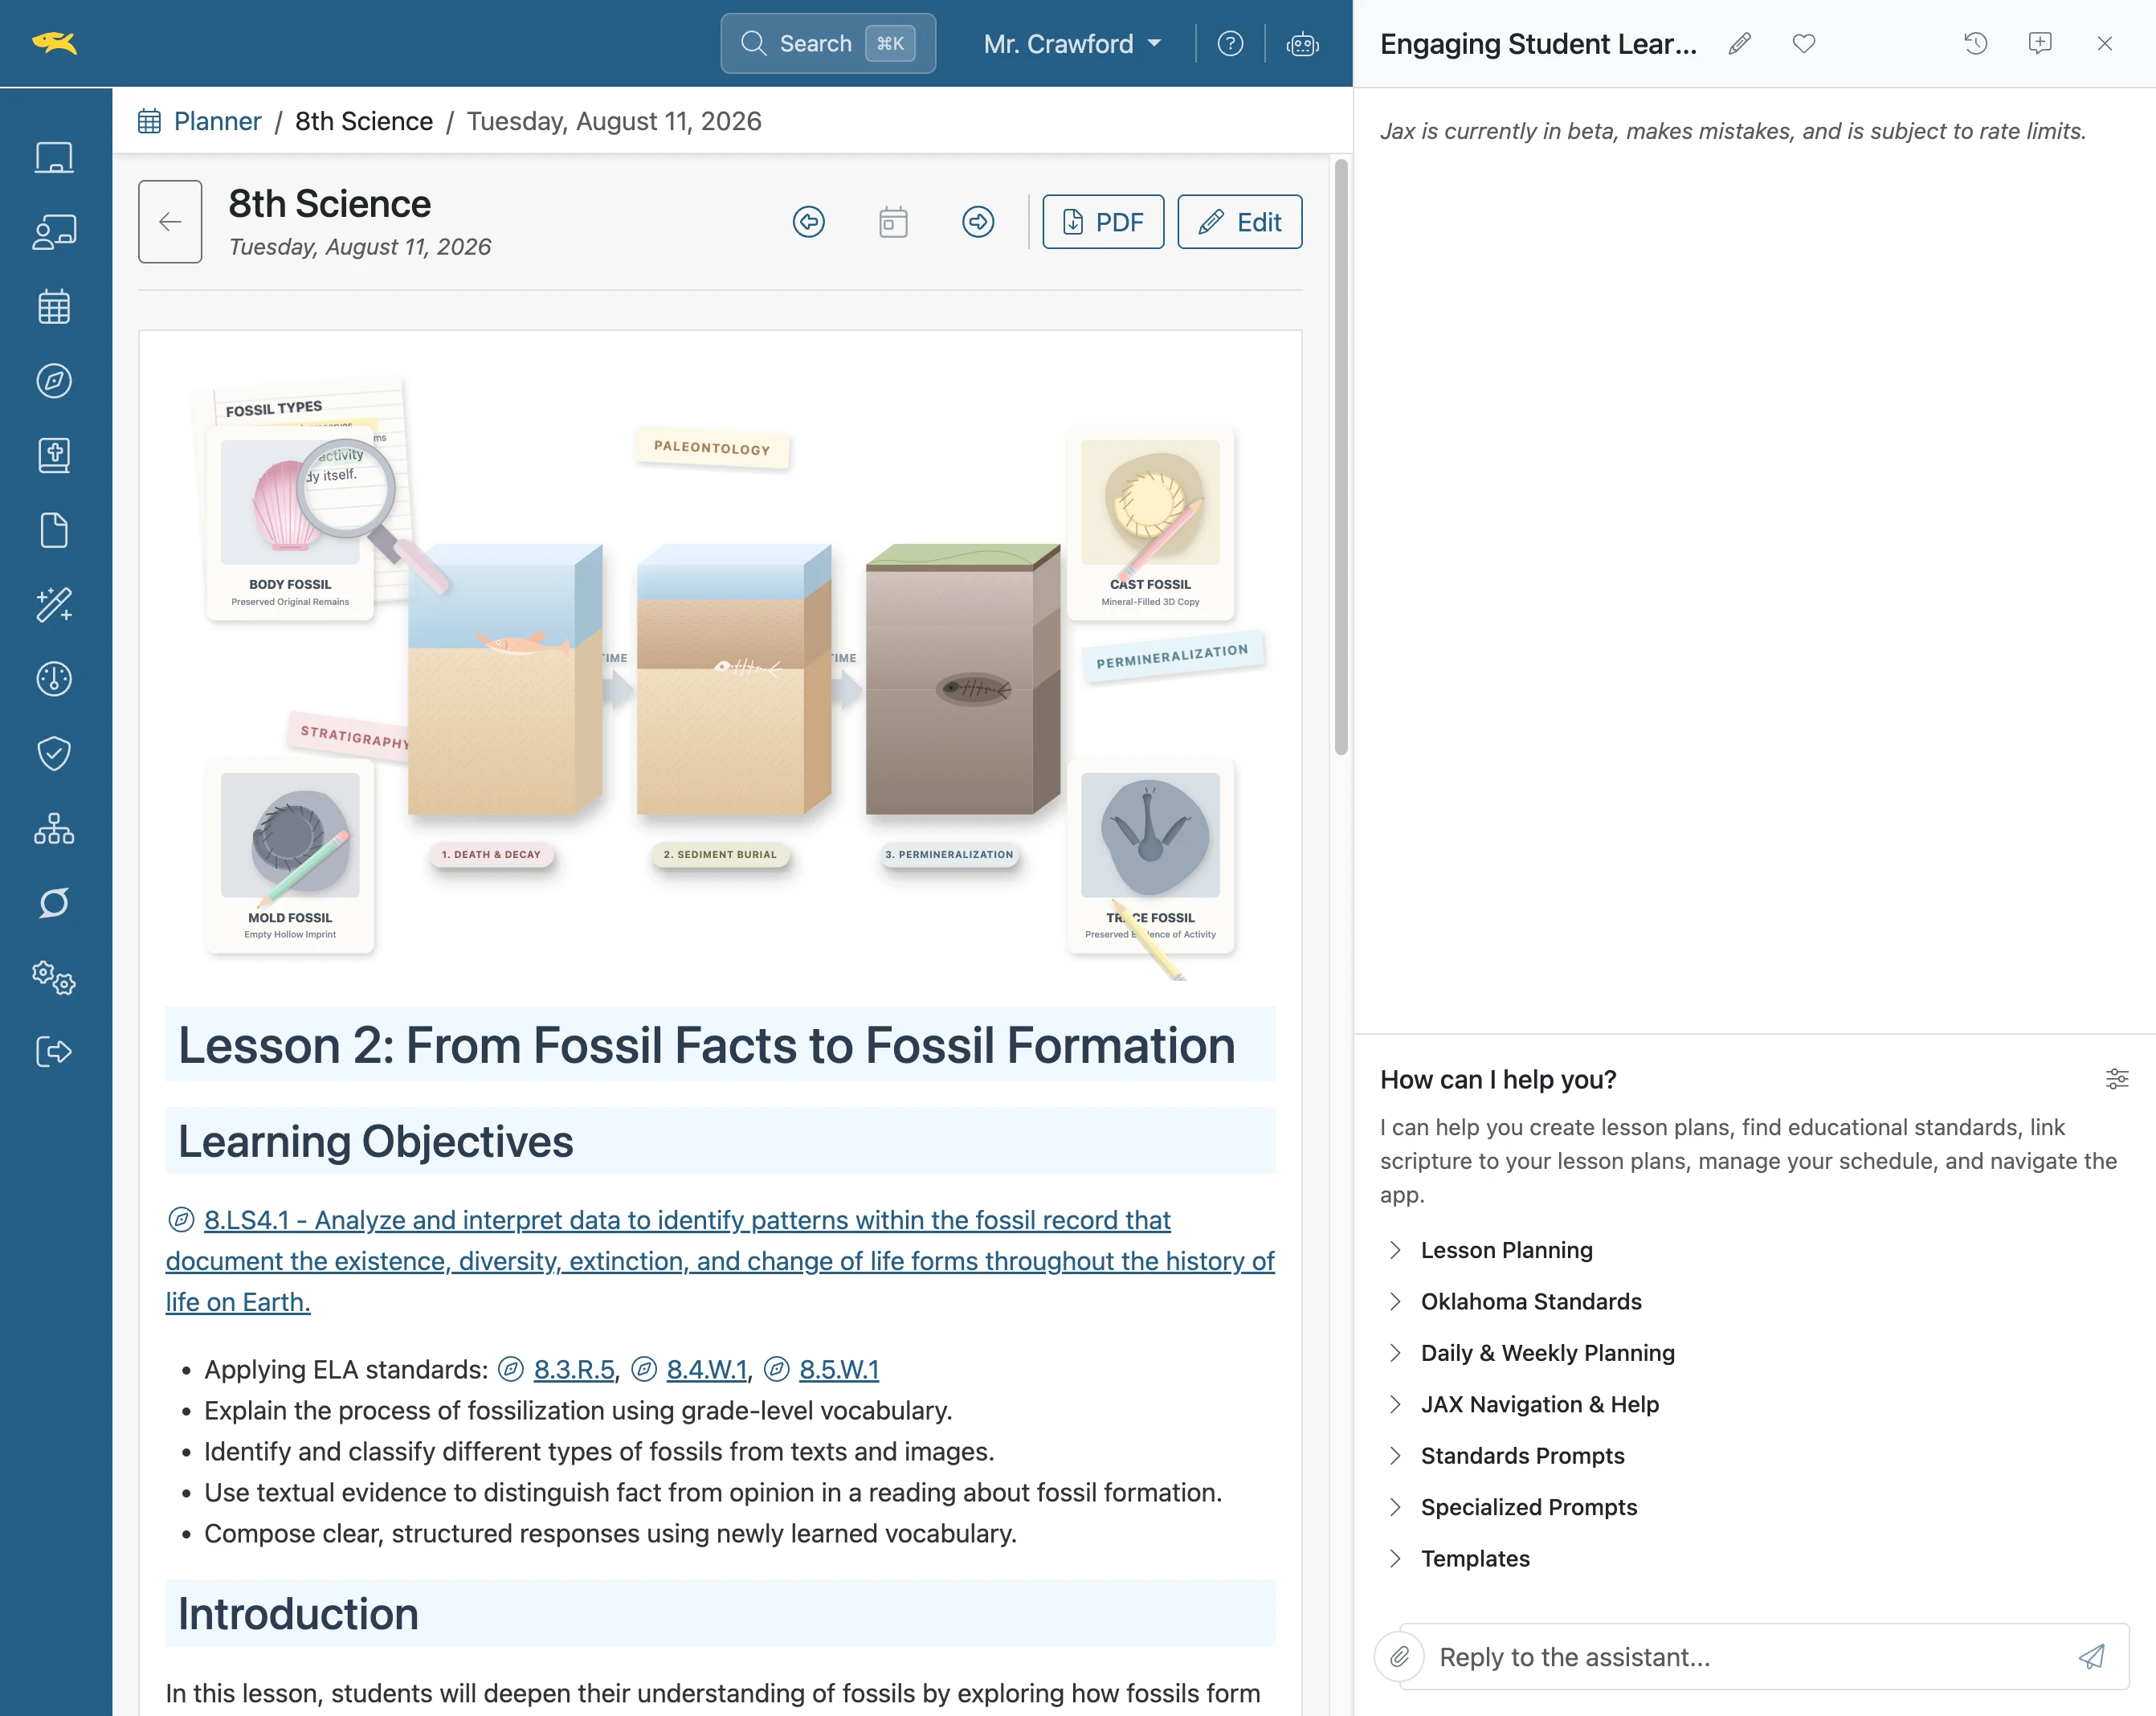
- 7
Click the 'Paper Clip' icon
Click the icon to open a list of available artifacts to attach.
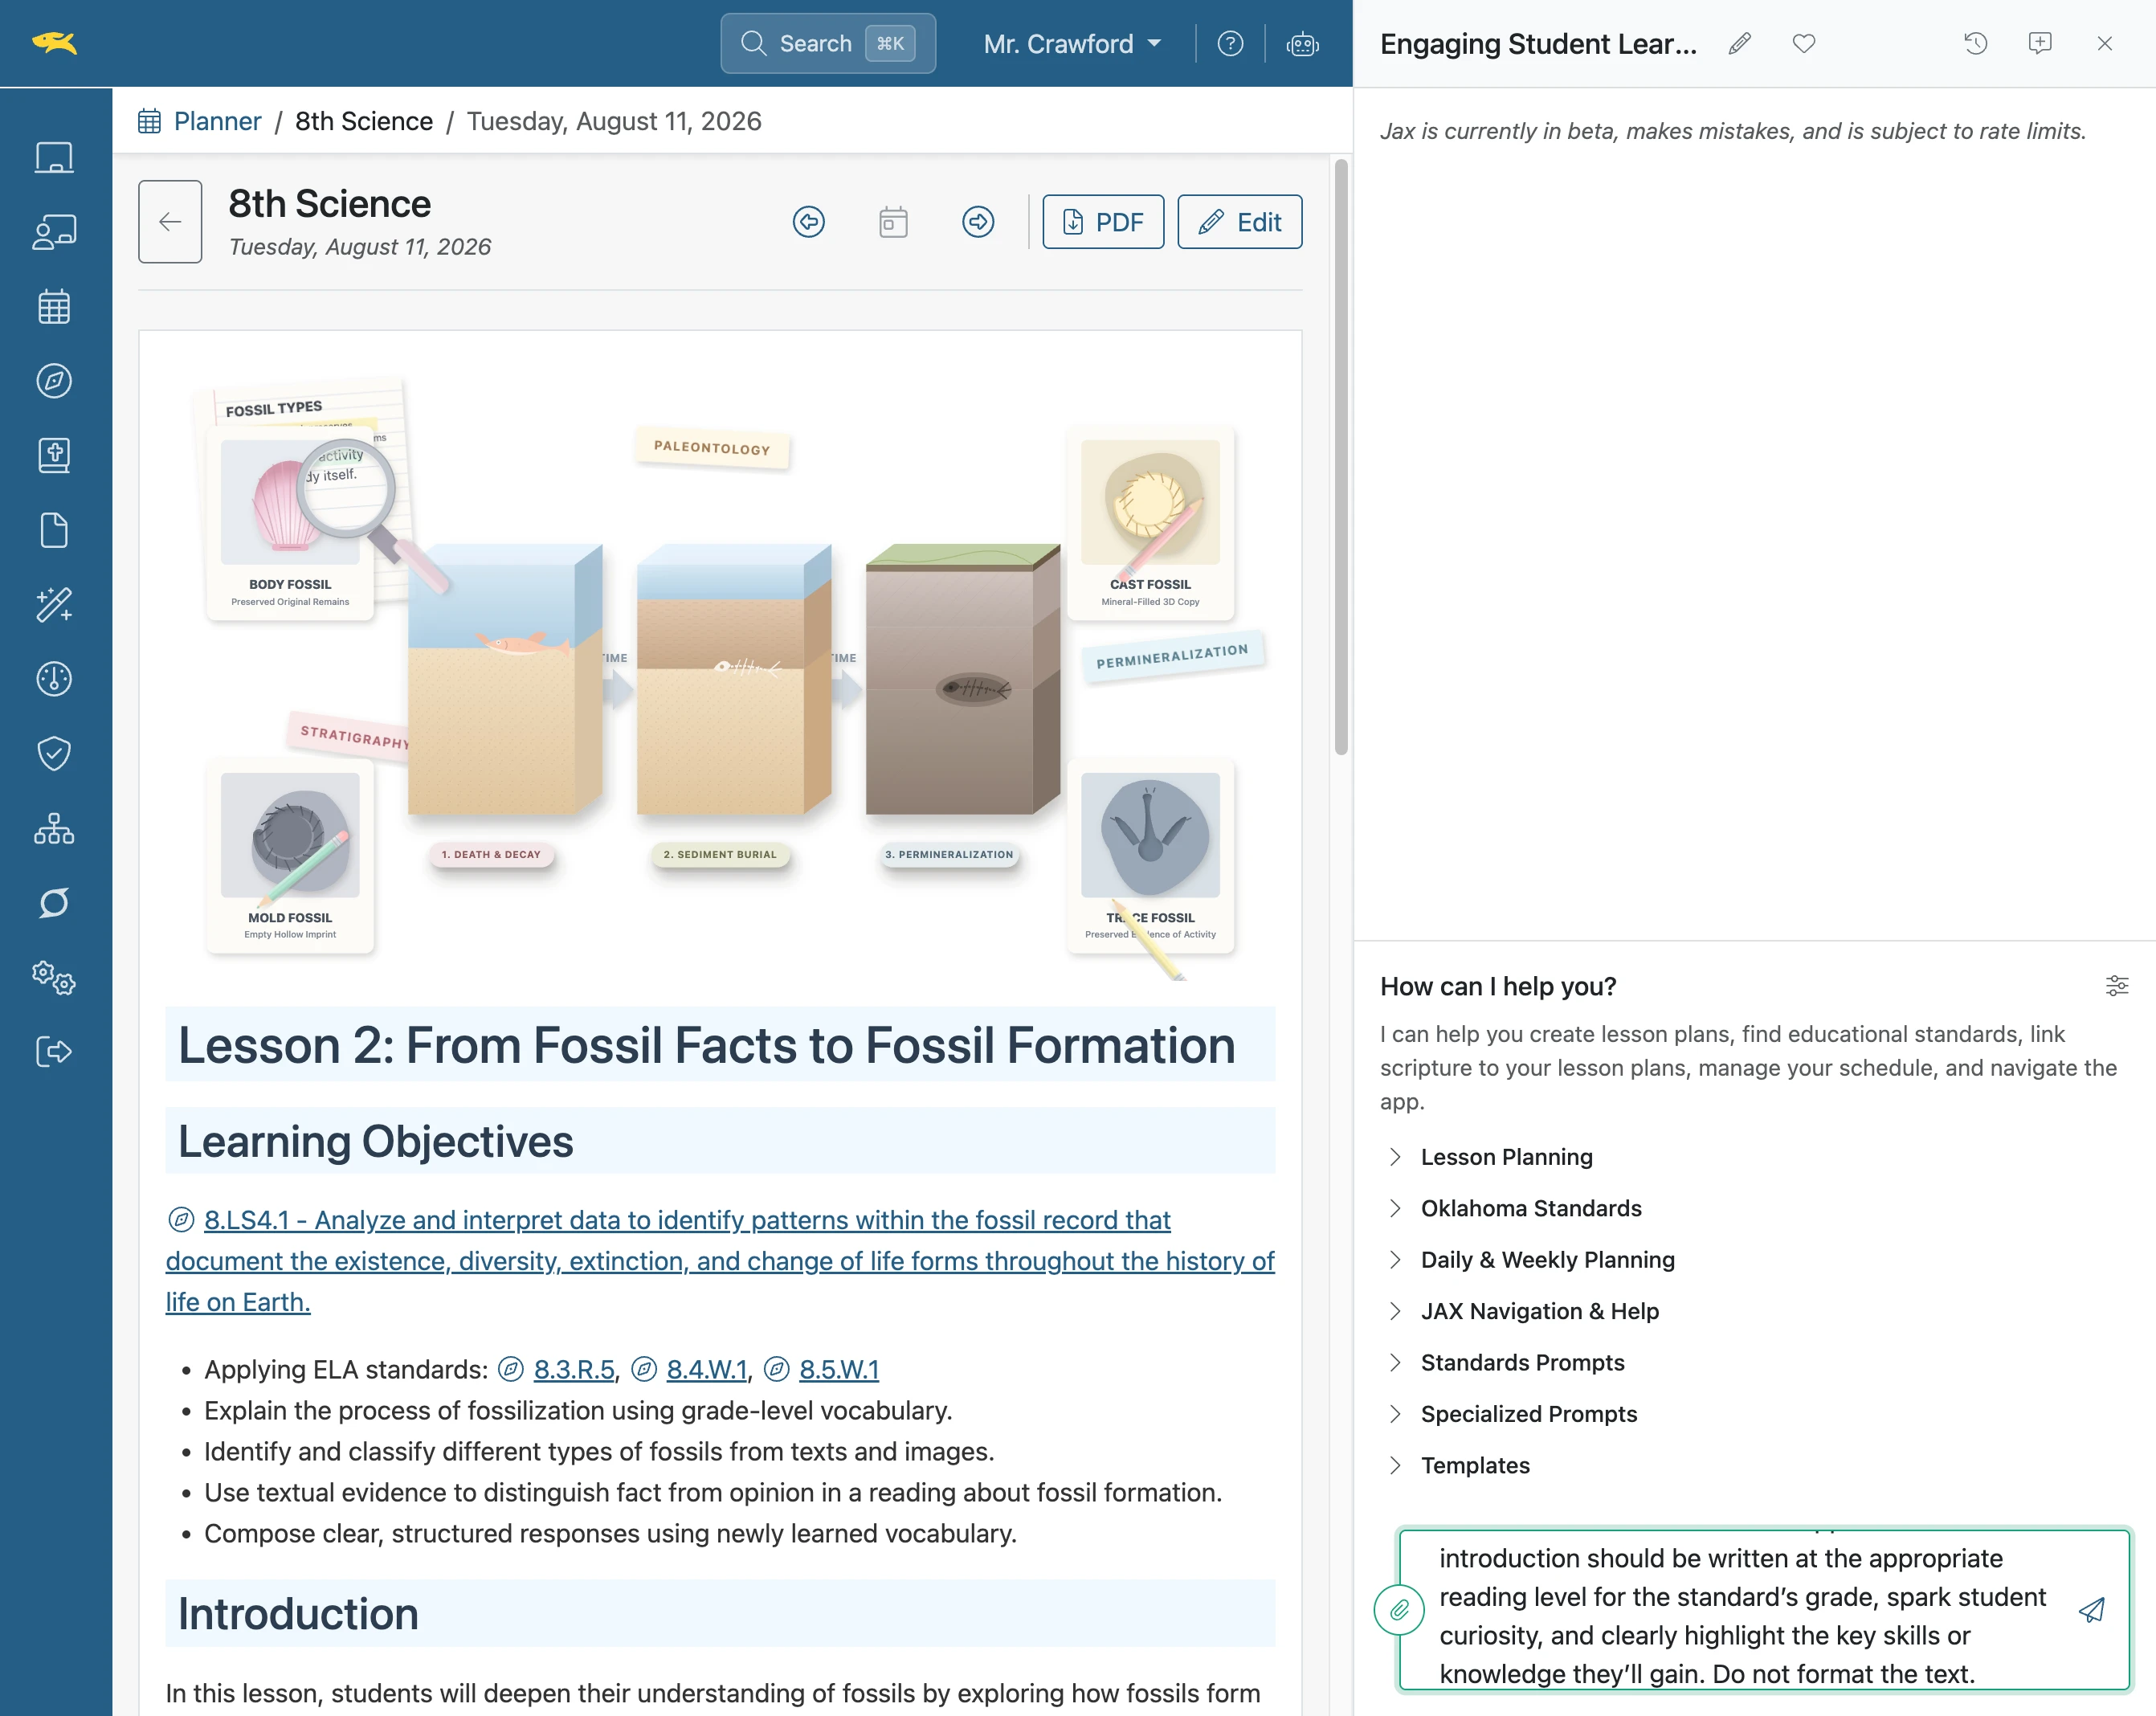
- 8
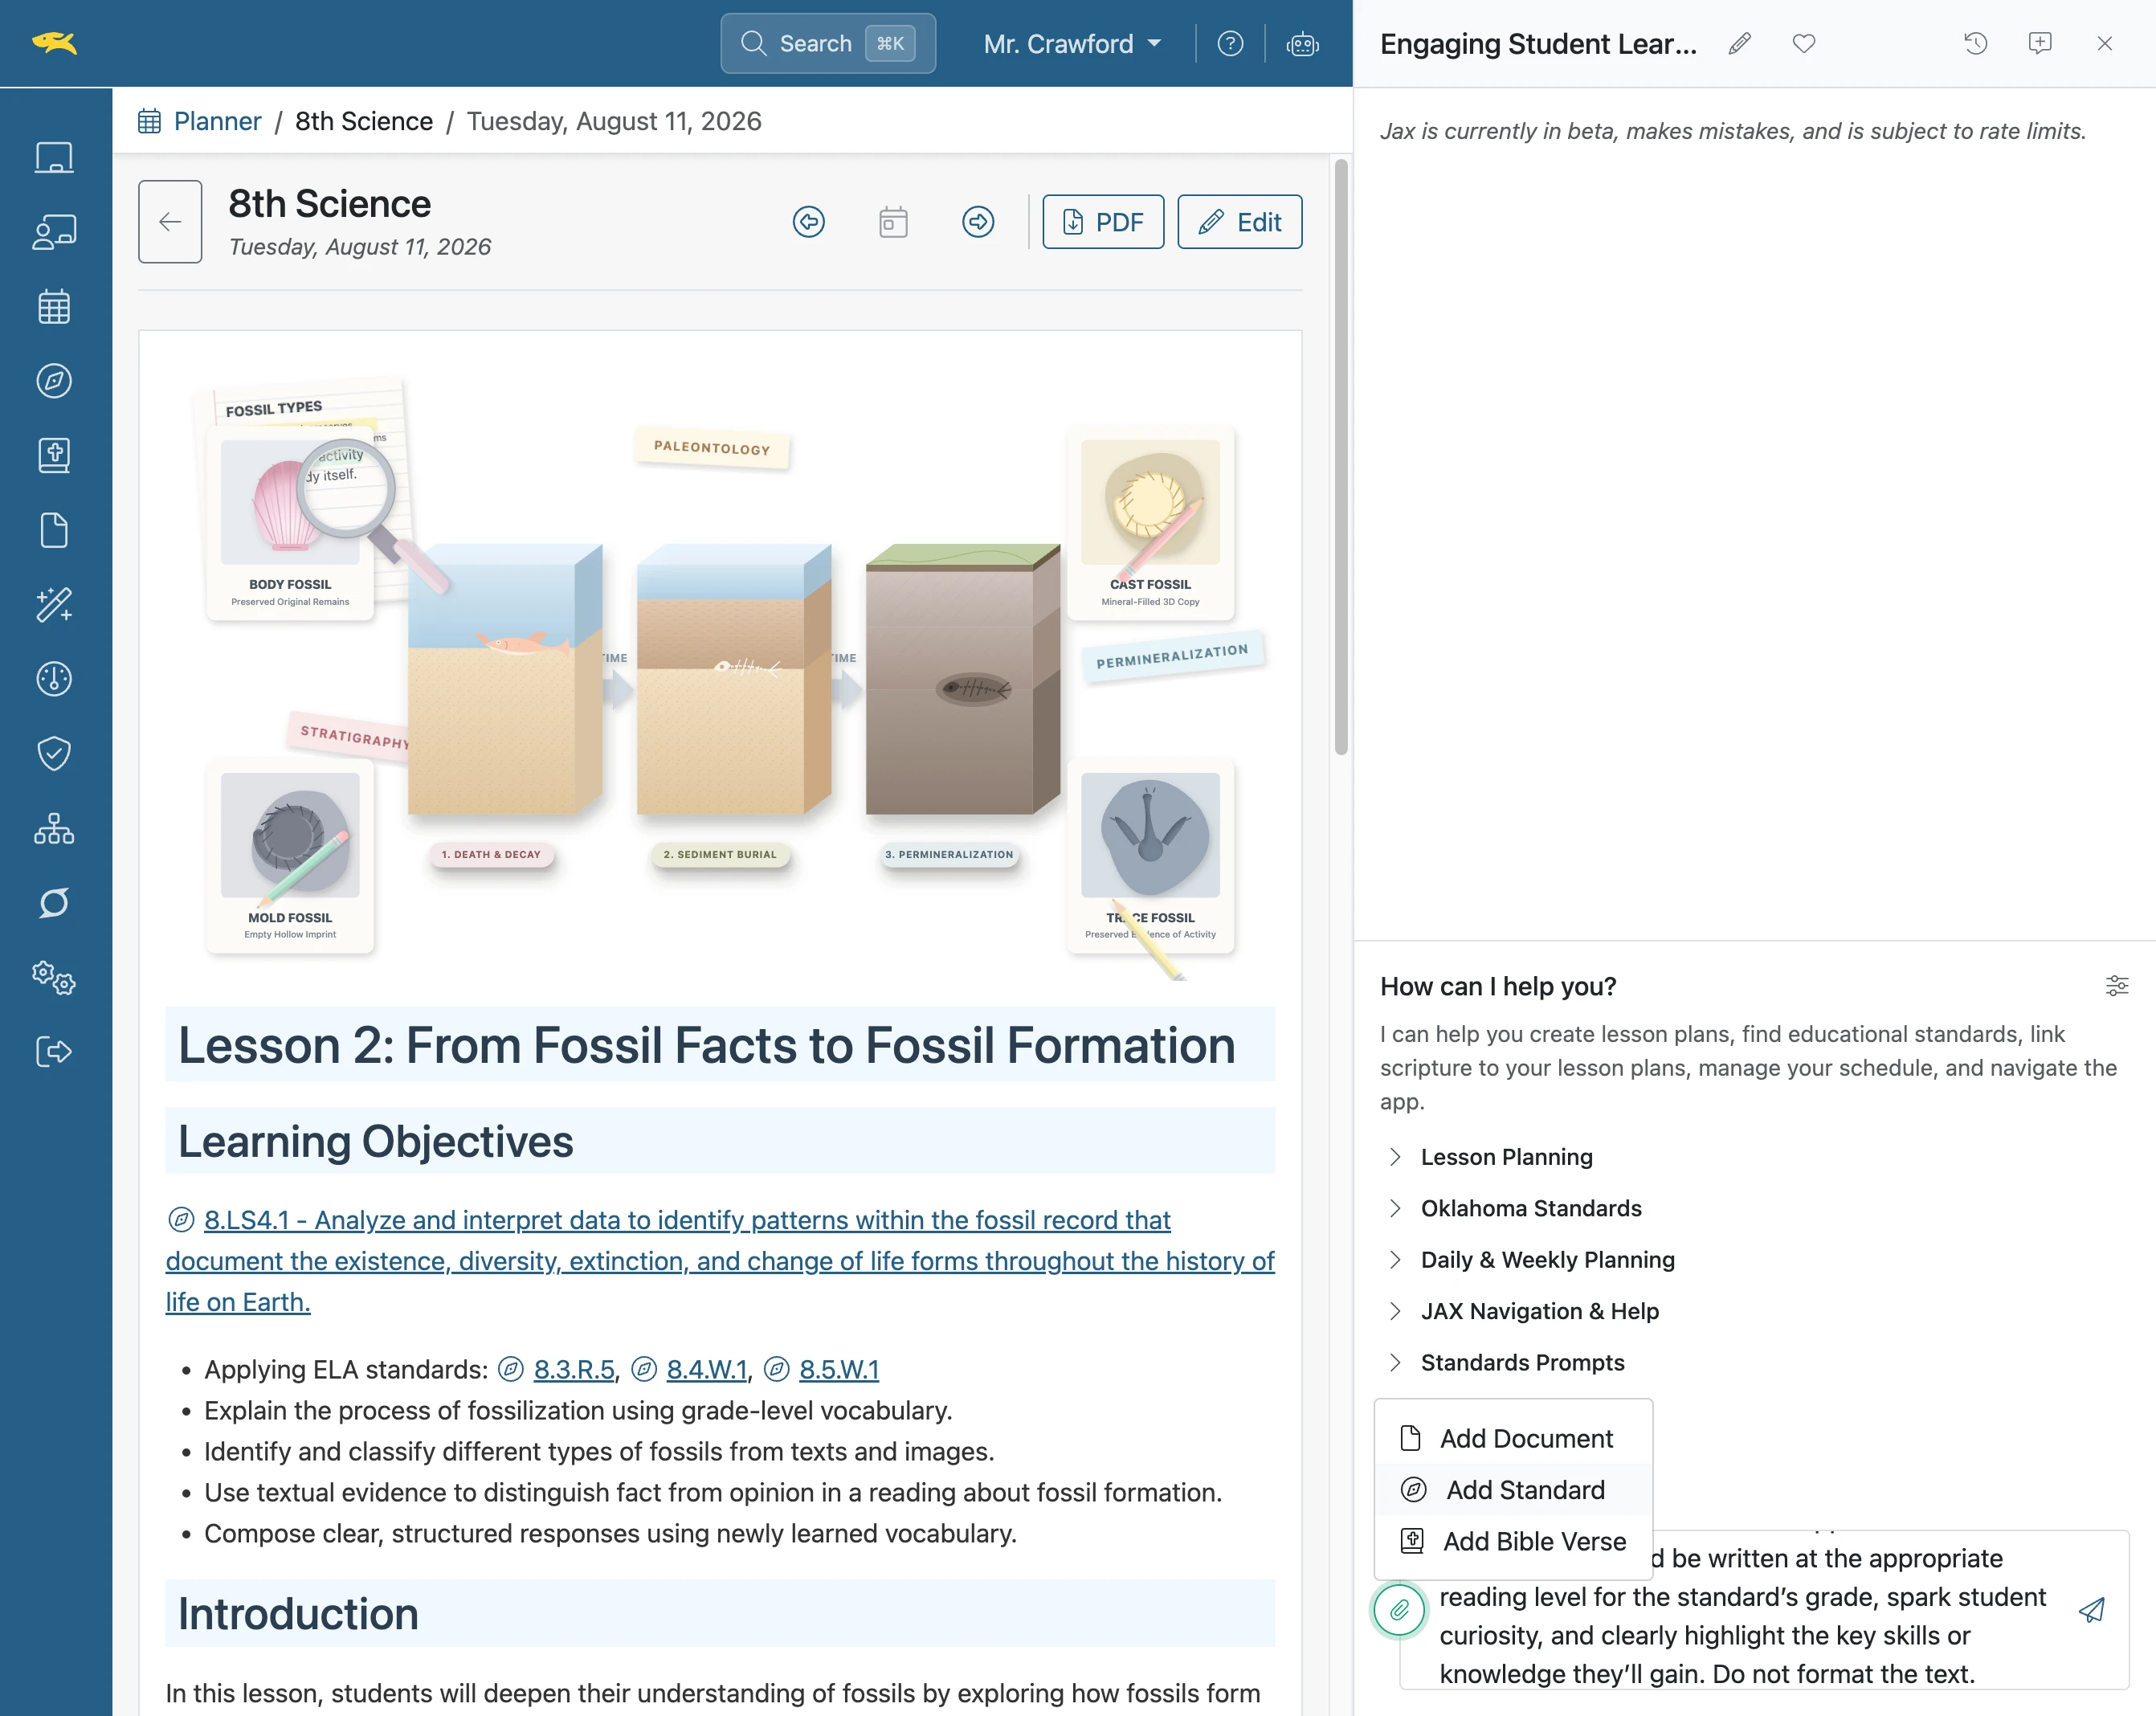
Click 'Add Standard'
Select an artifact to attach, in this case a standard.
- 9
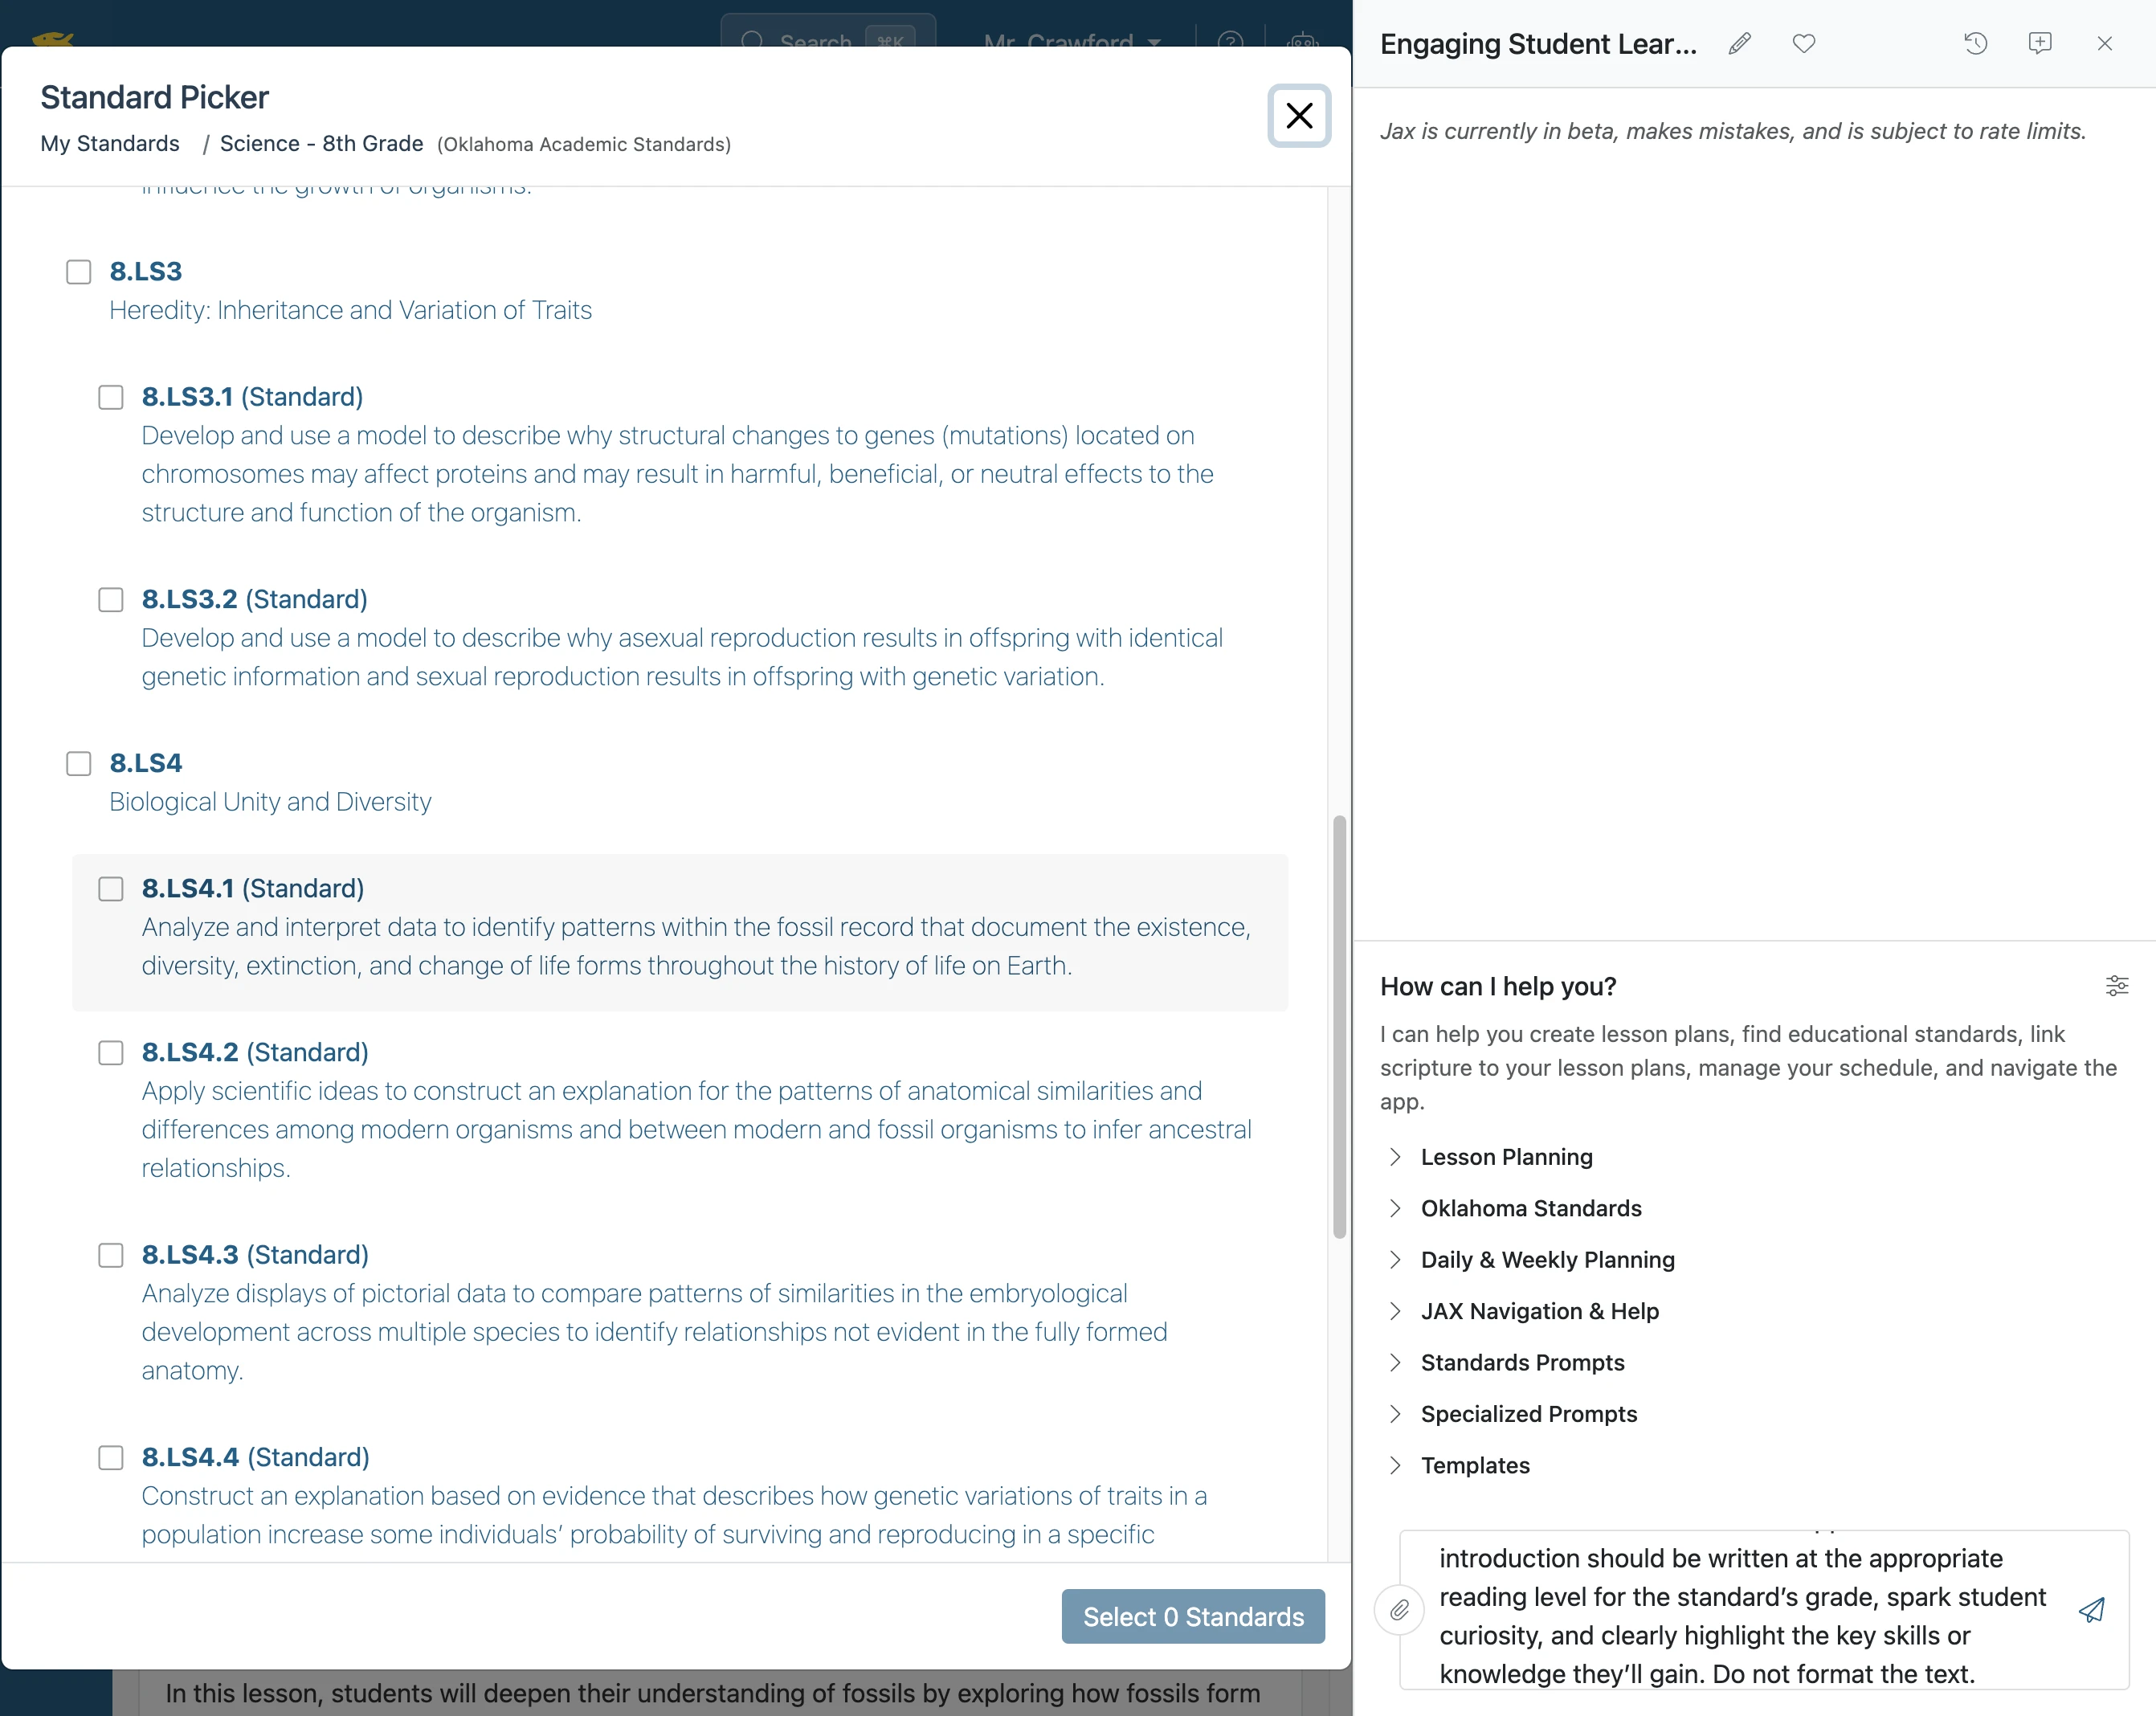
Click the desired 'Standard.'
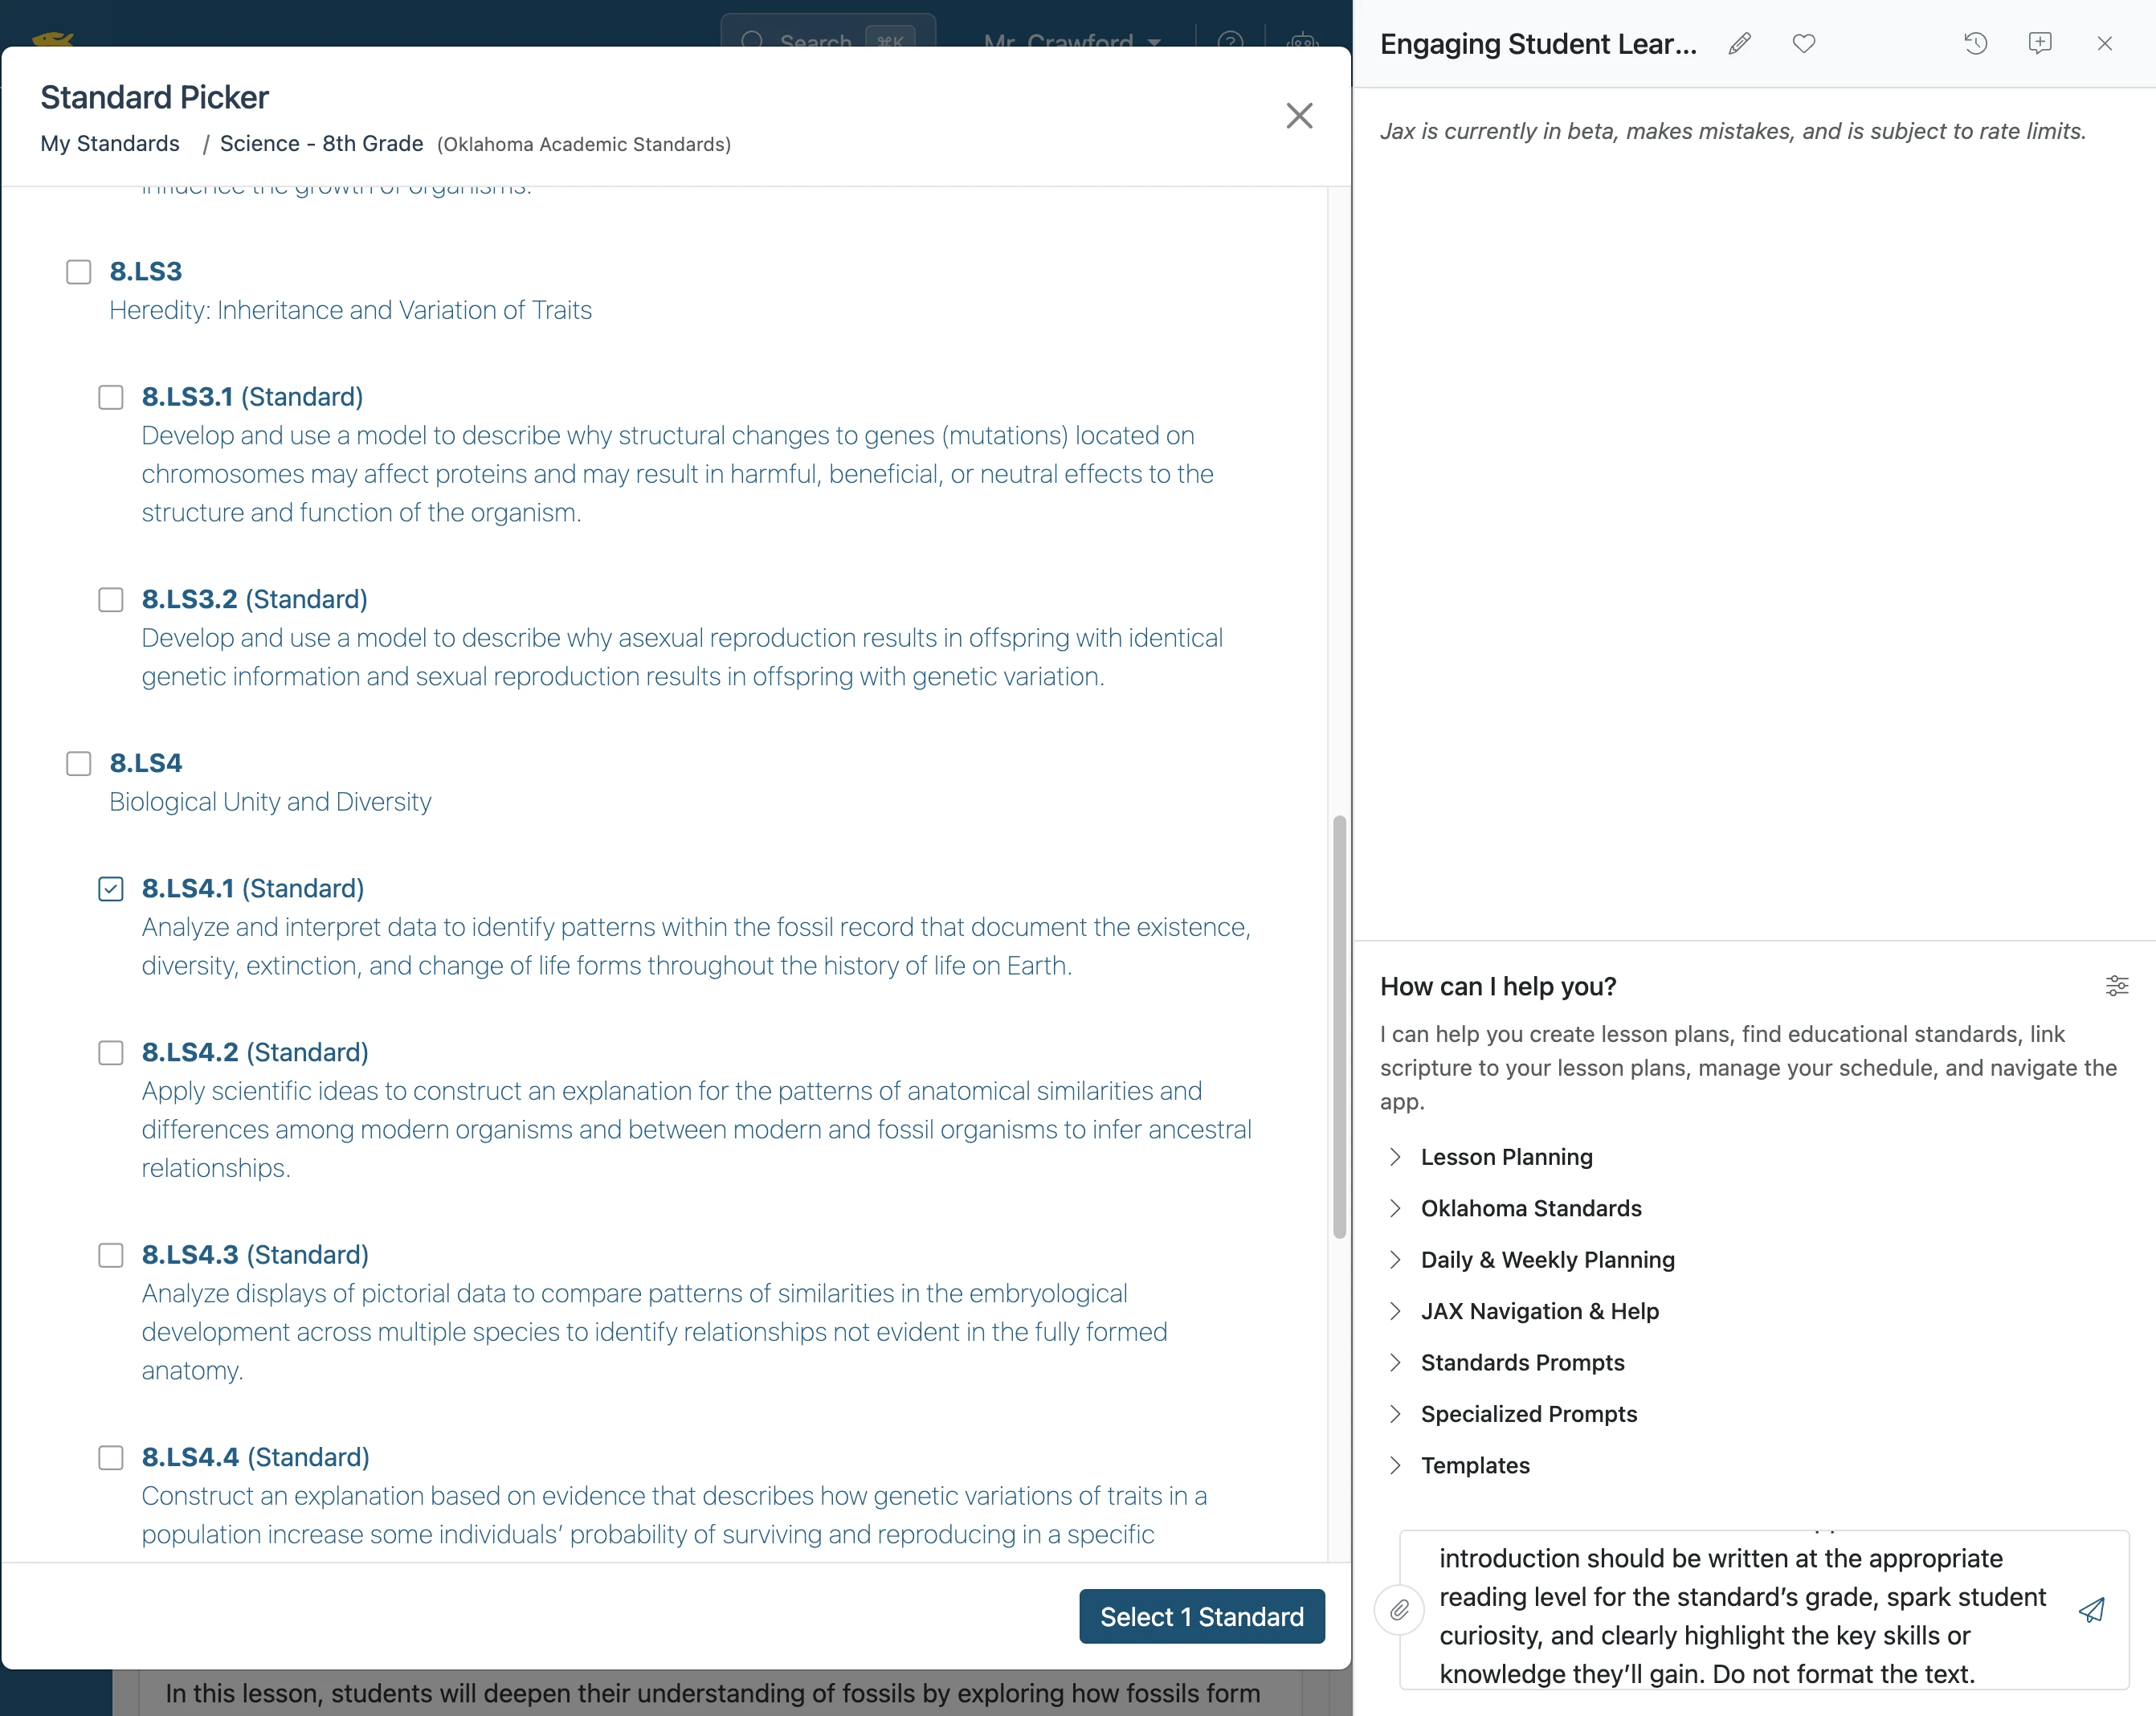
In this example the standard being attached is 8.LS4.1.
- 10
Click 'Select 1 Standard'
- 11
Execute the Prompt
- 12
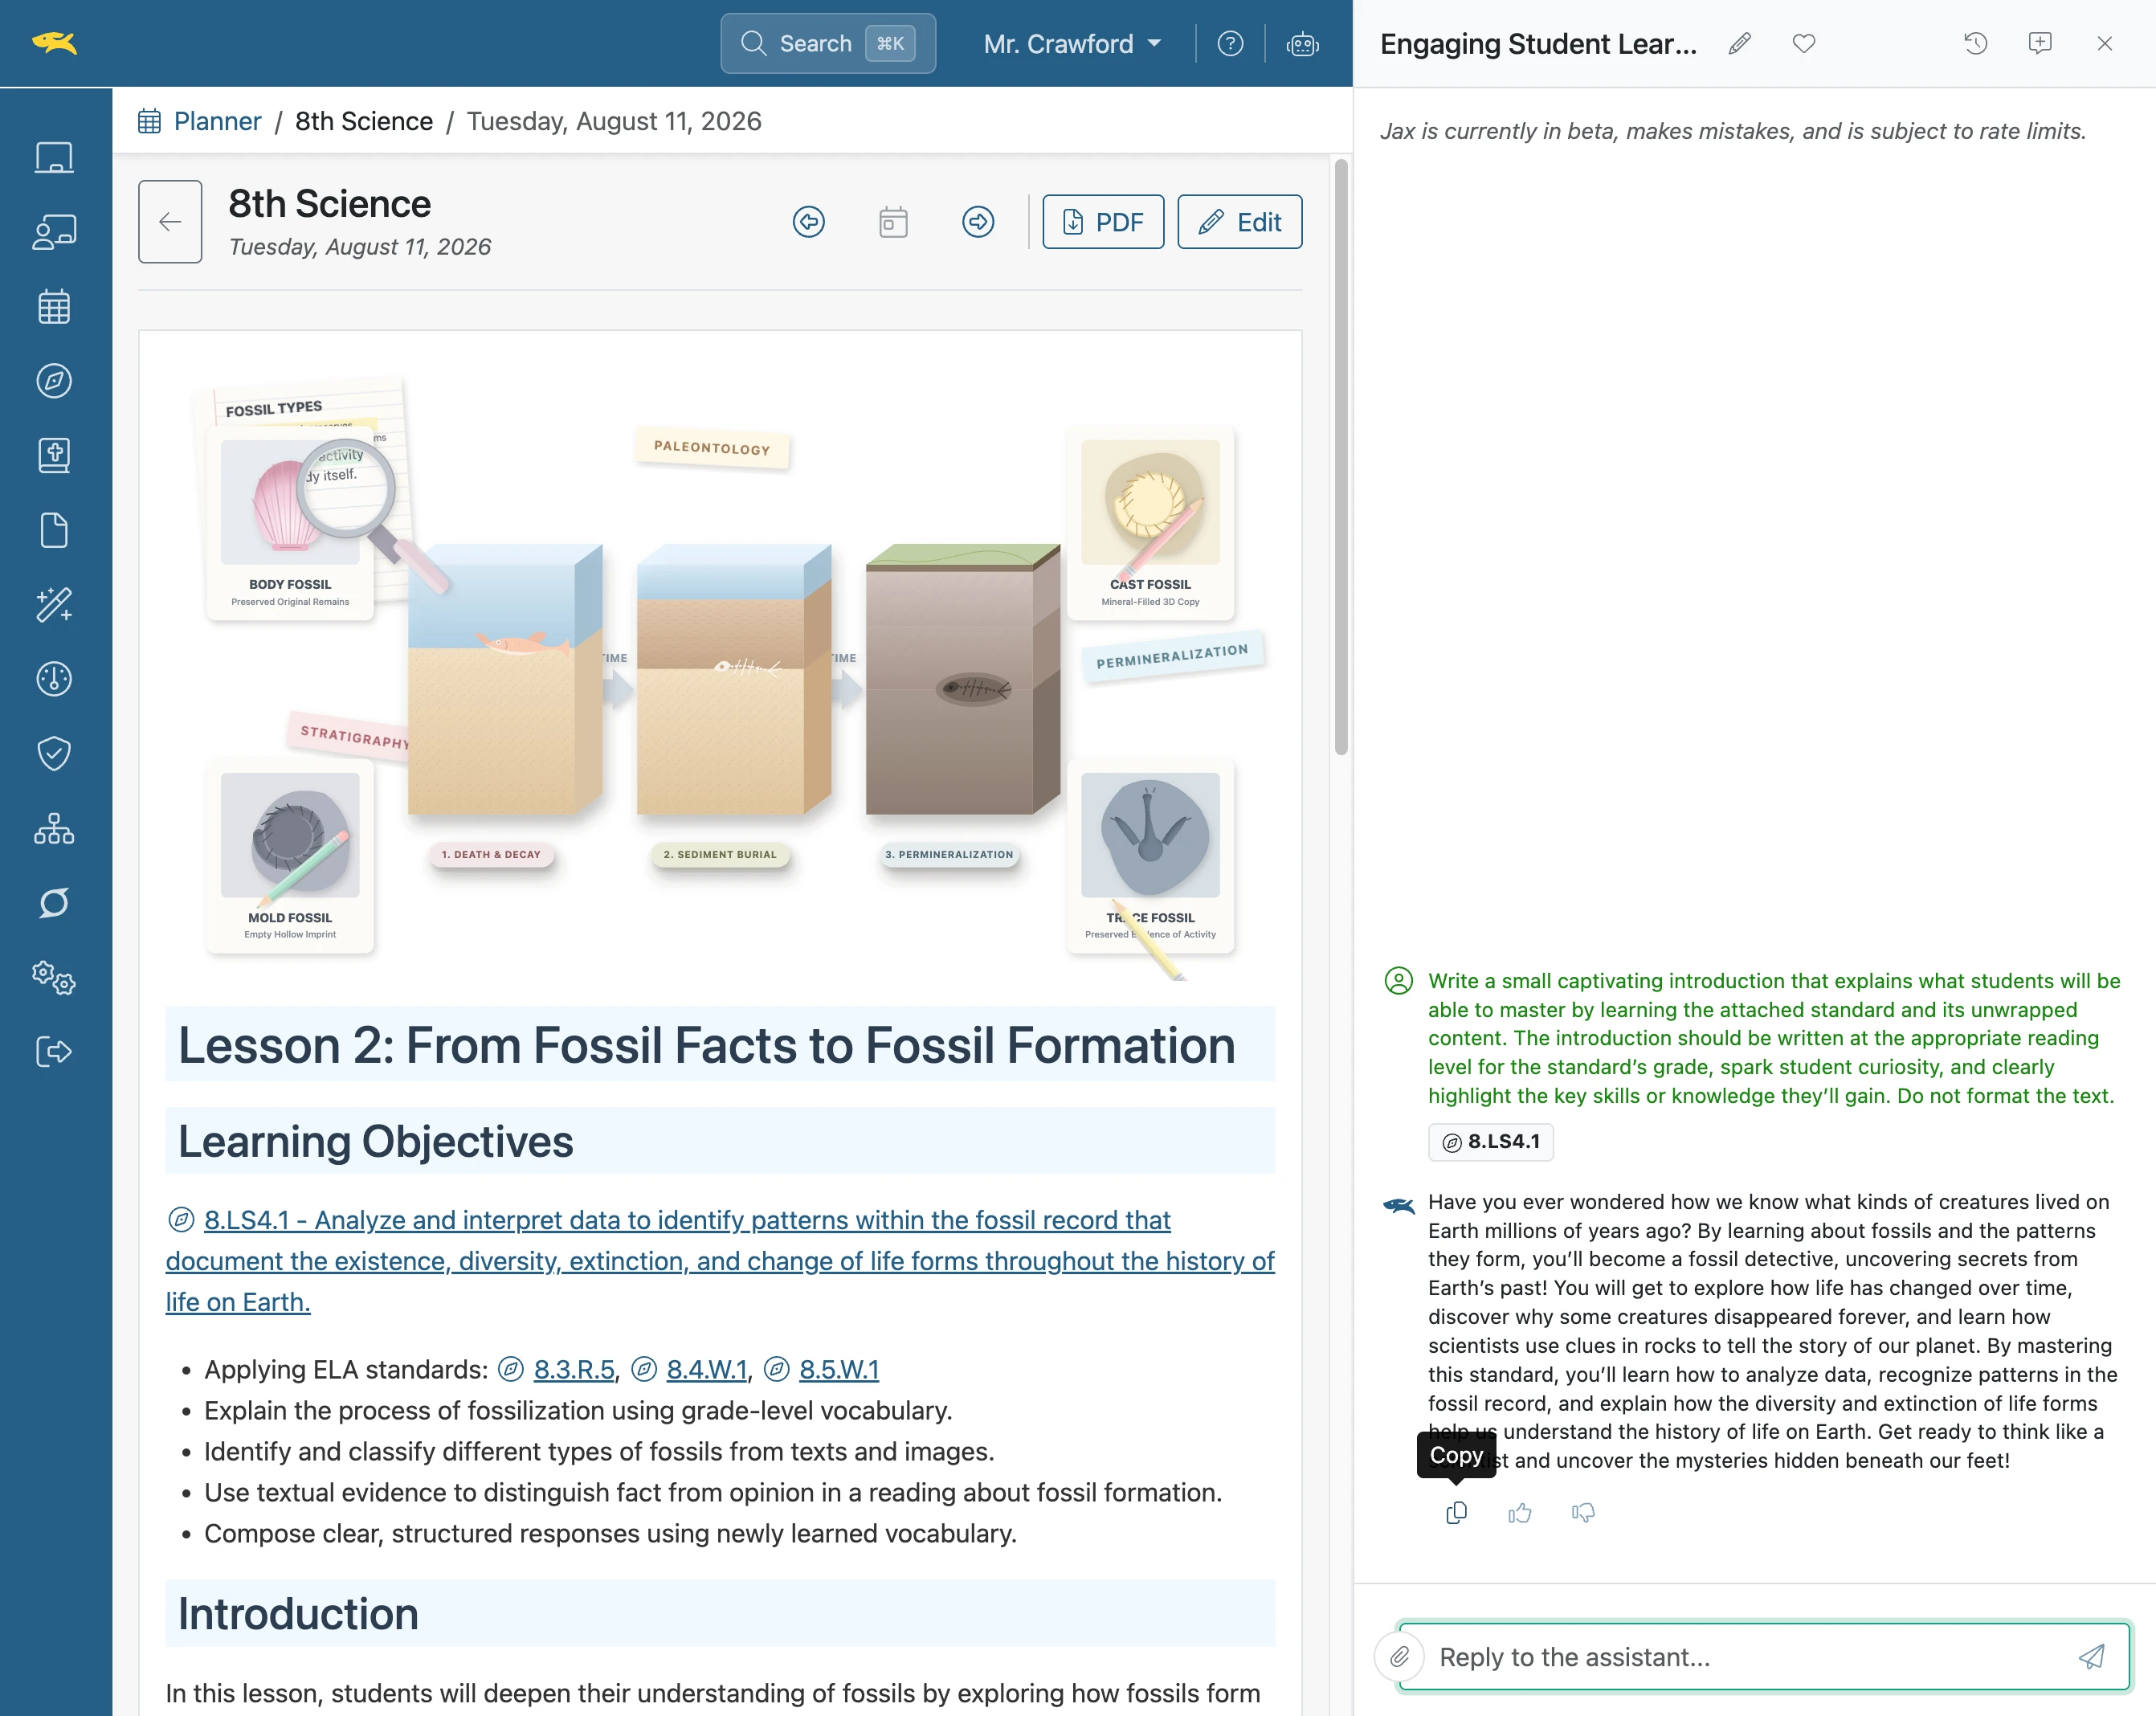
Click the 'Copy' icon
The prompt’s resulting text is copied.
- 13
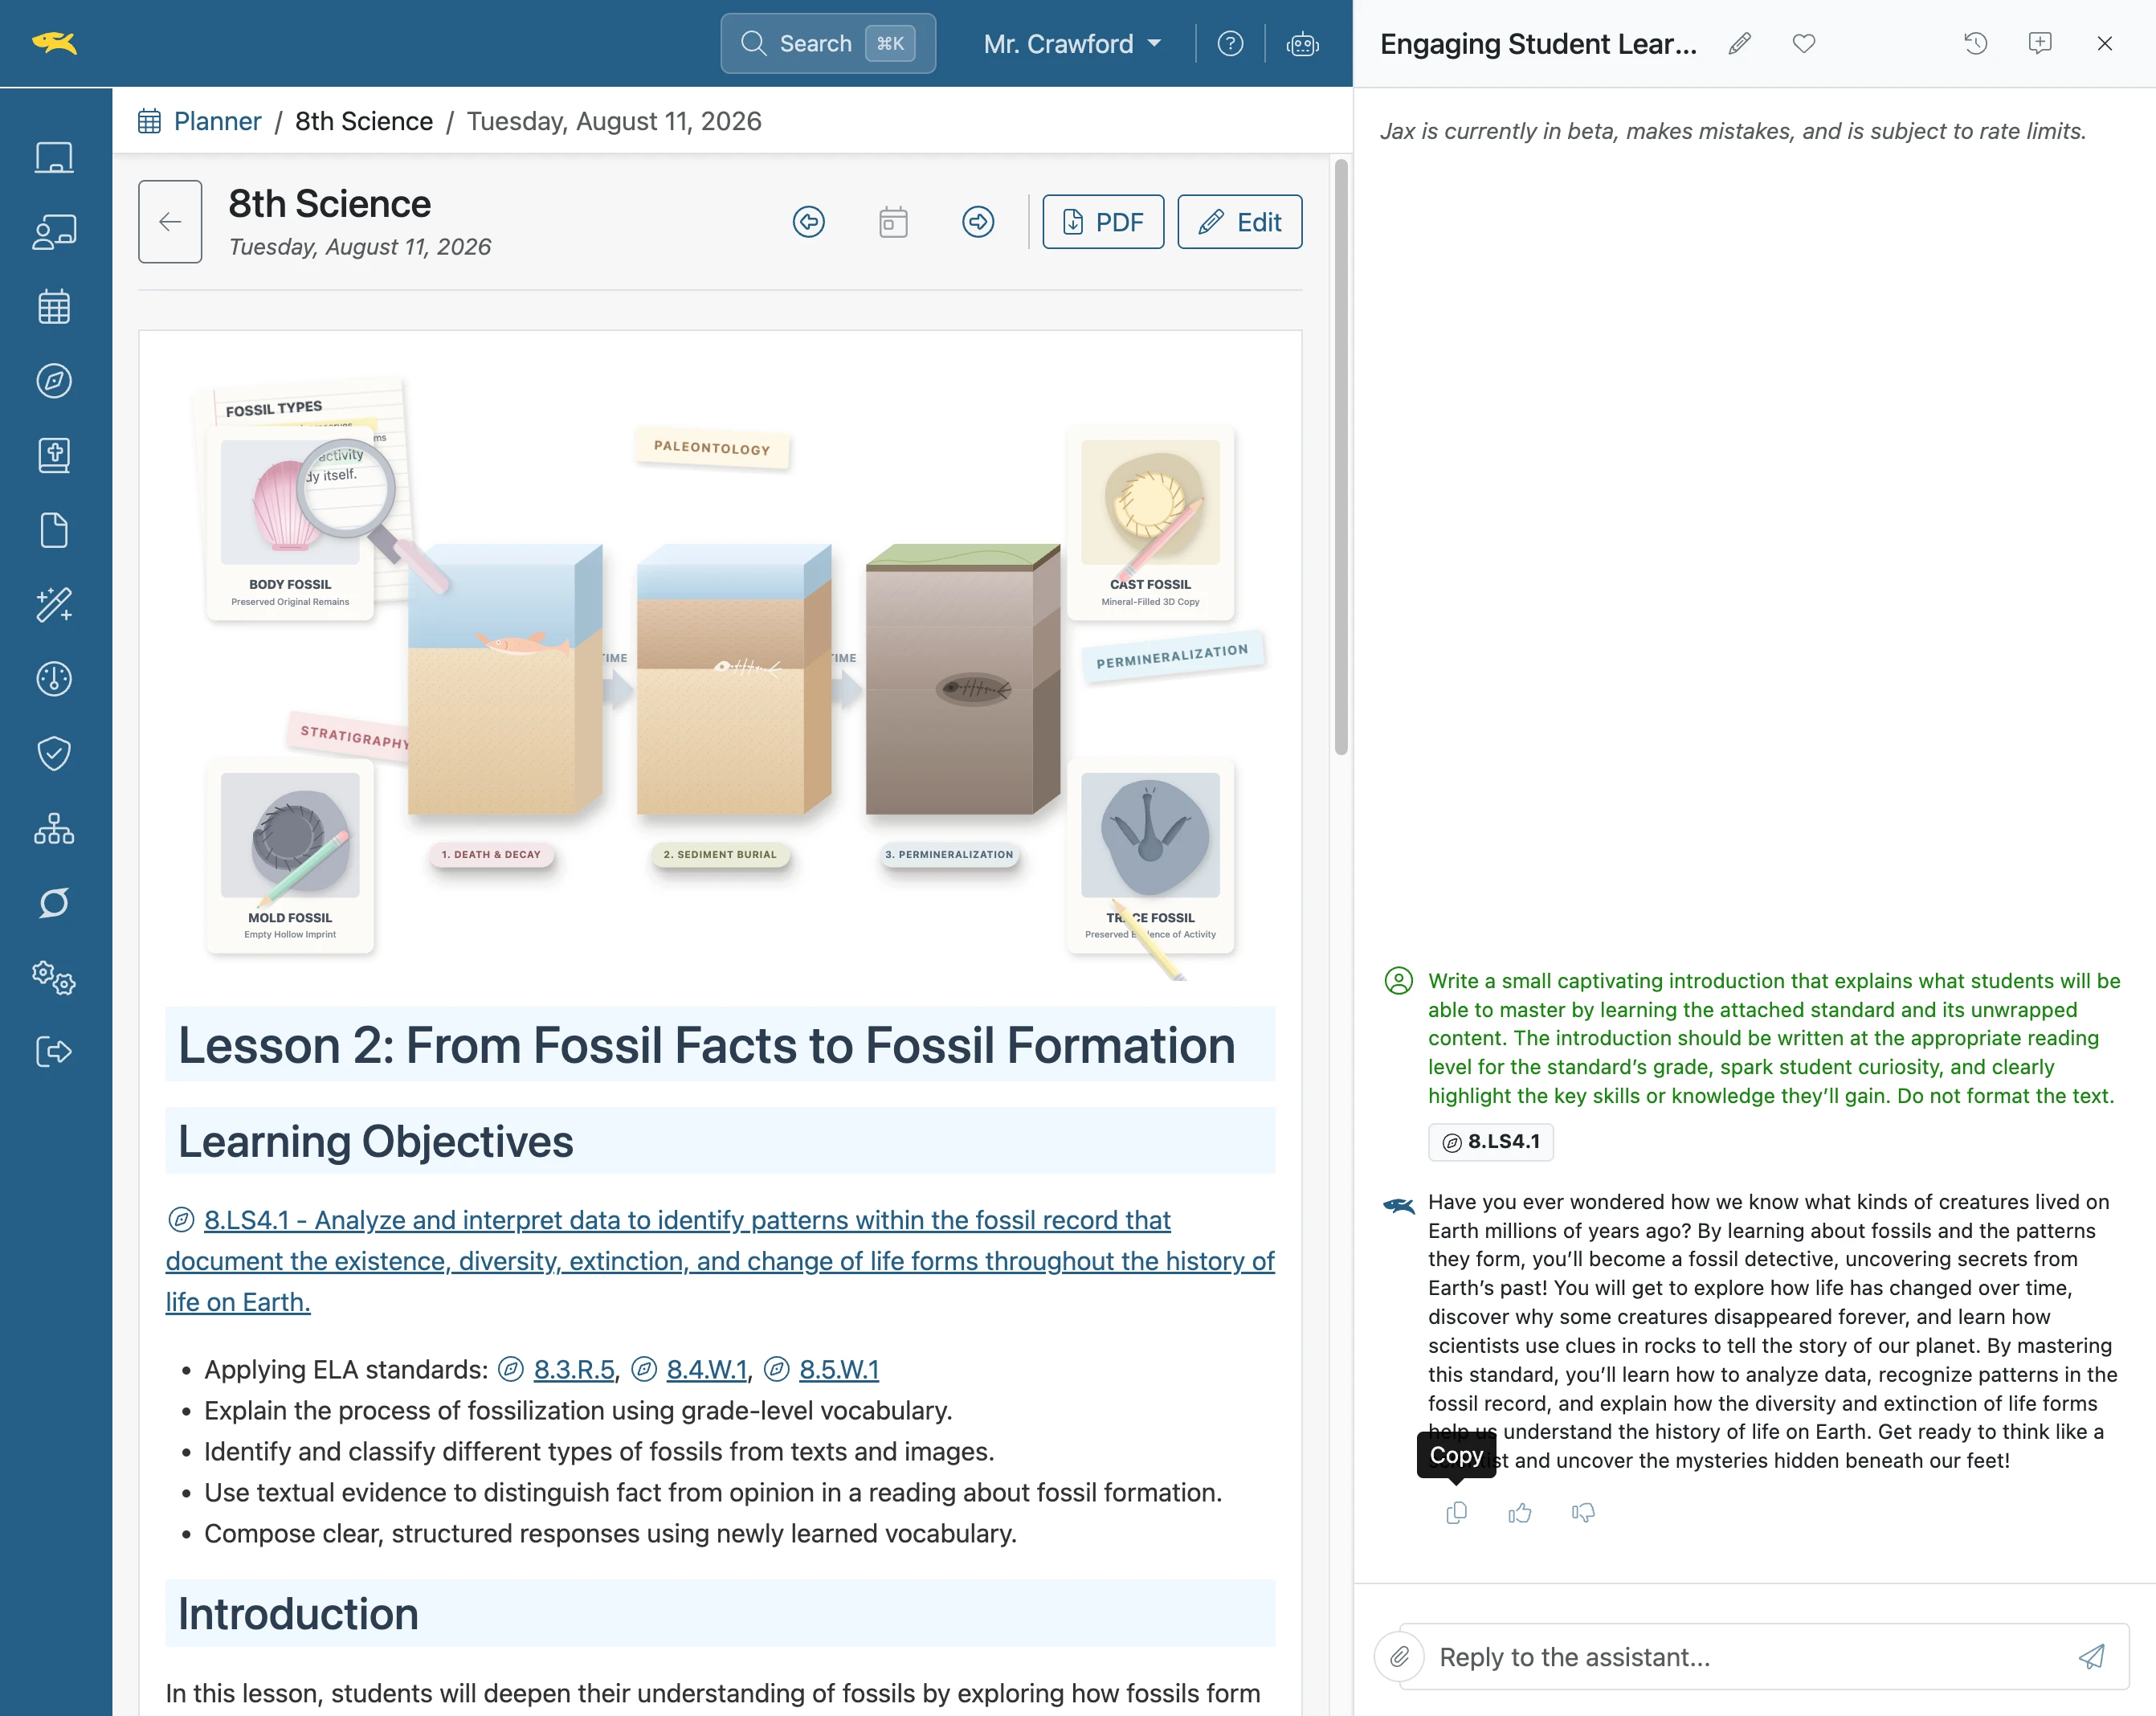
Close Jax
- 14
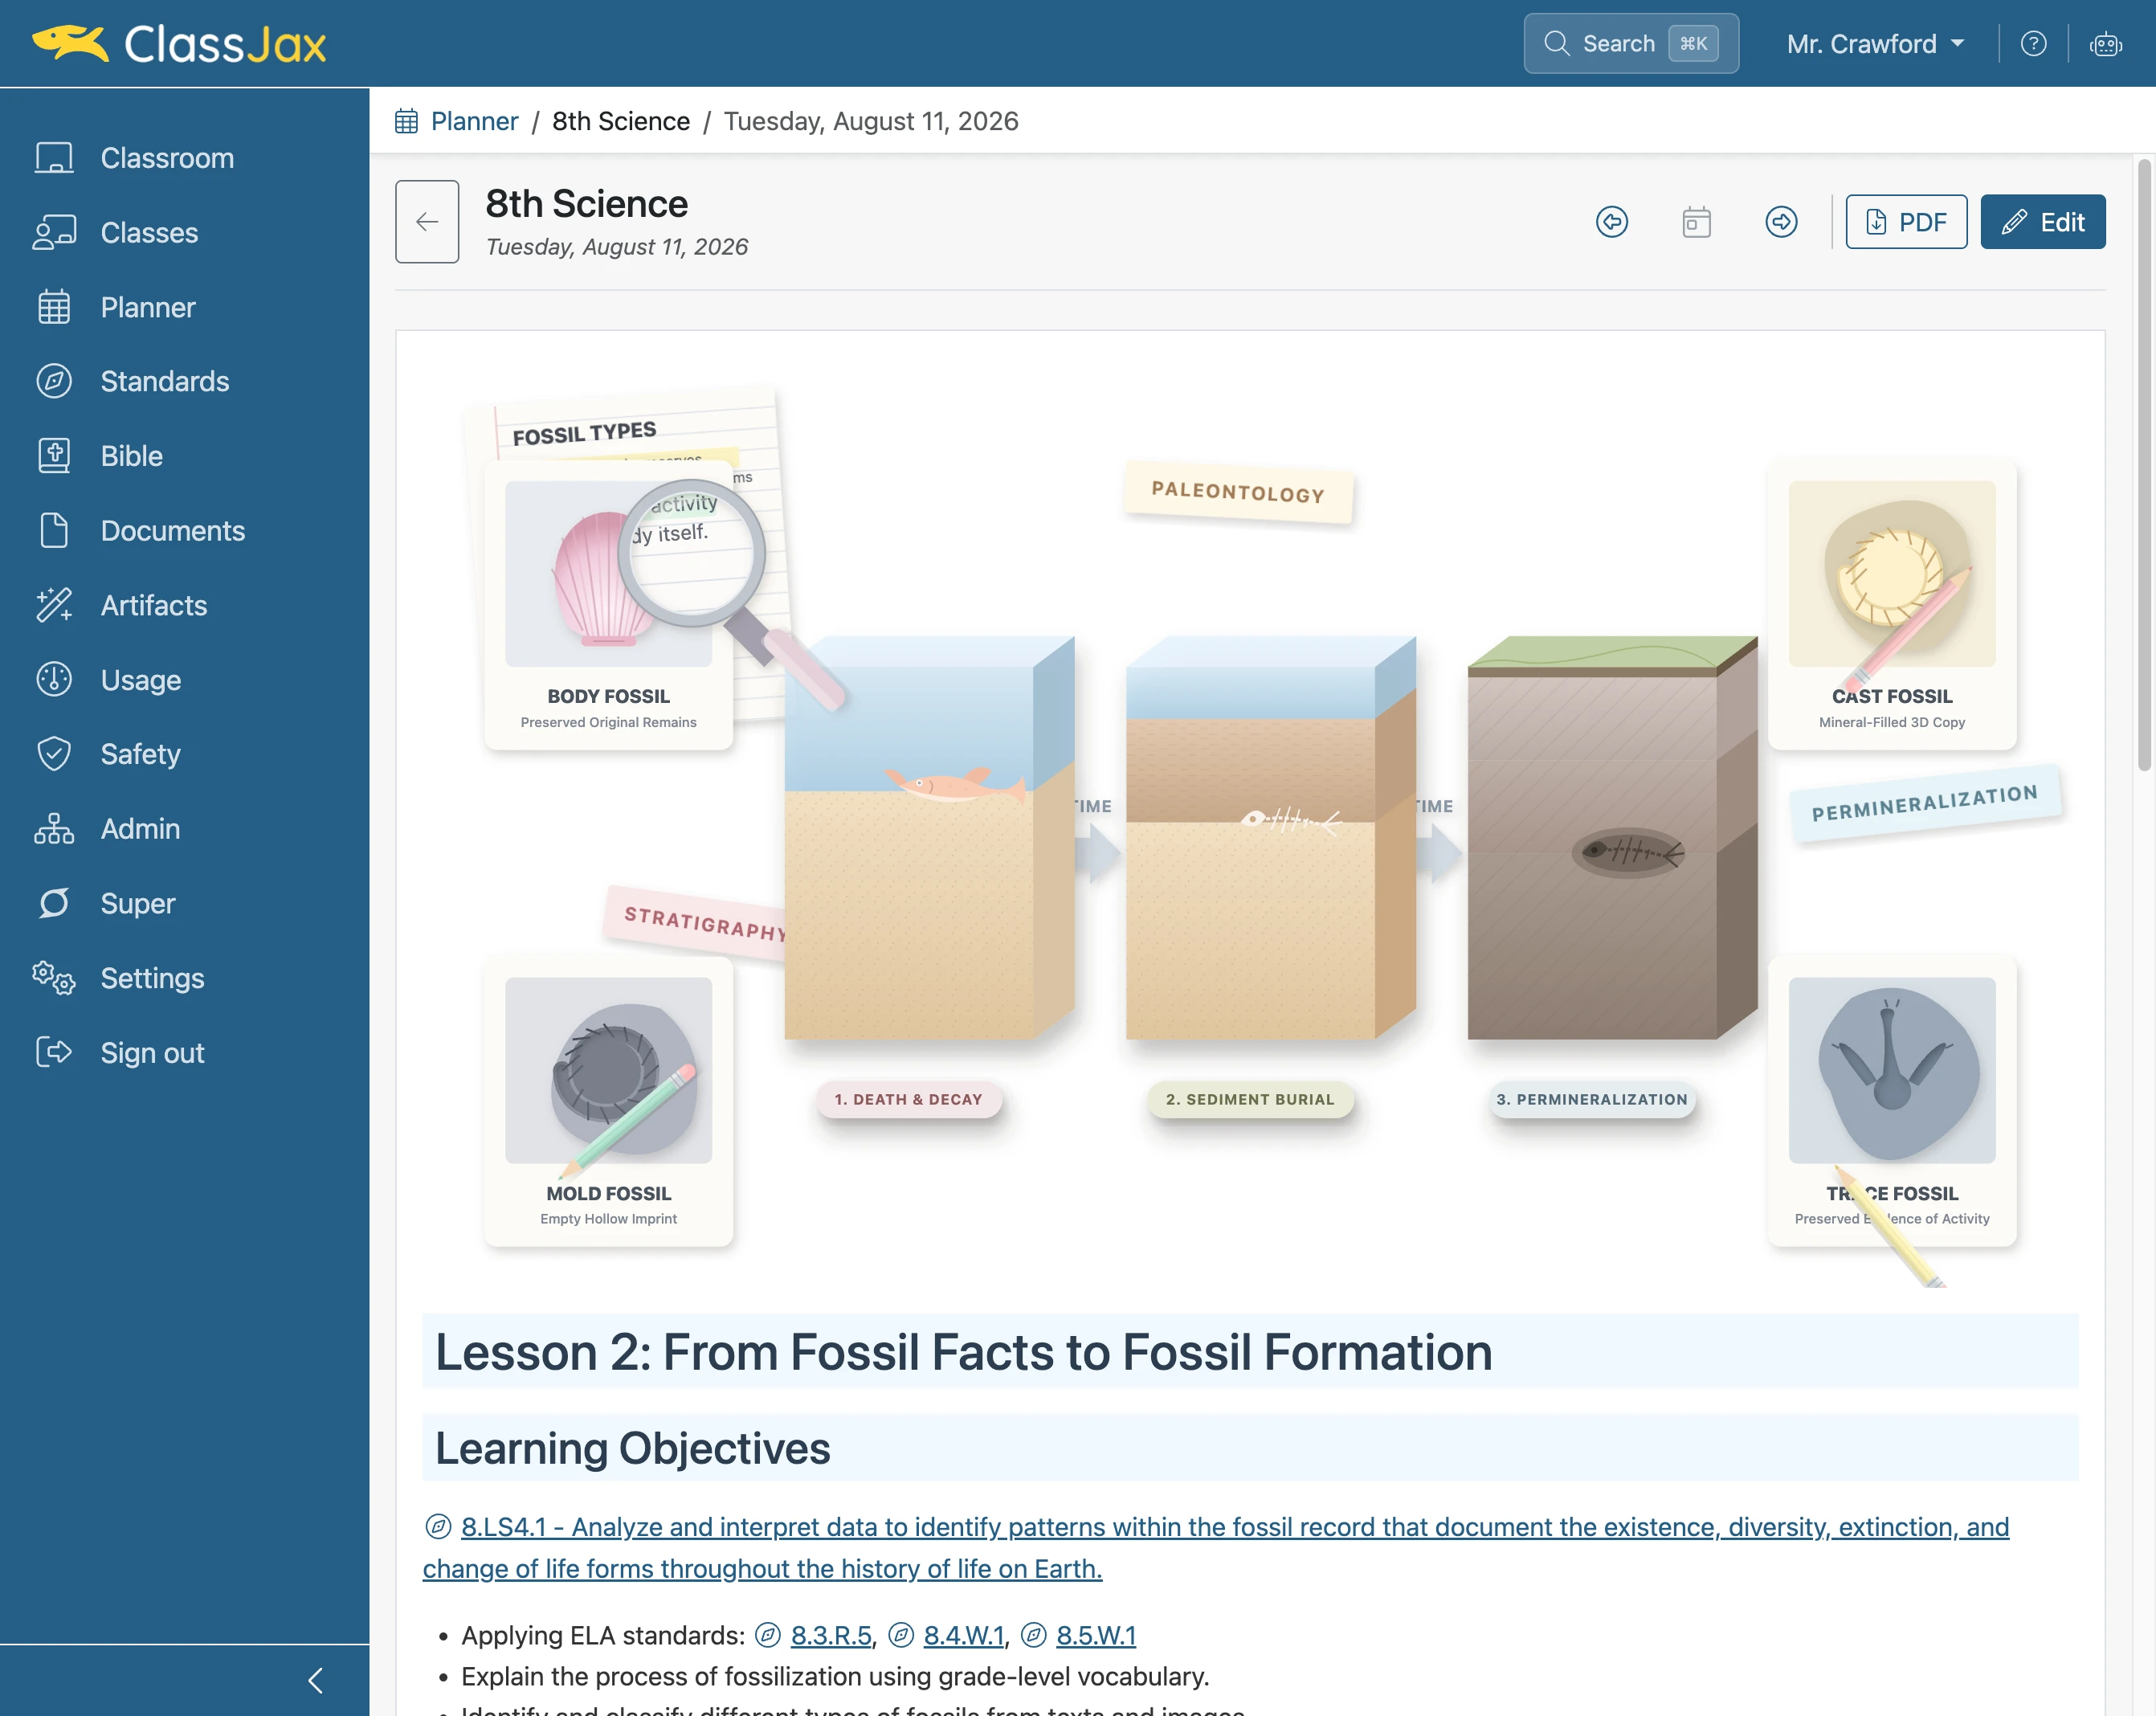
Click 'Edit'
Edit the lesson plan.
- 15
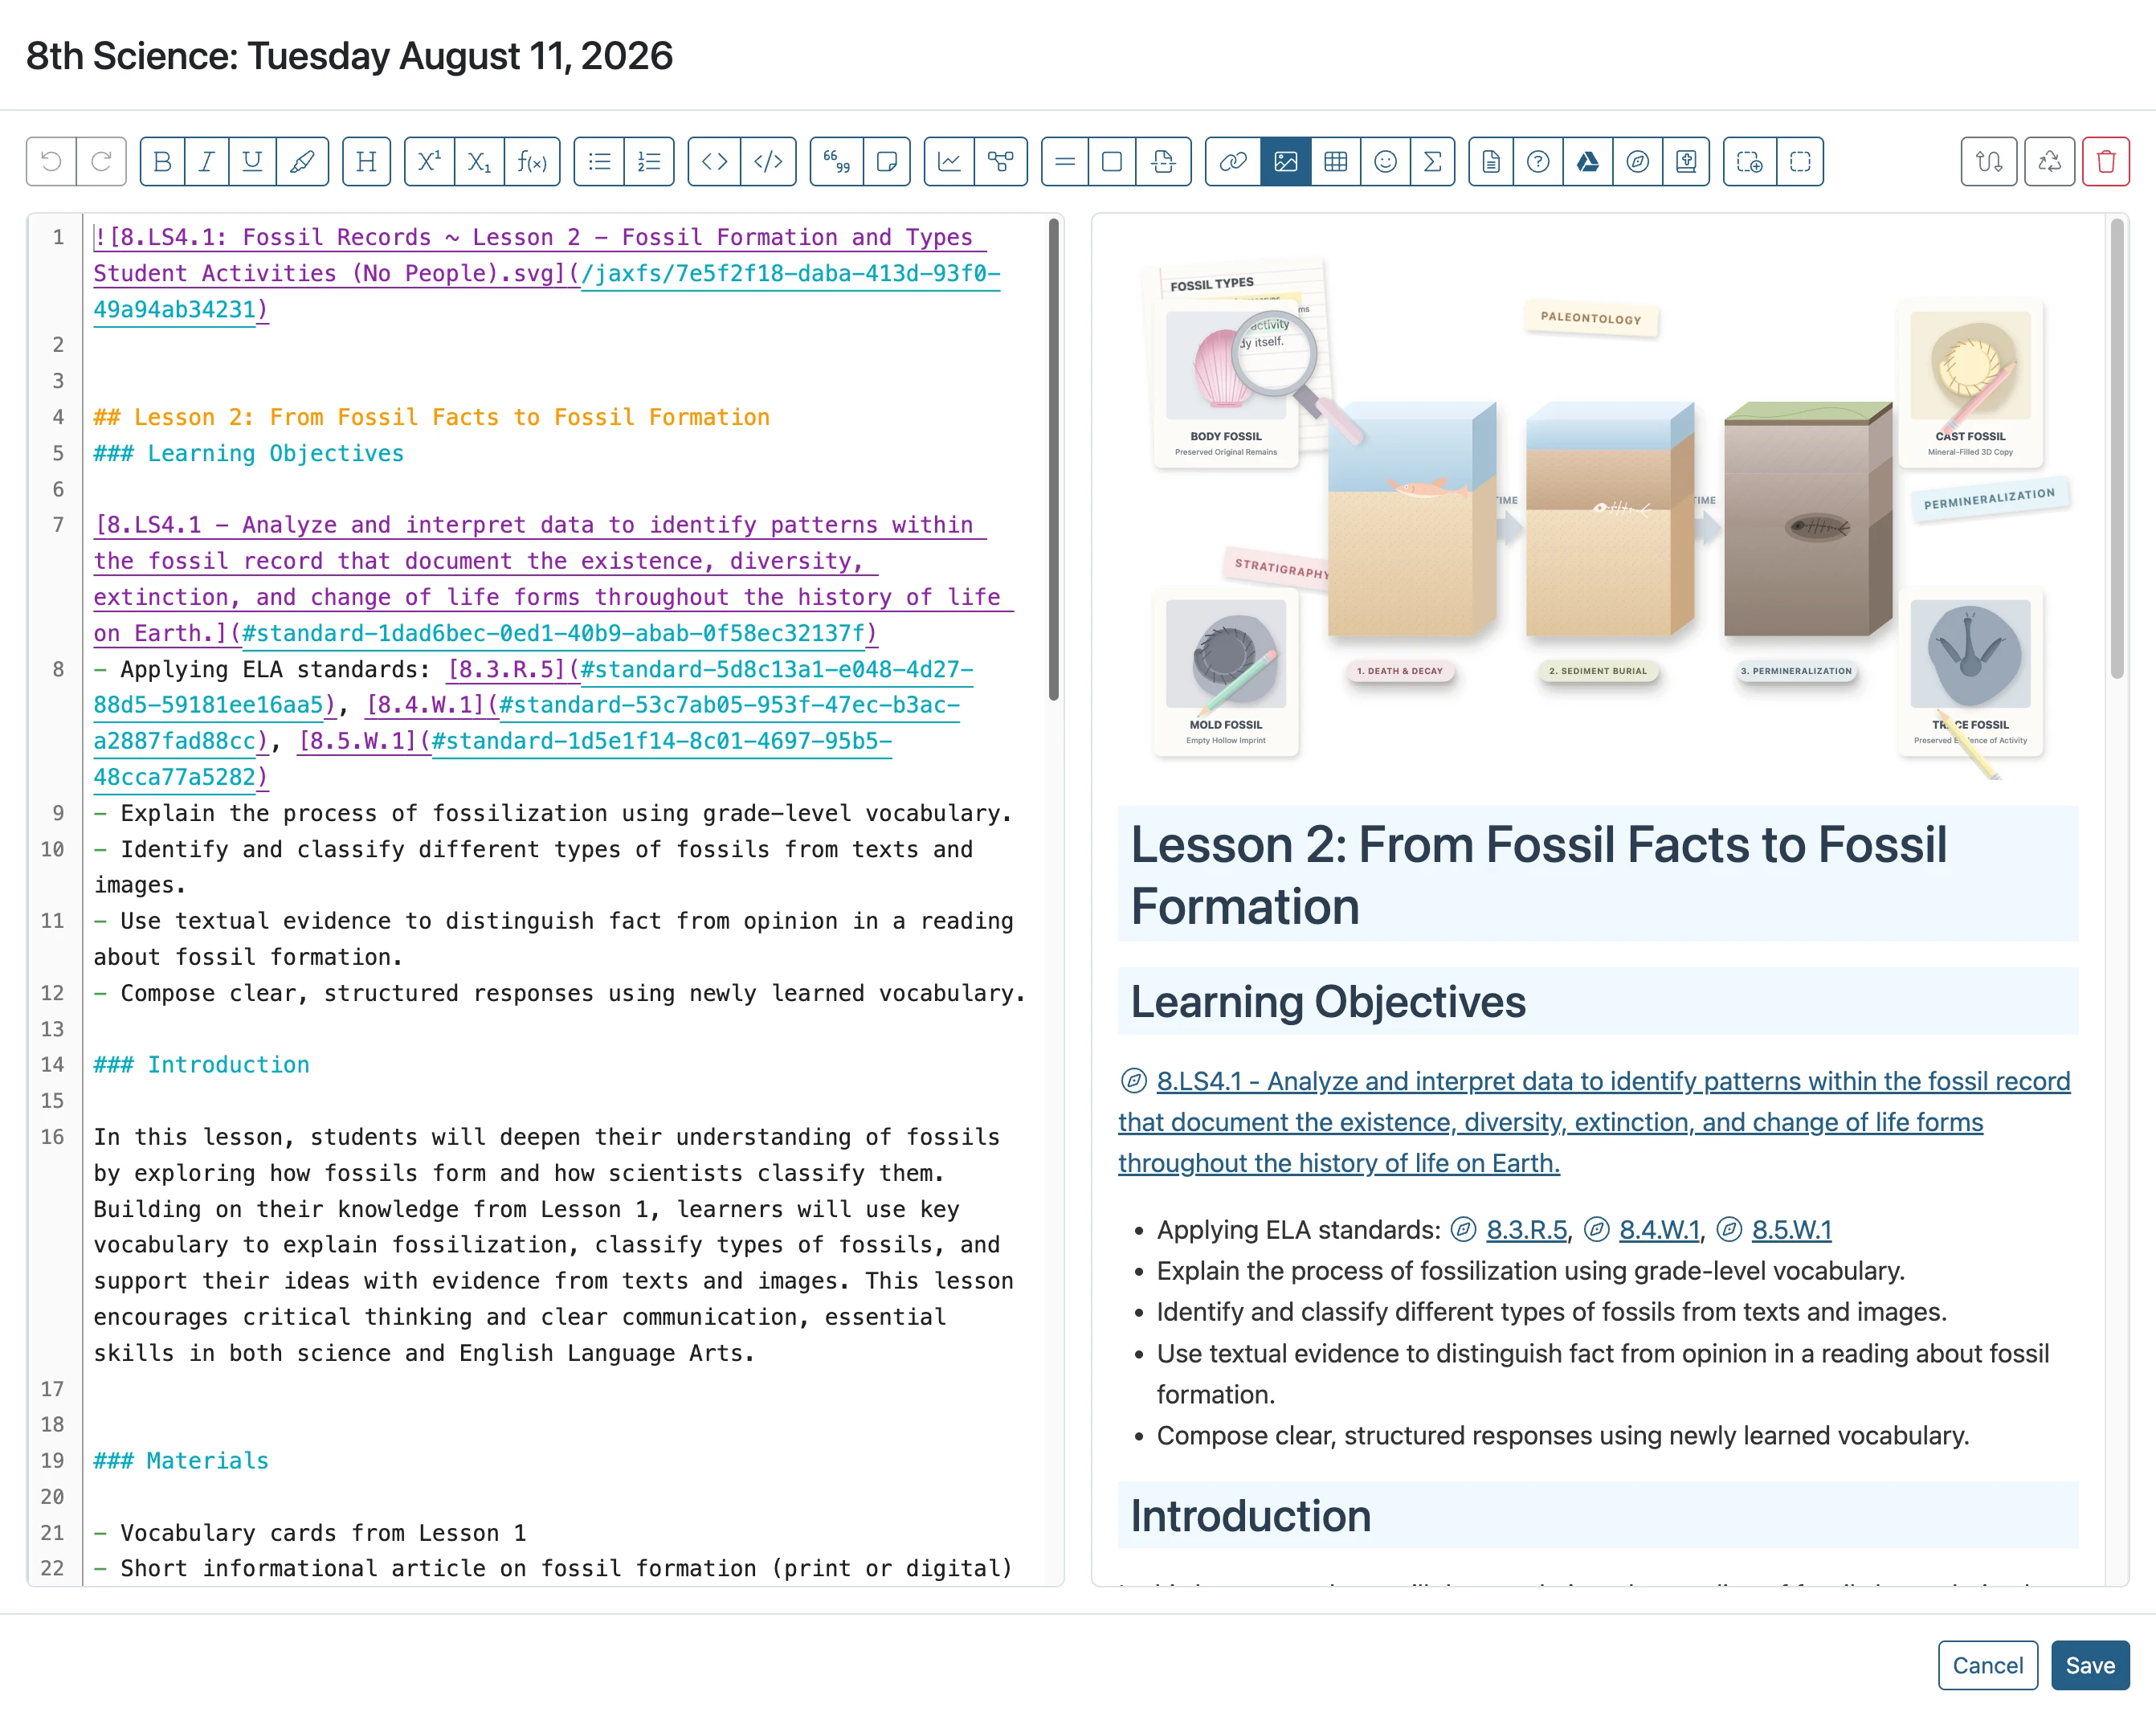
Click location to paste the text
- 16
Click 'Save'
- 17
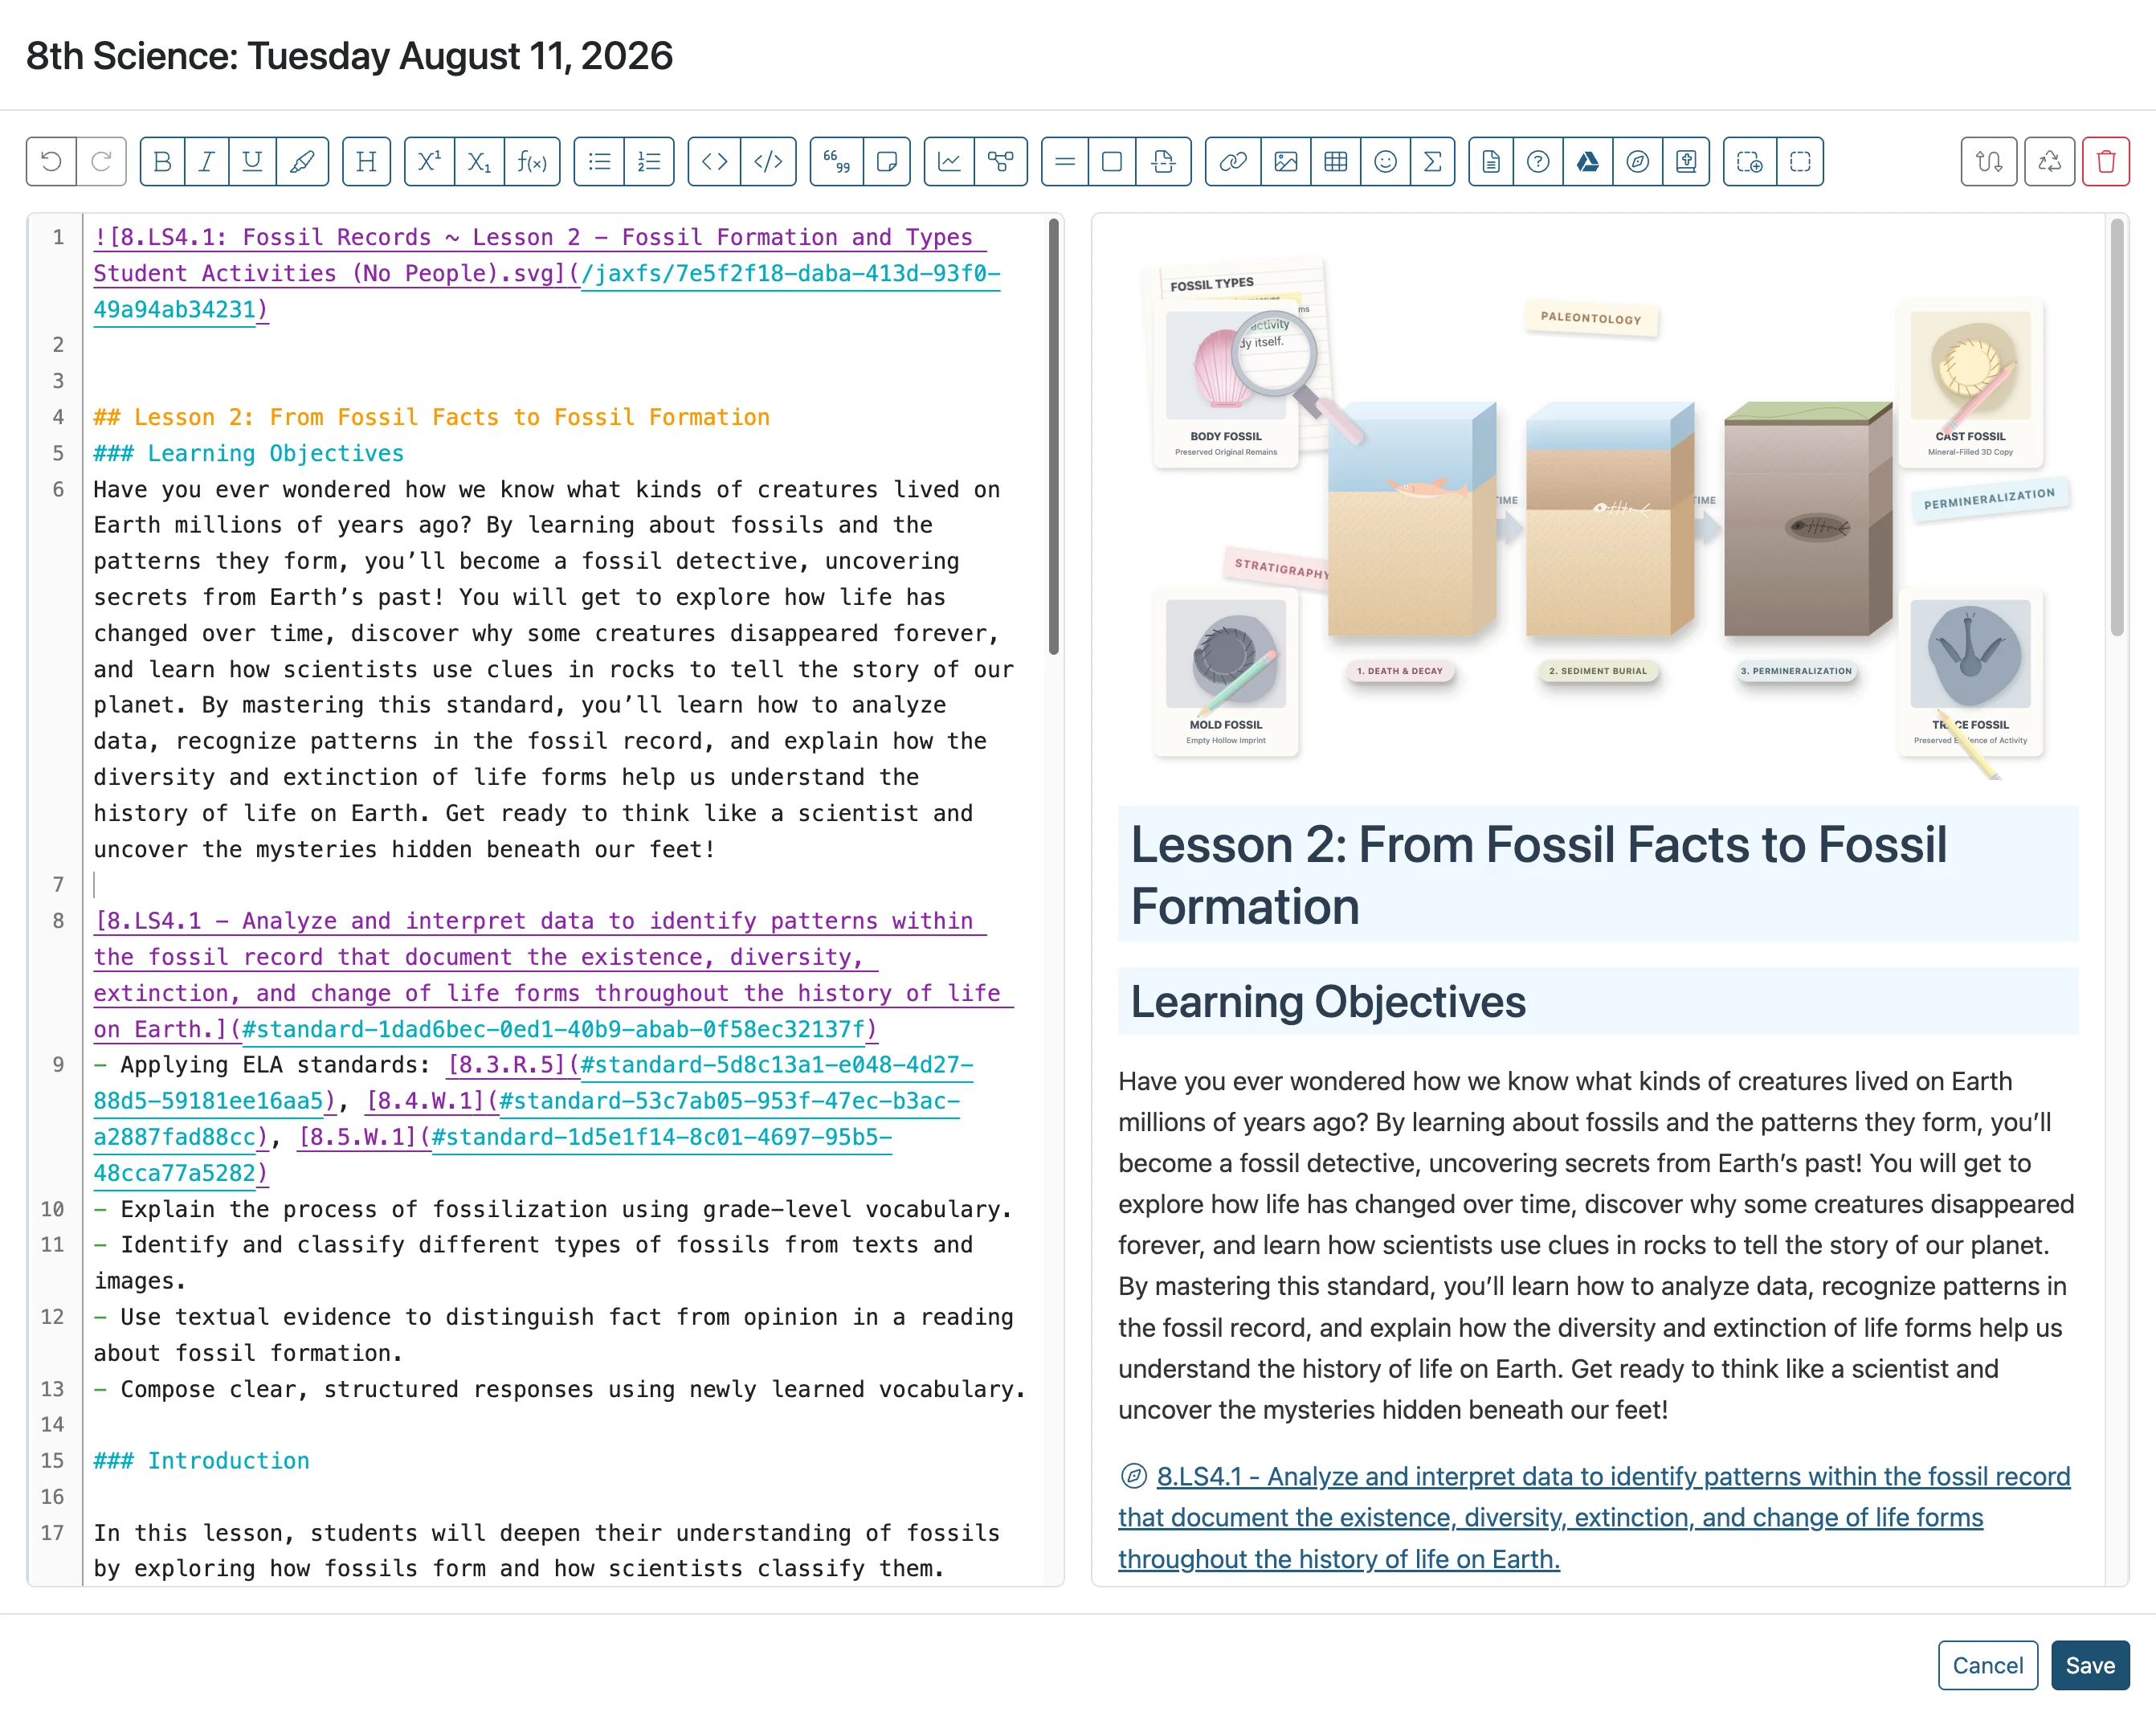
The Jax-generated text appears in the lesson plan