
Create a Planner
ClassJax makes lesson planning simple and organized. This guide will show you how to quickly set up and customize your own lesson planner, helping you efficiently manage and track your teaching plans all in one place.
Plan smarter this year
ClassJax is free for teachers. No credit card required.
- 1
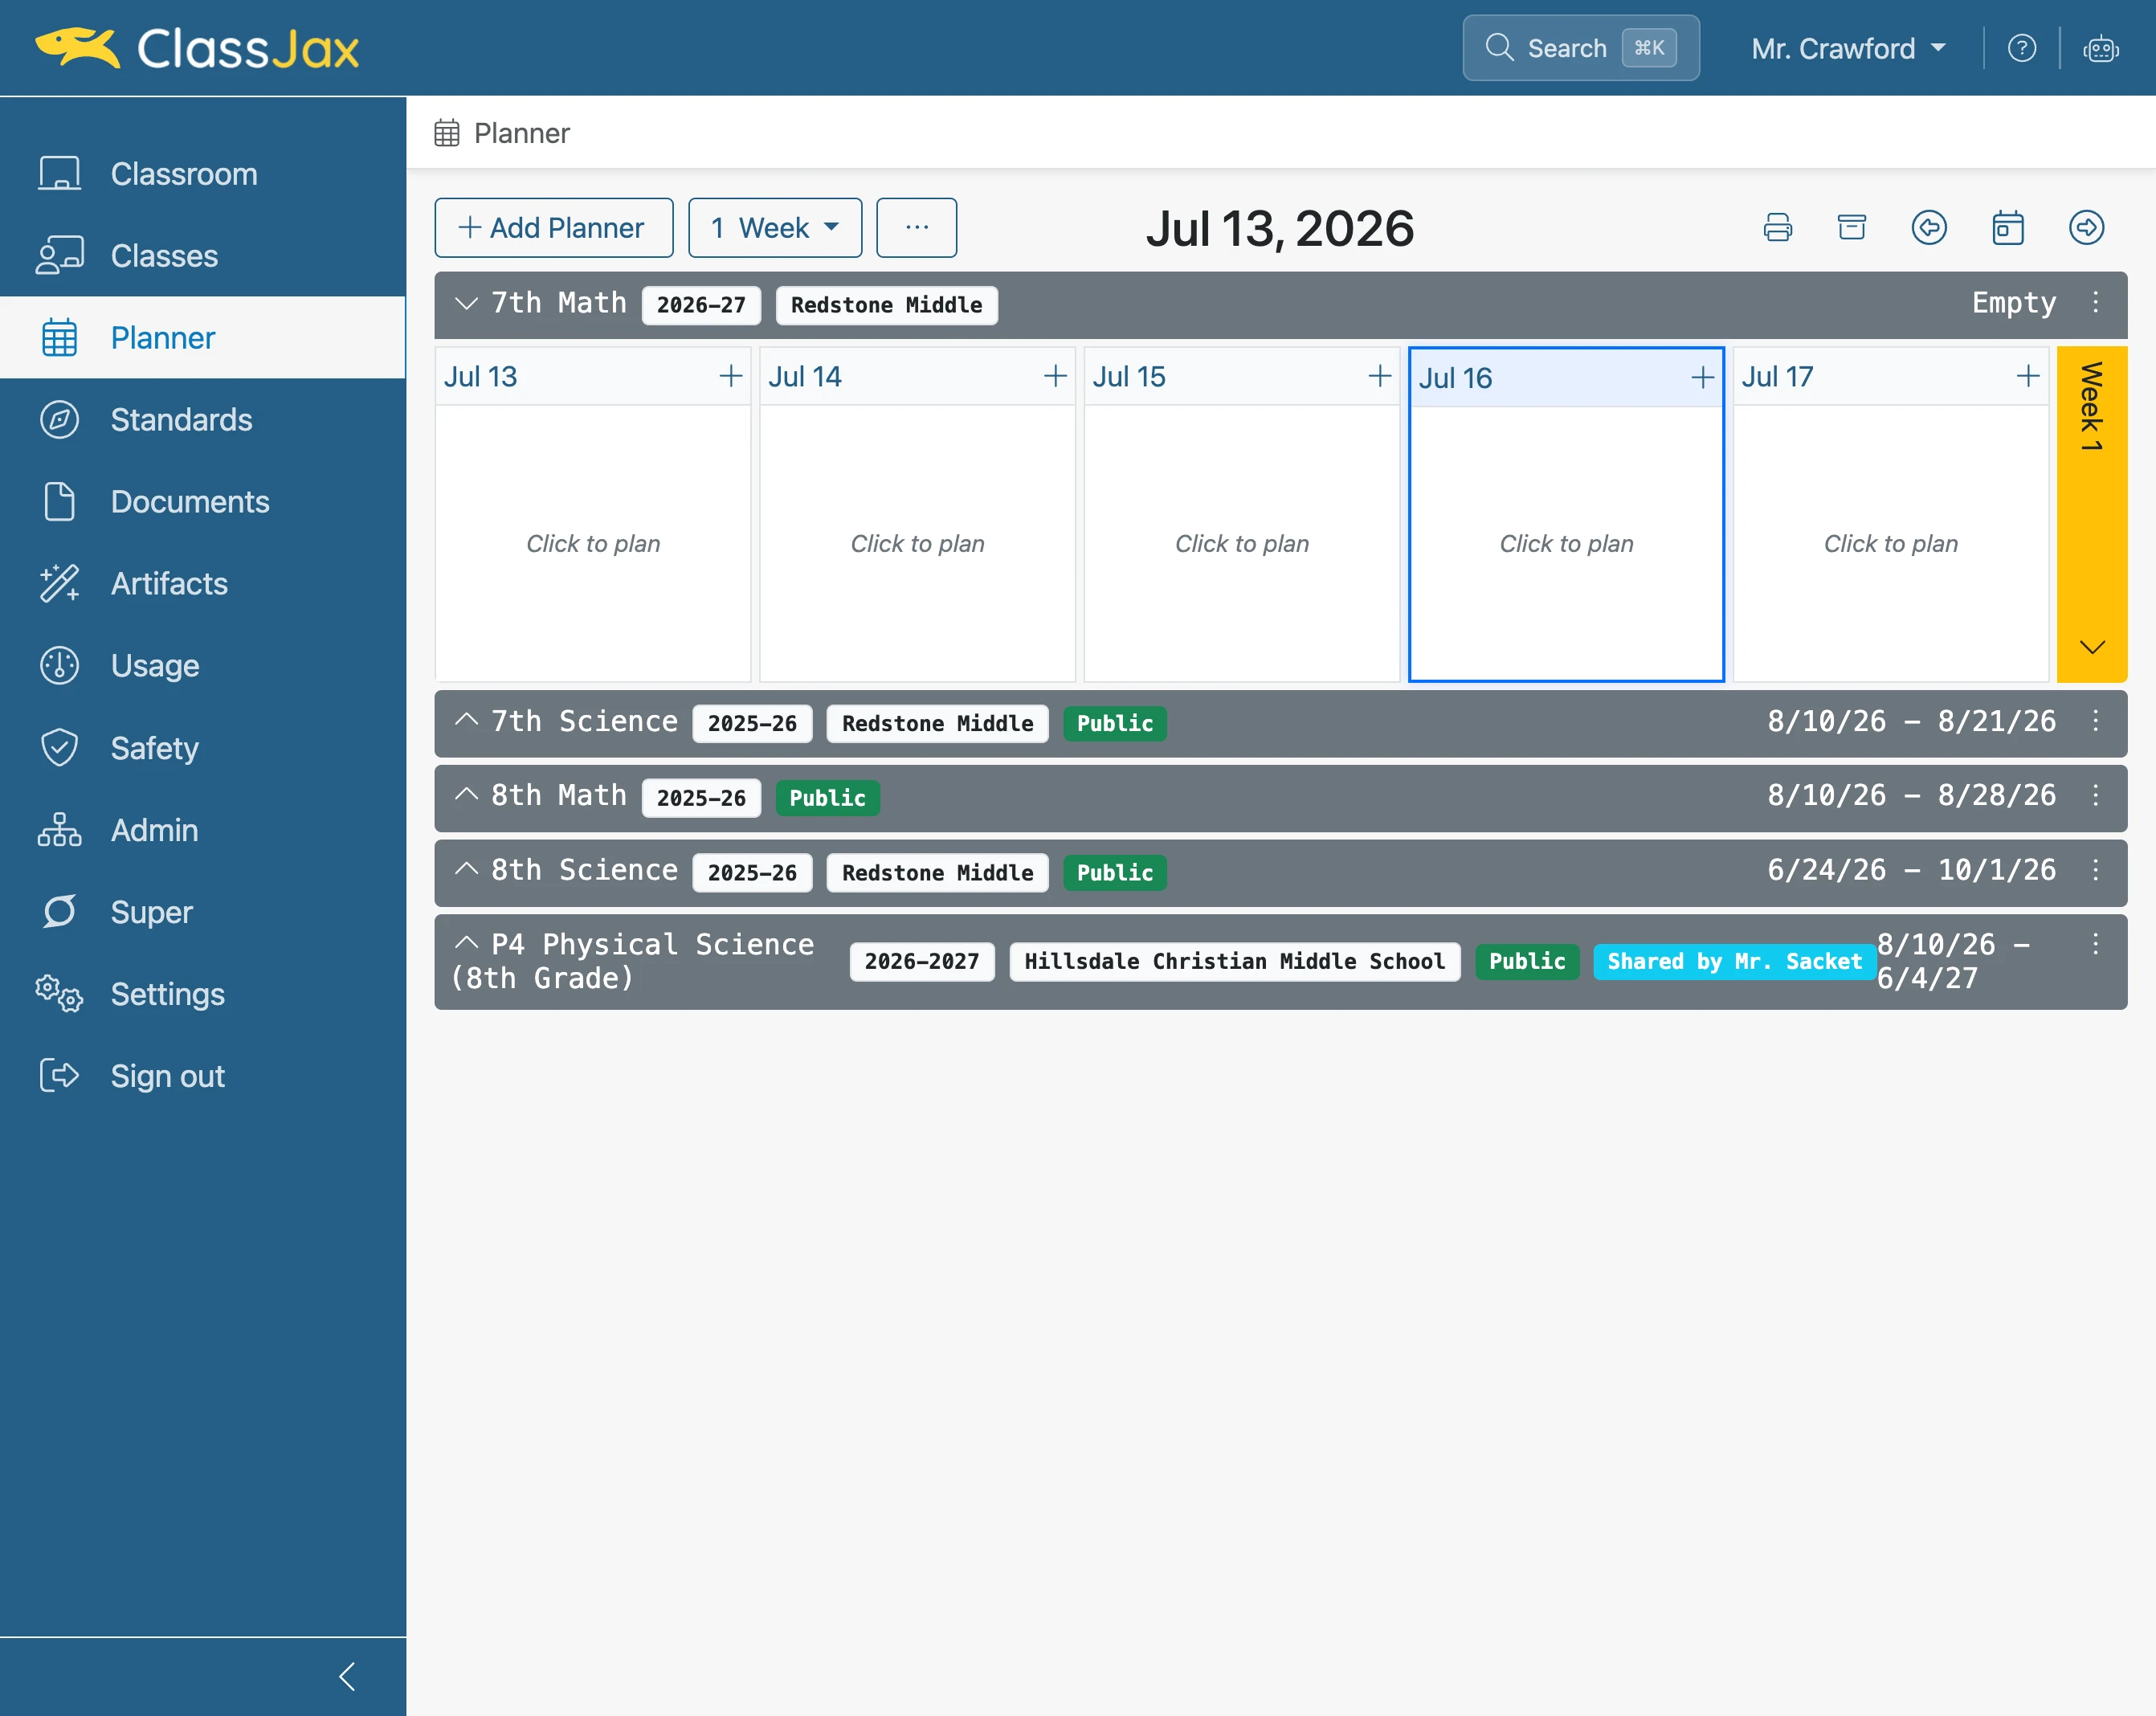
Click the 'Planner' link
- 2
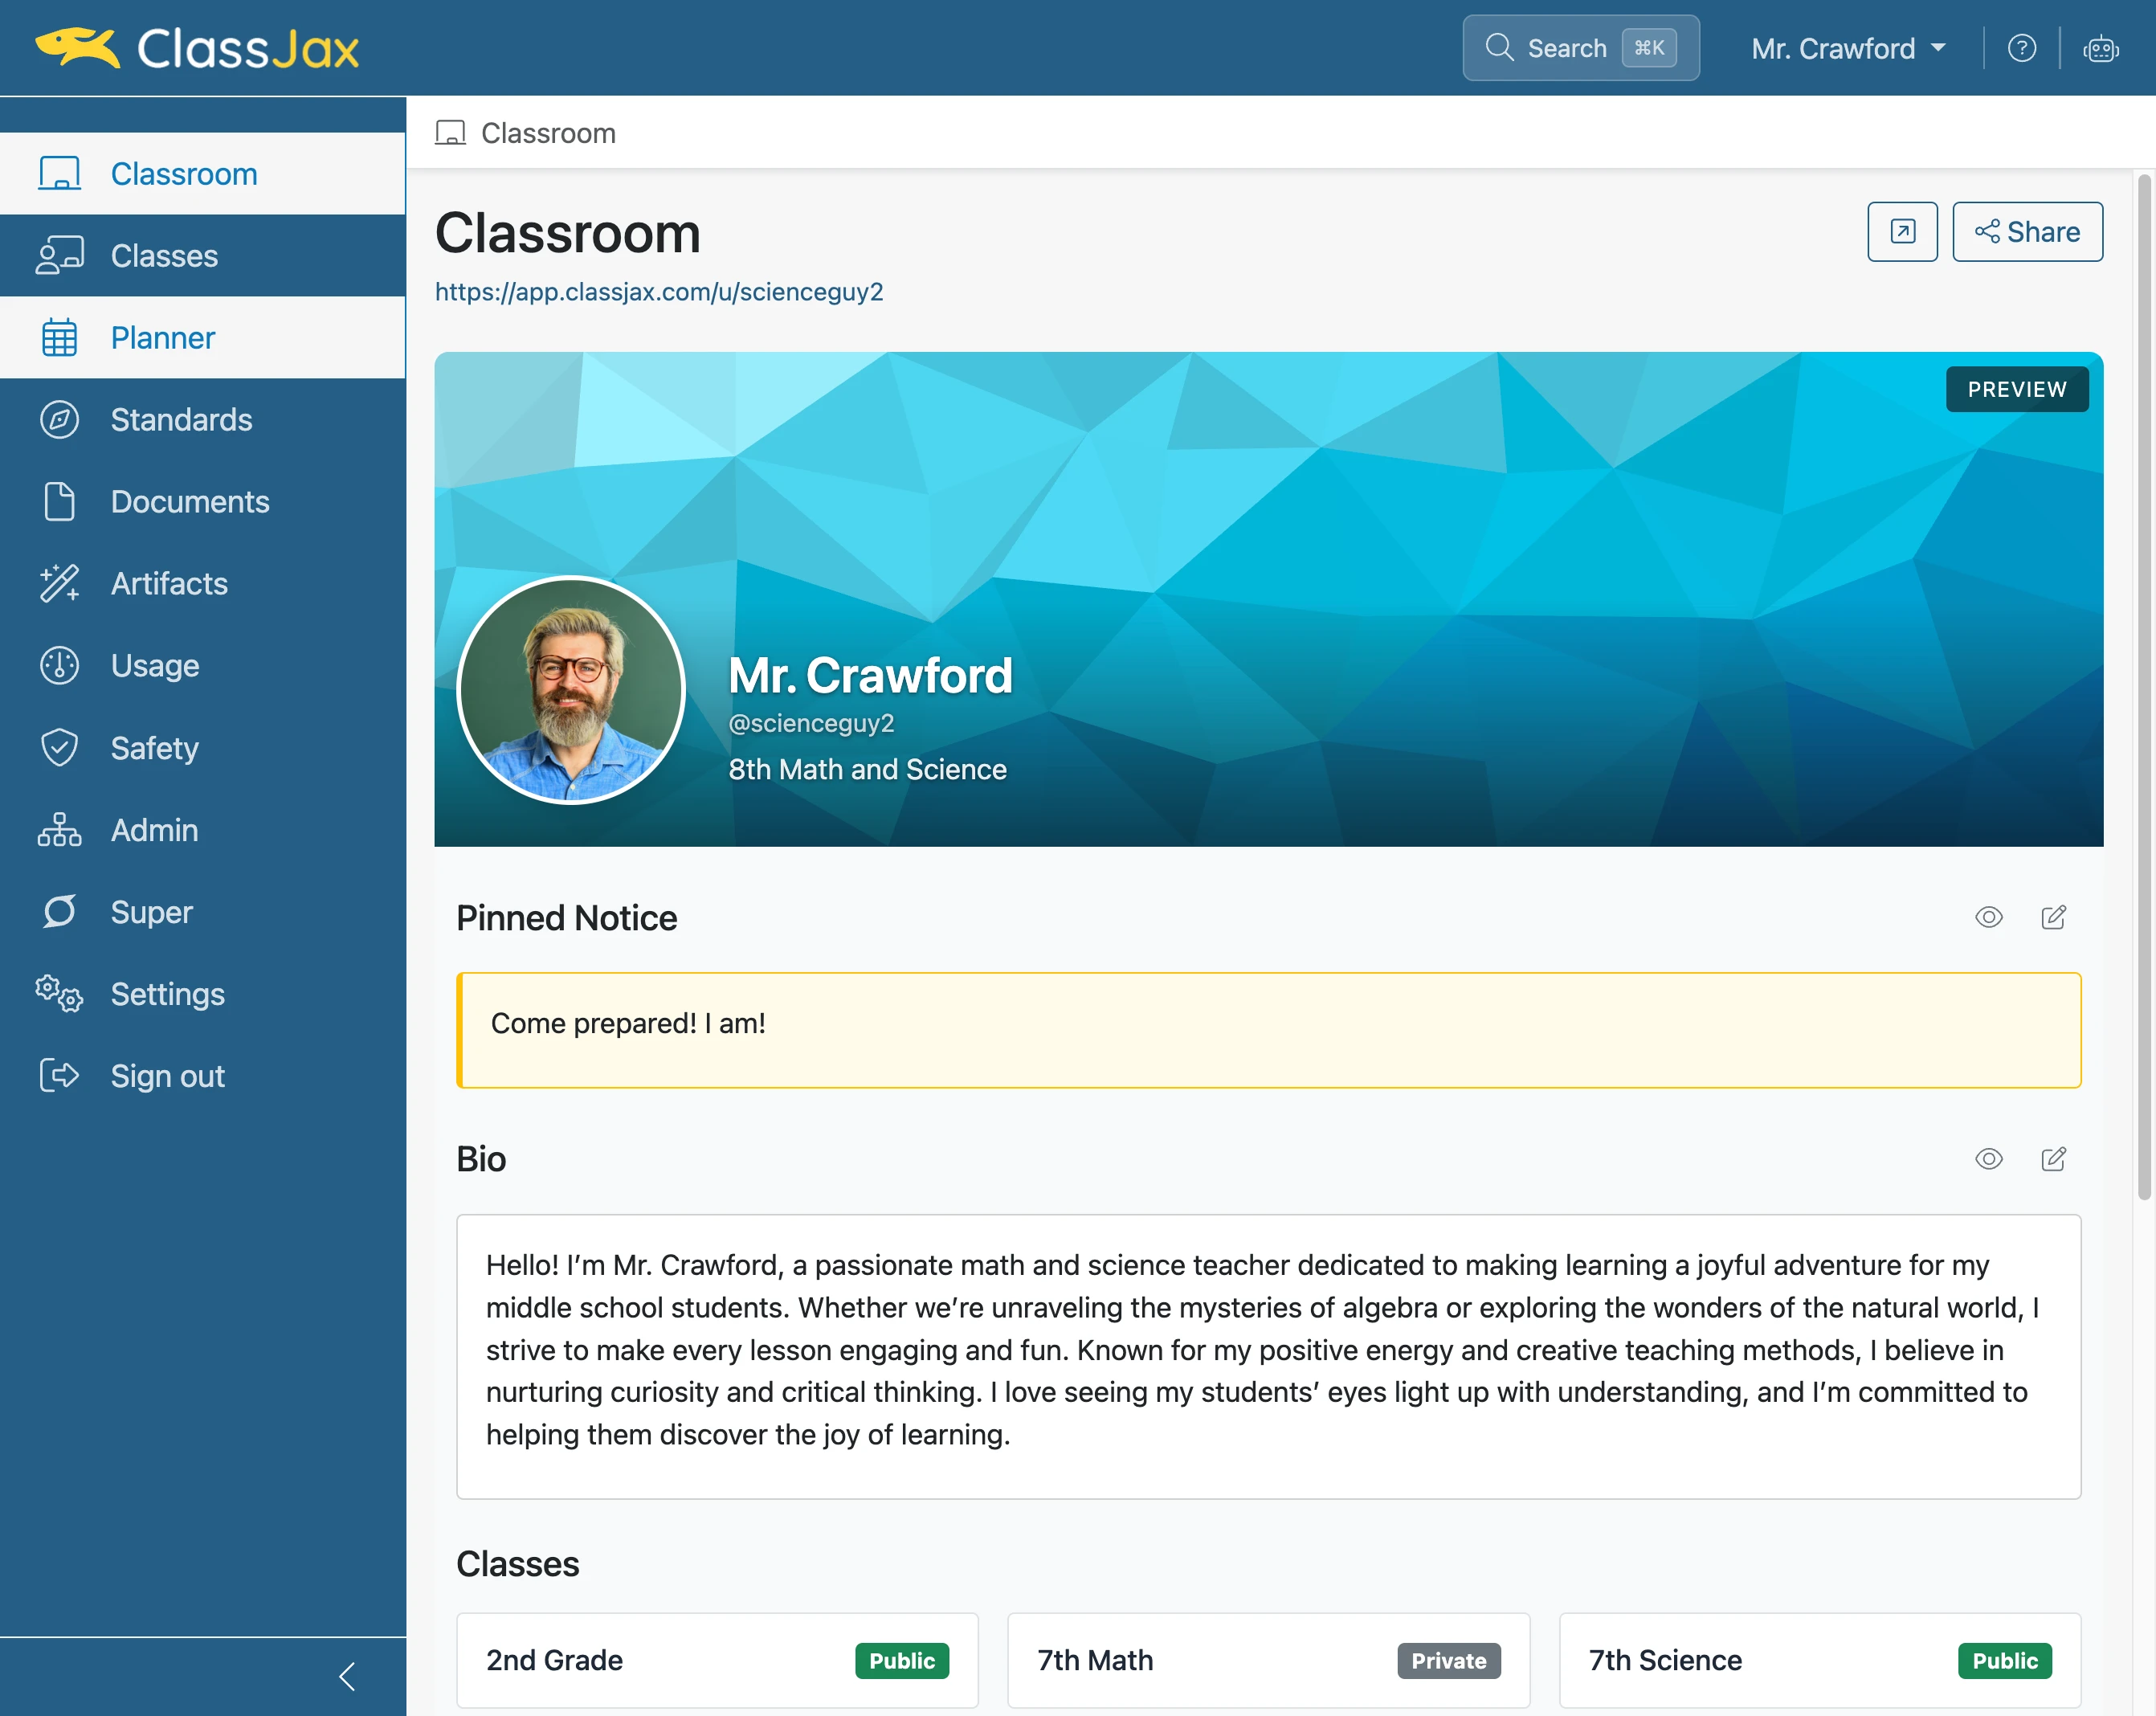
Click 'Add Planner'
- 3
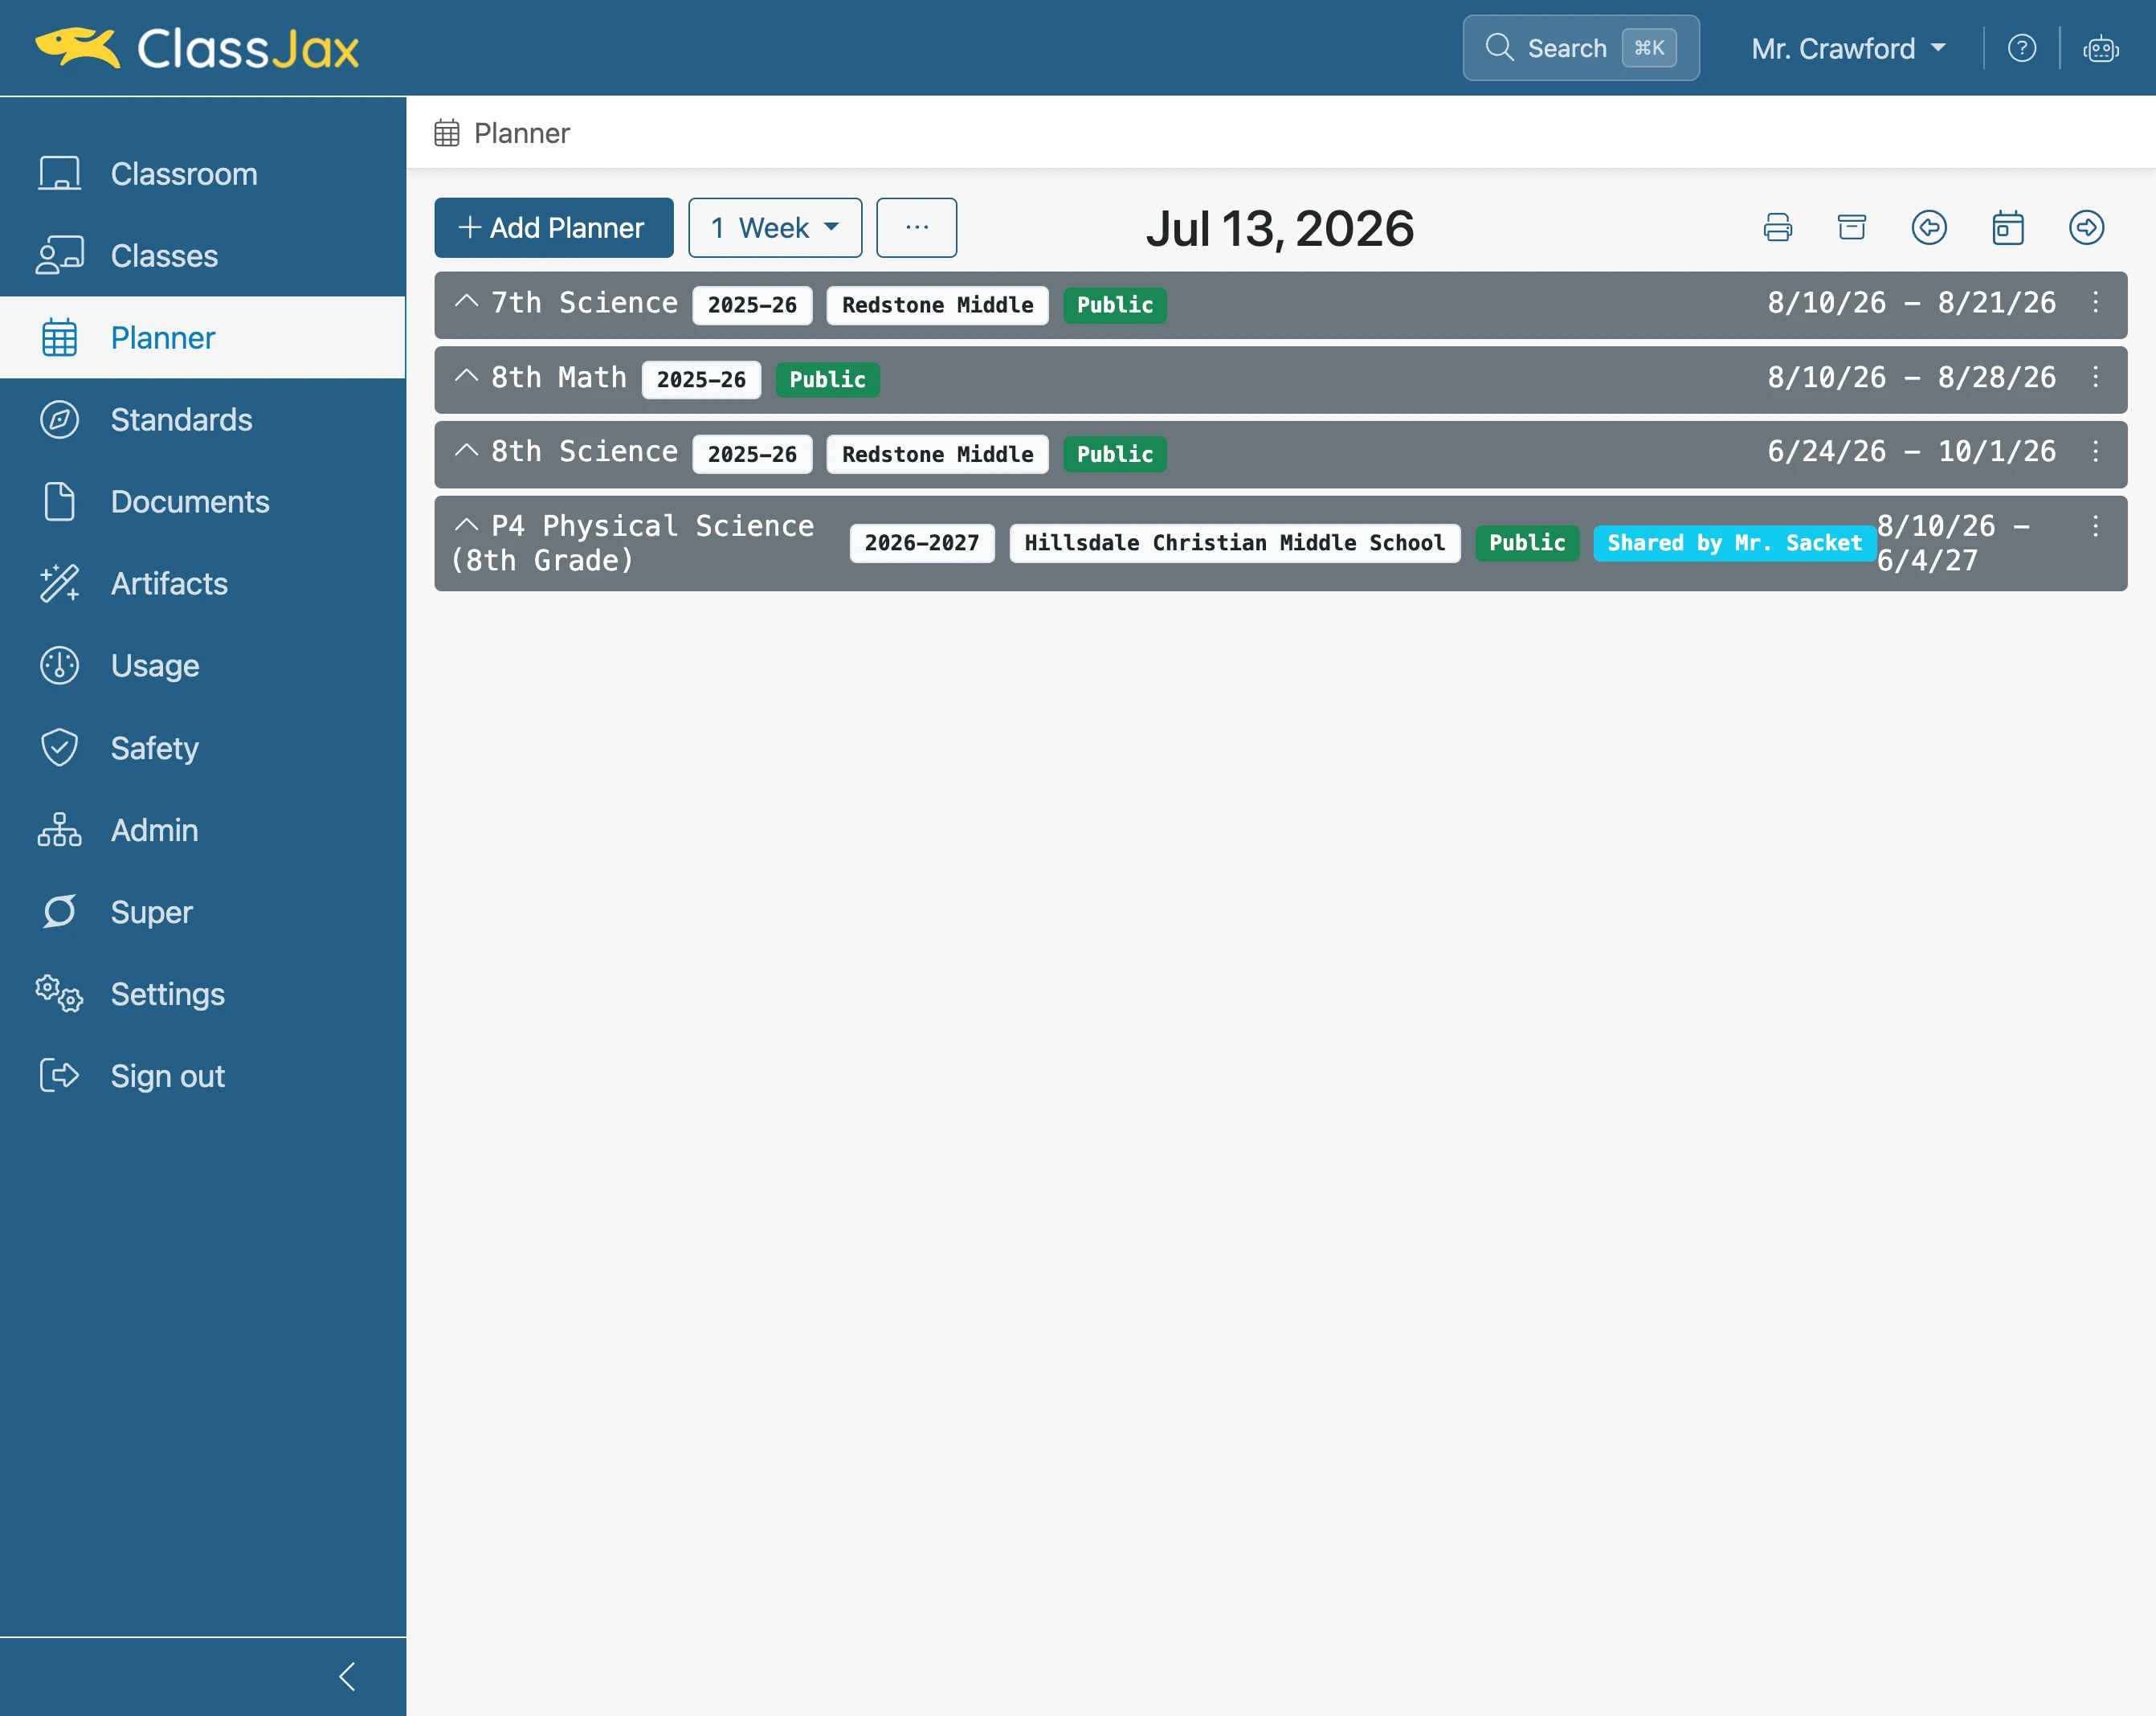
Click 'Blank planner'
- 4
Click '2nd Grade Math'
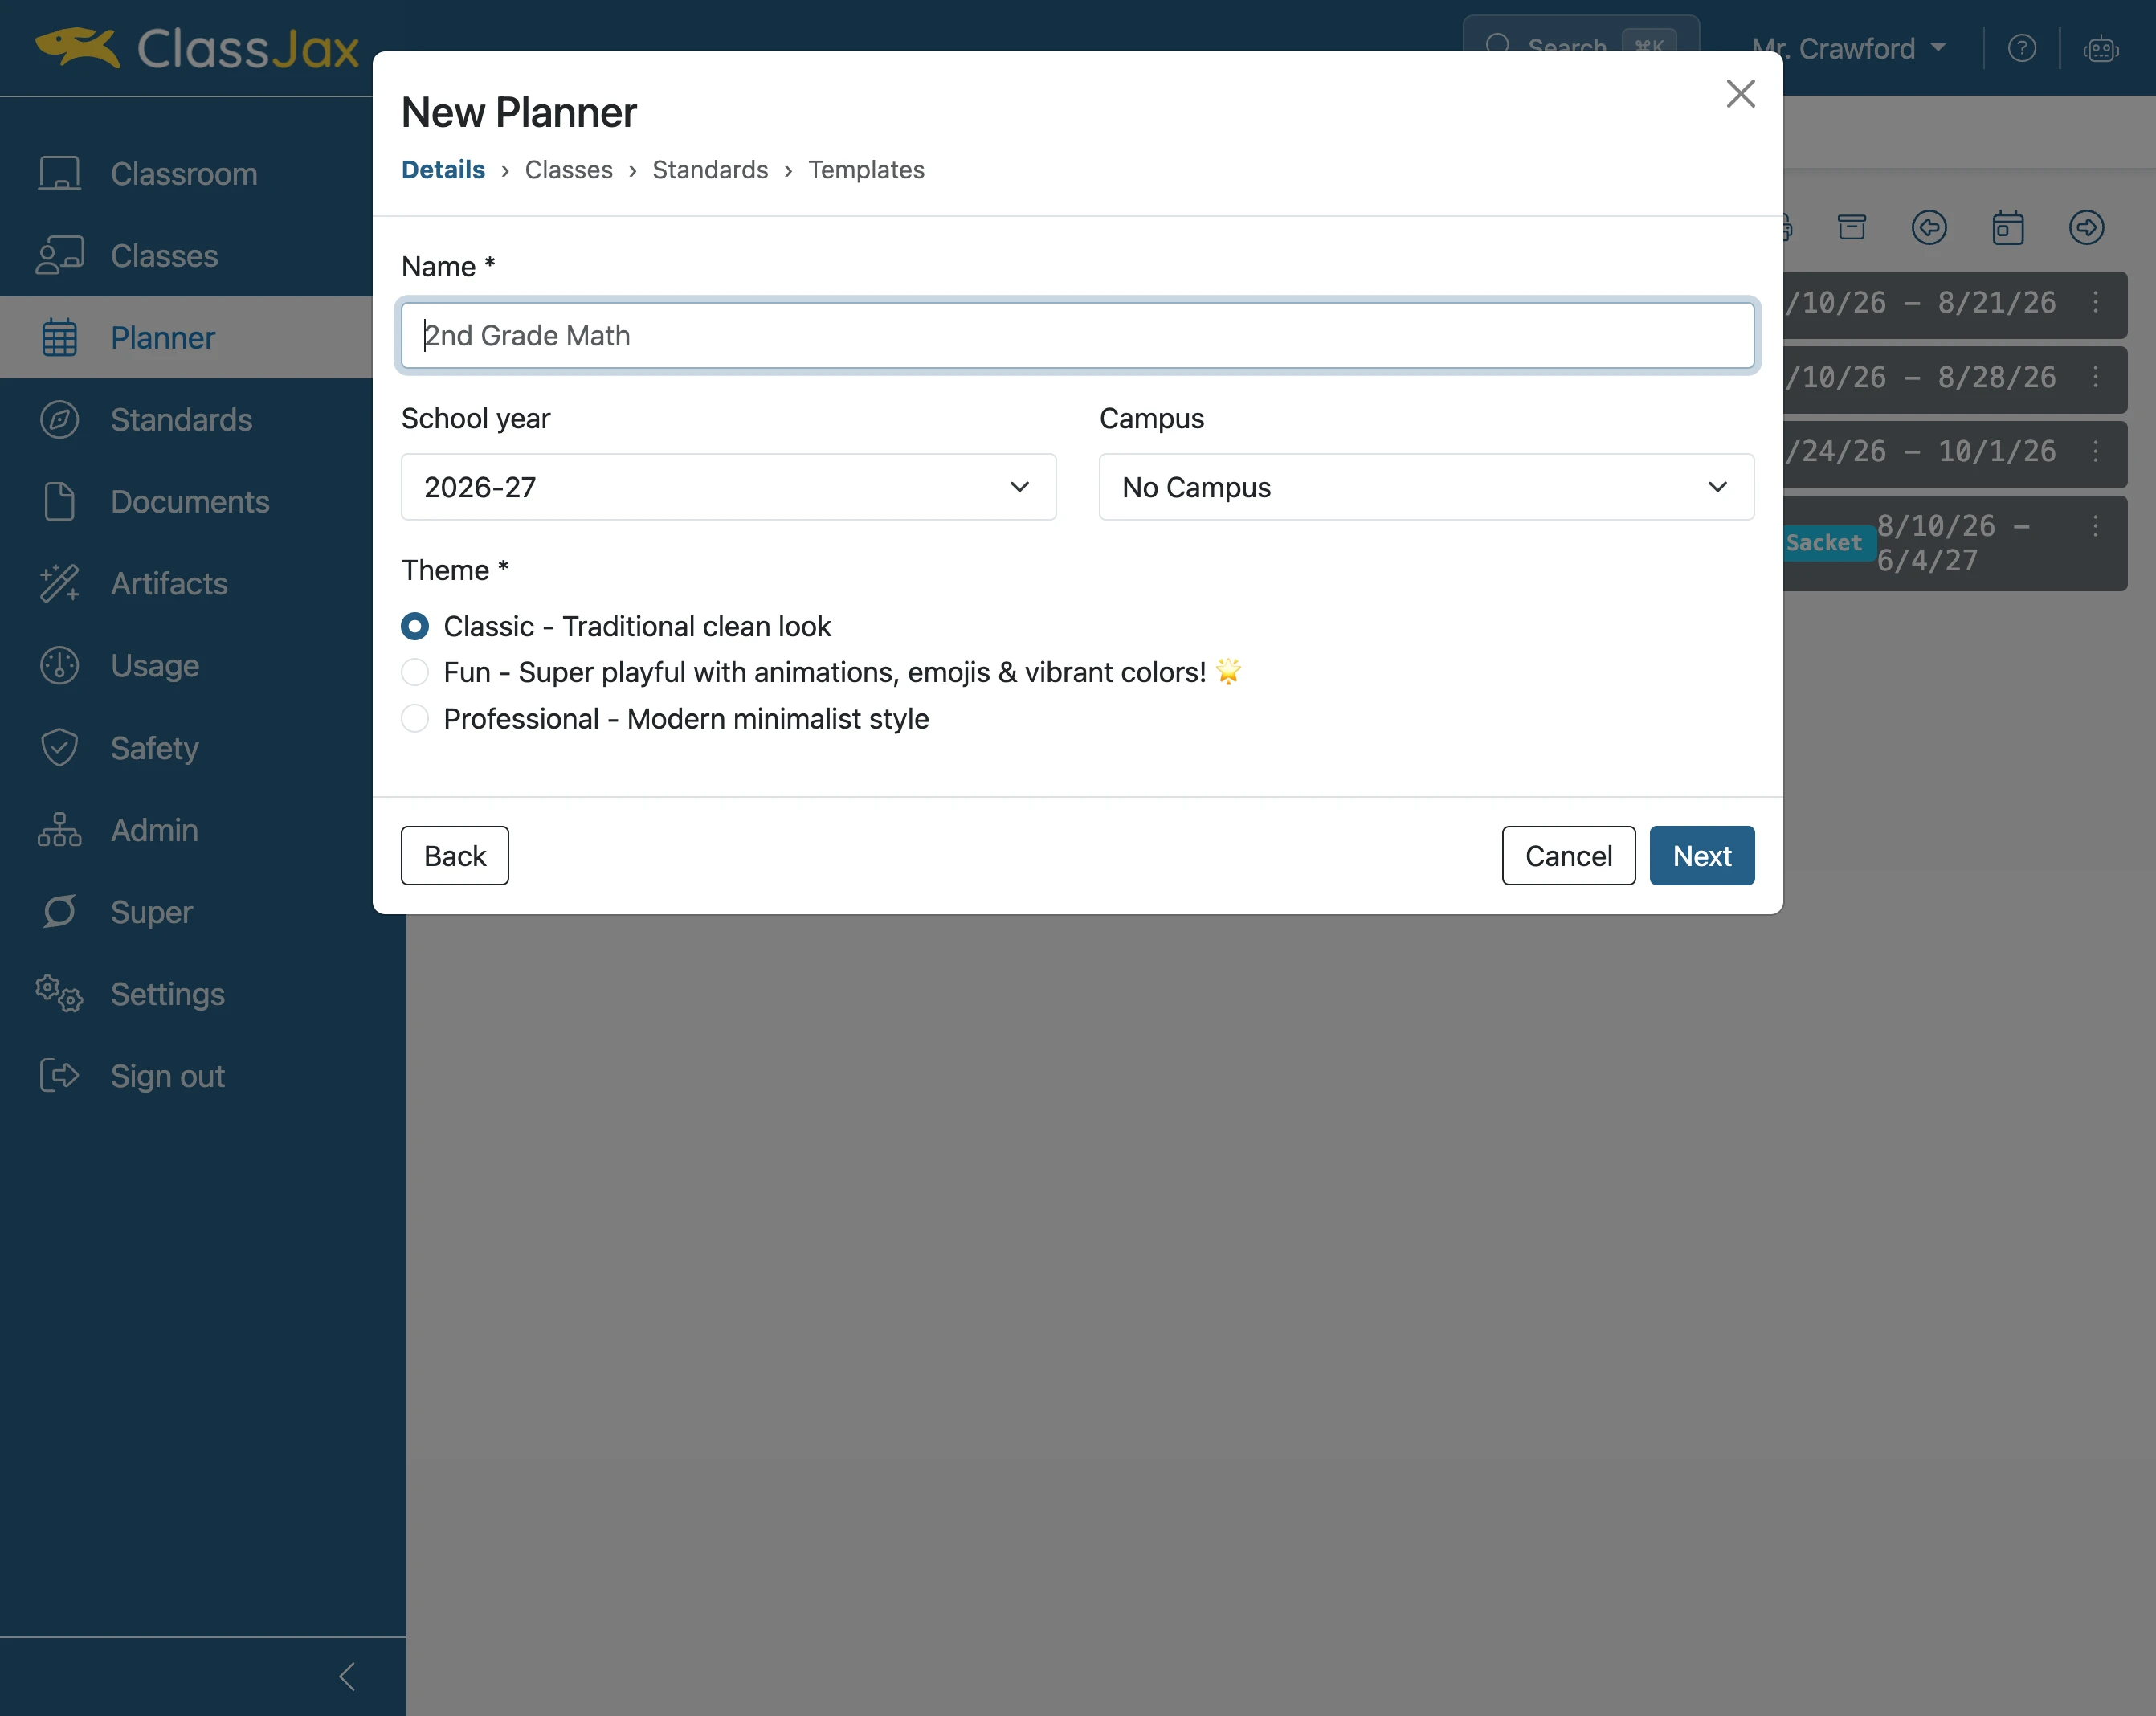
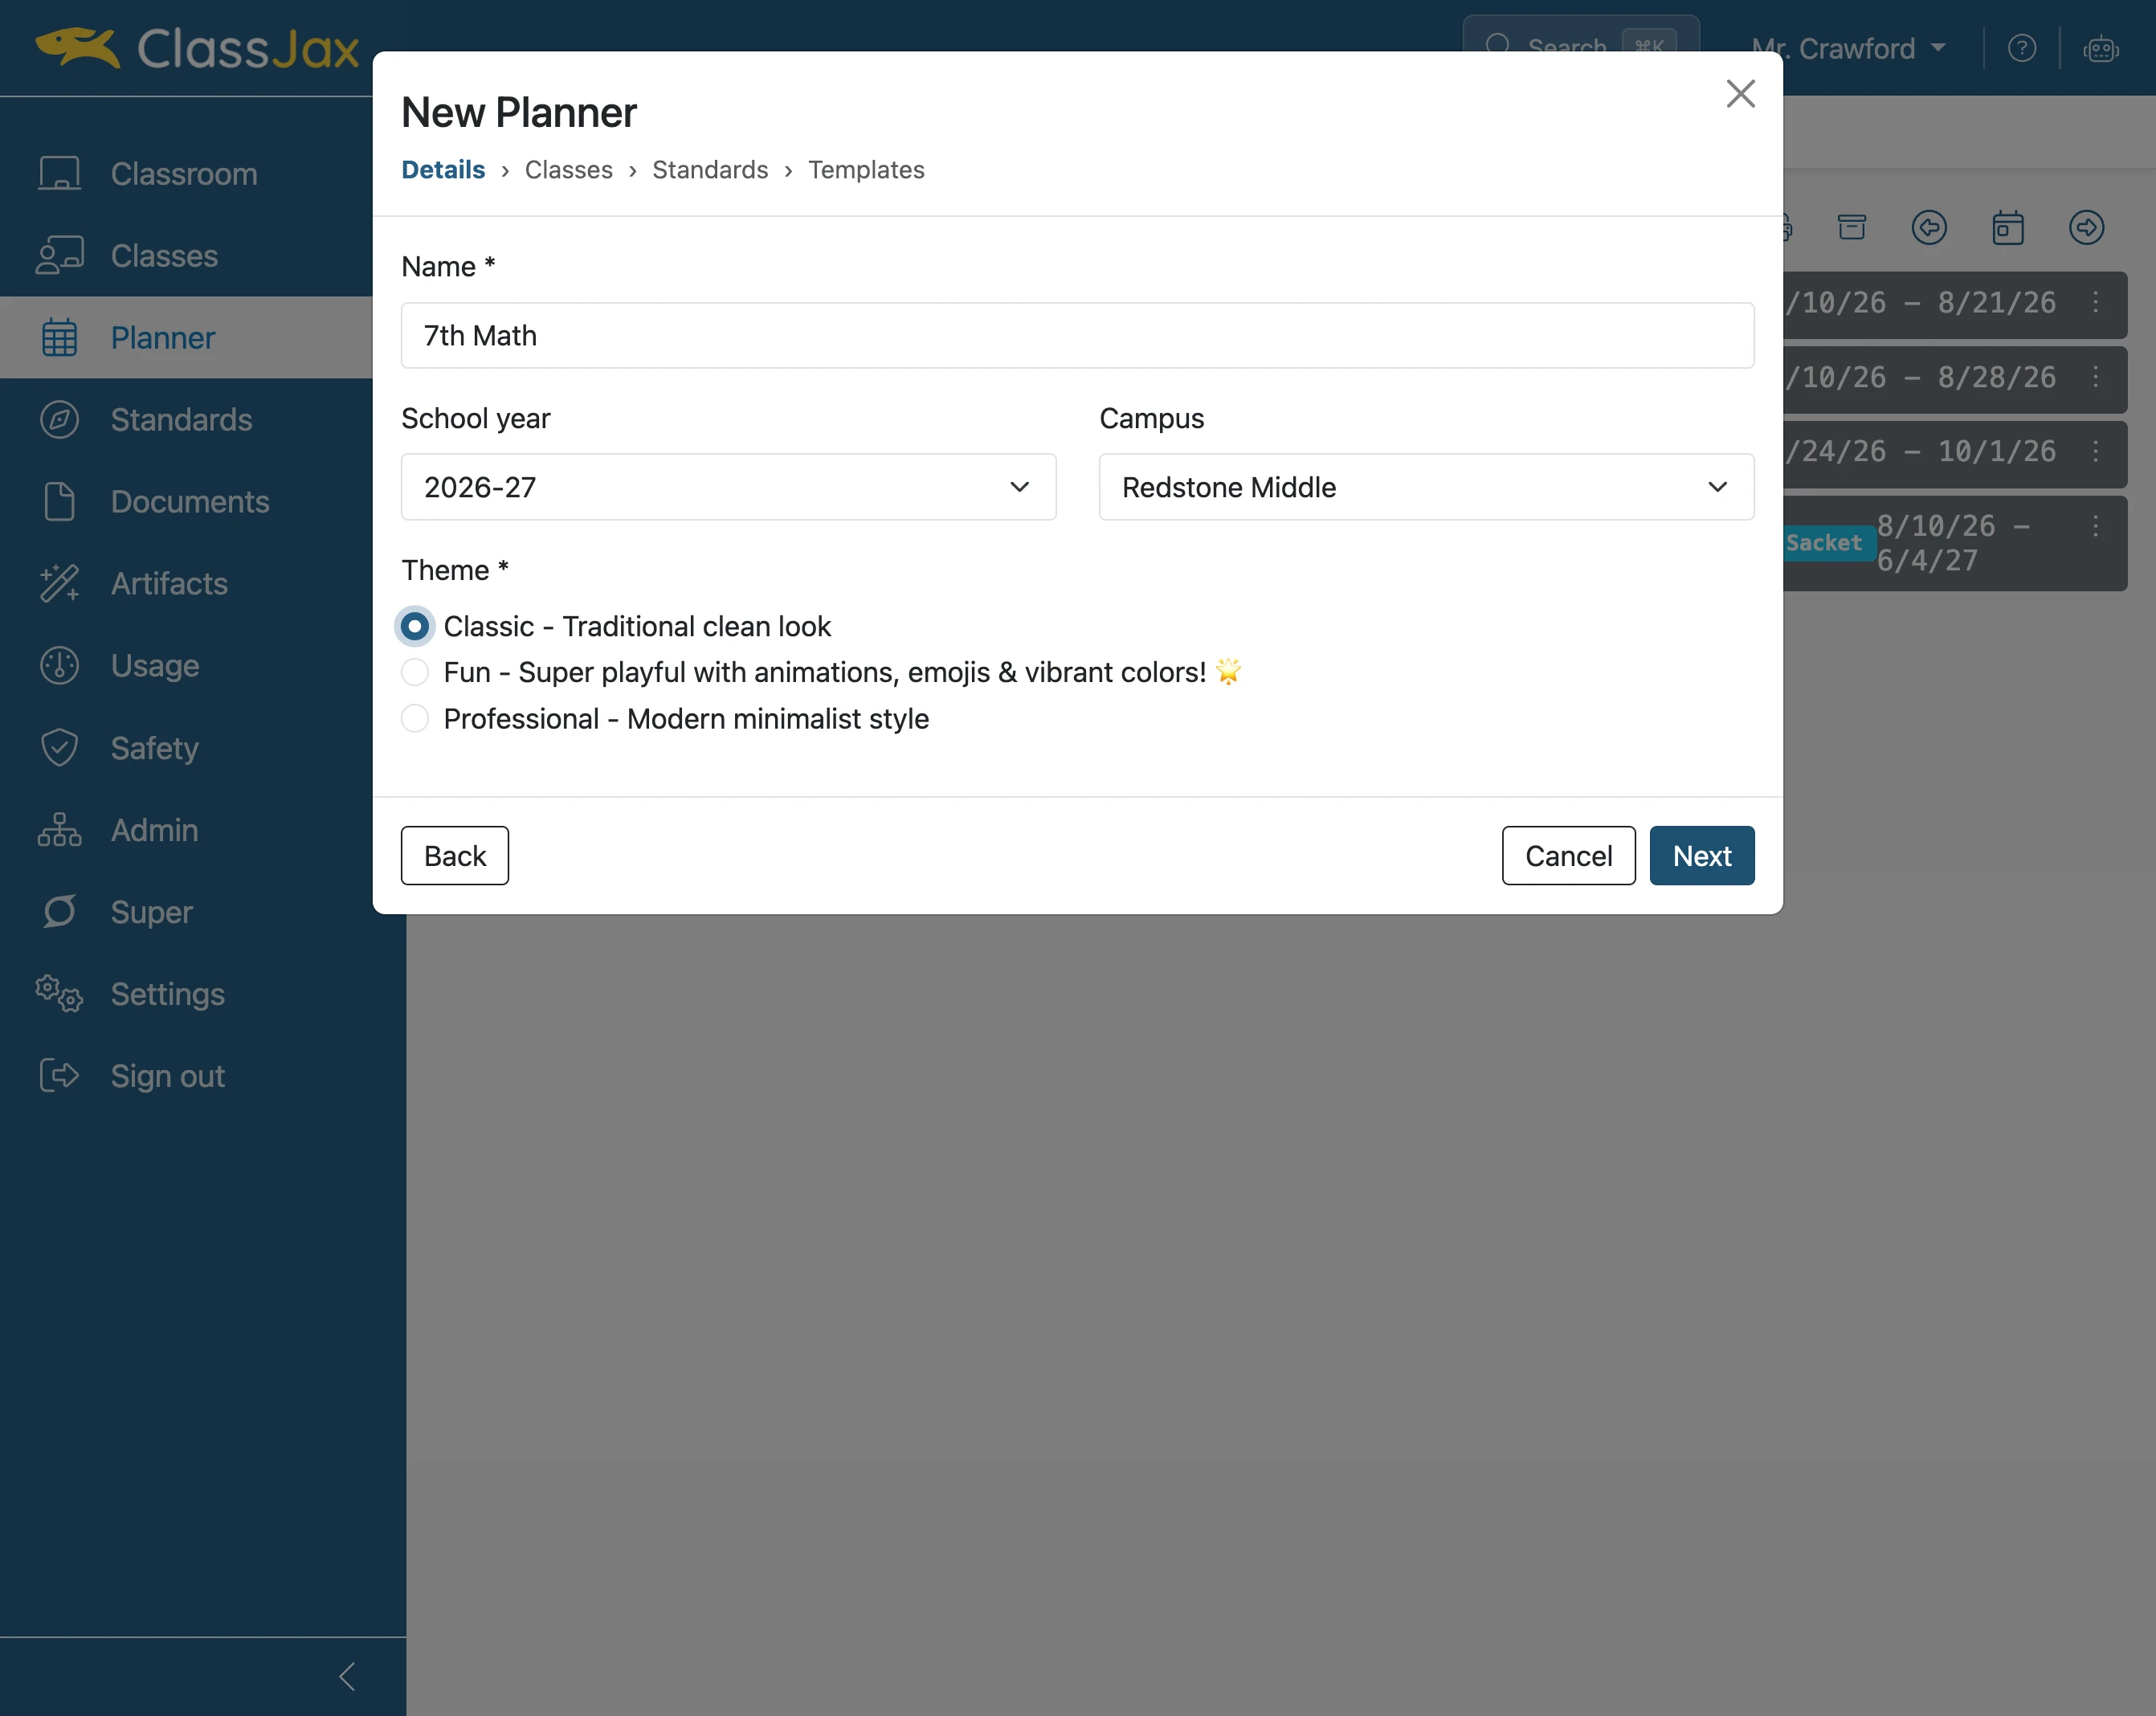
Enter the name for the new planner
- 5
Select School Year
Select the school year for this planner.
Note: If you’re not using a school account, the School Year and Campus options won’t be available. Also, if your school admin hasn’t set up a school calendar yet, you won’t see it as an option here.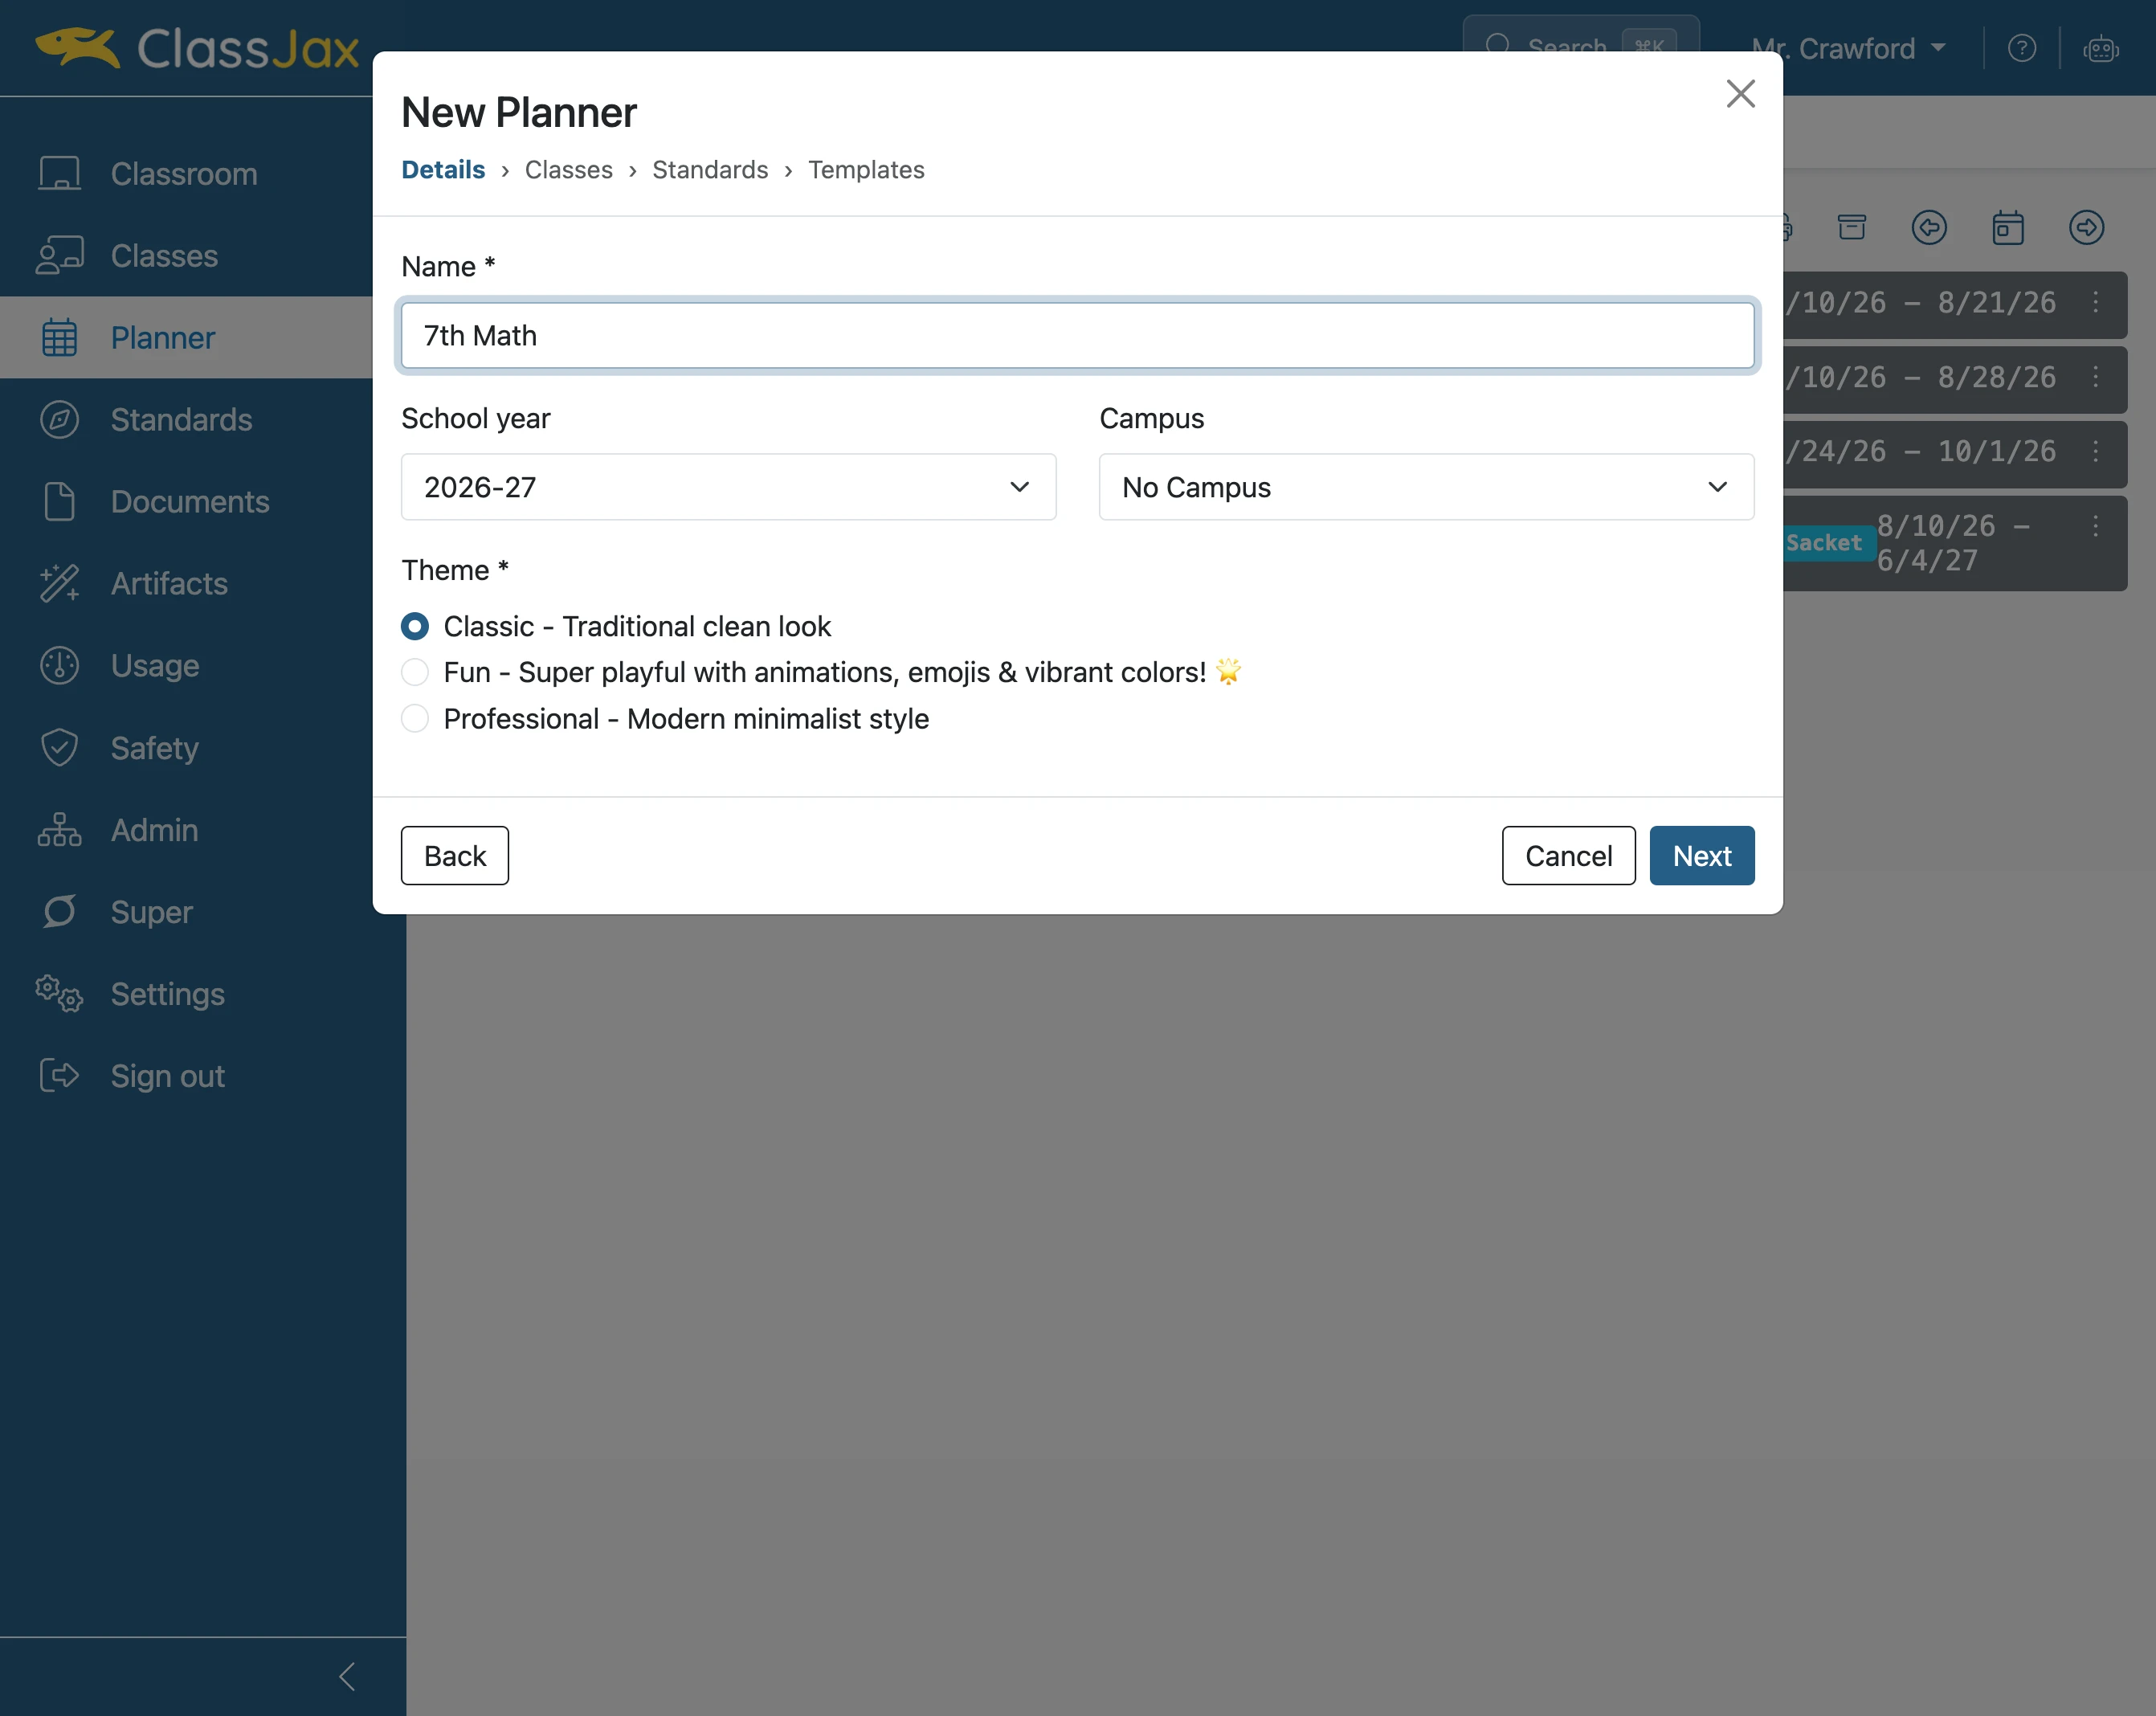
- 6
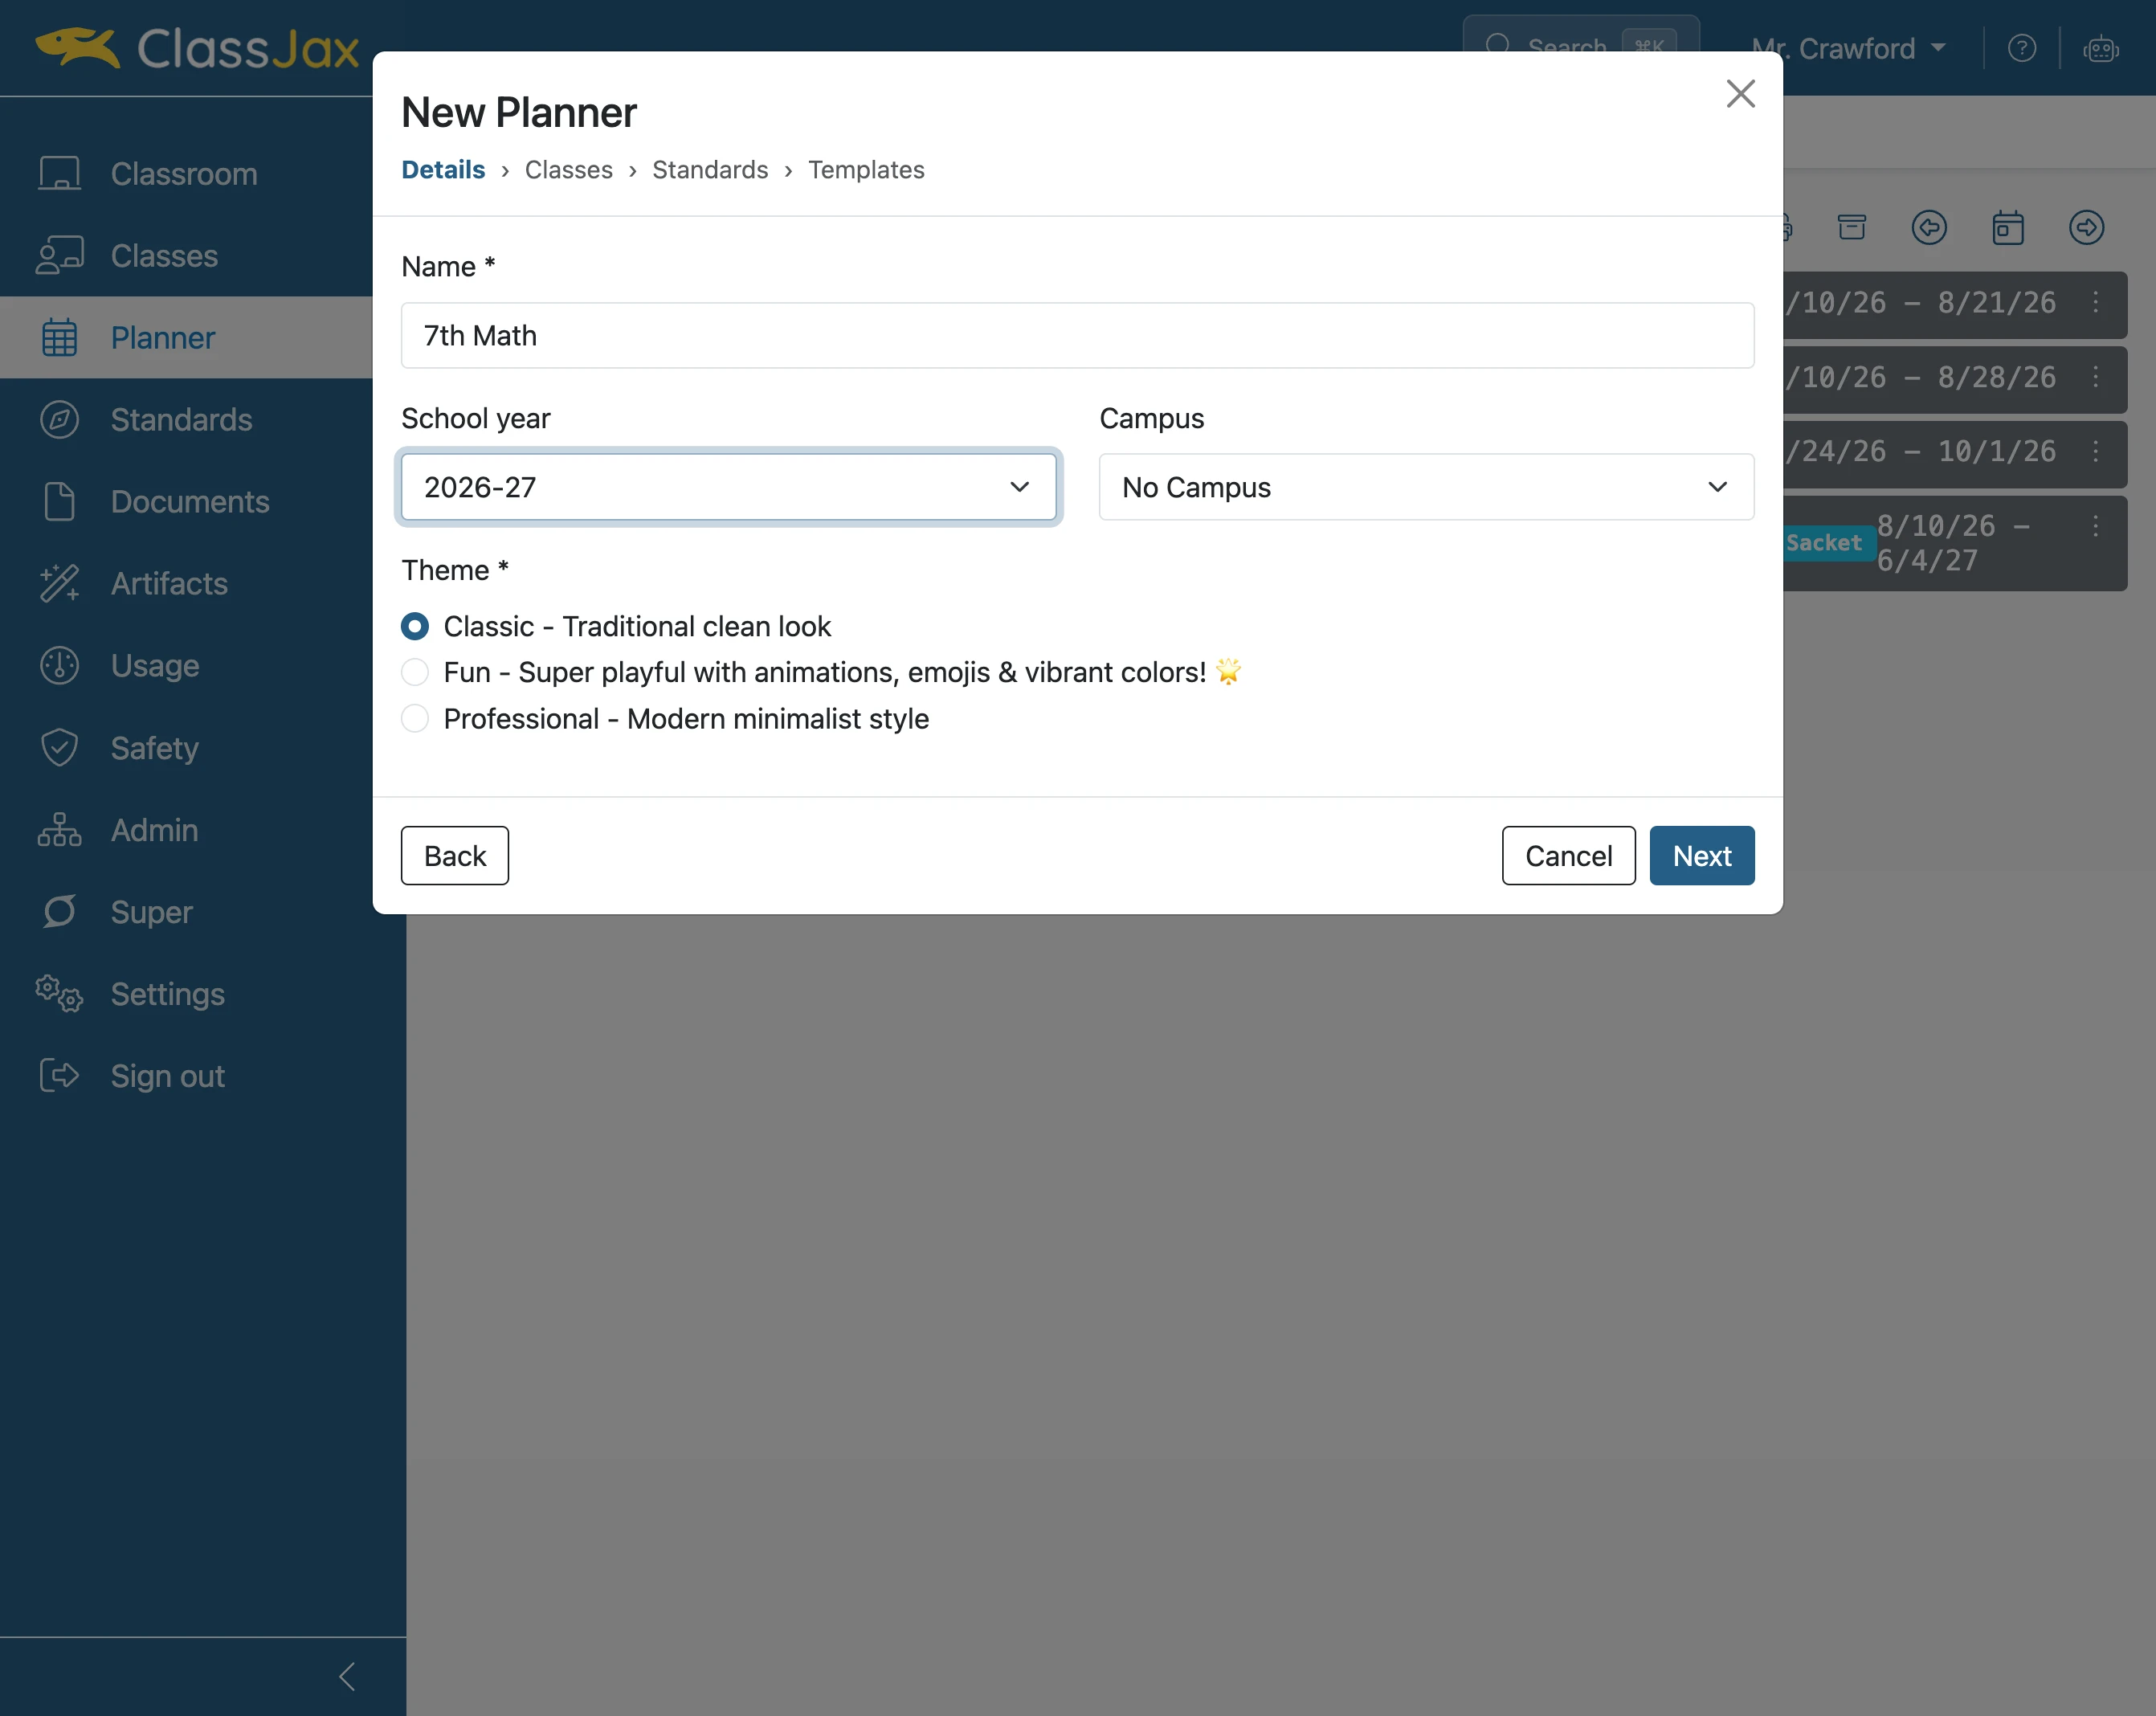
Select Campus
Select the campus where the planner’s class is being taught.
- 7
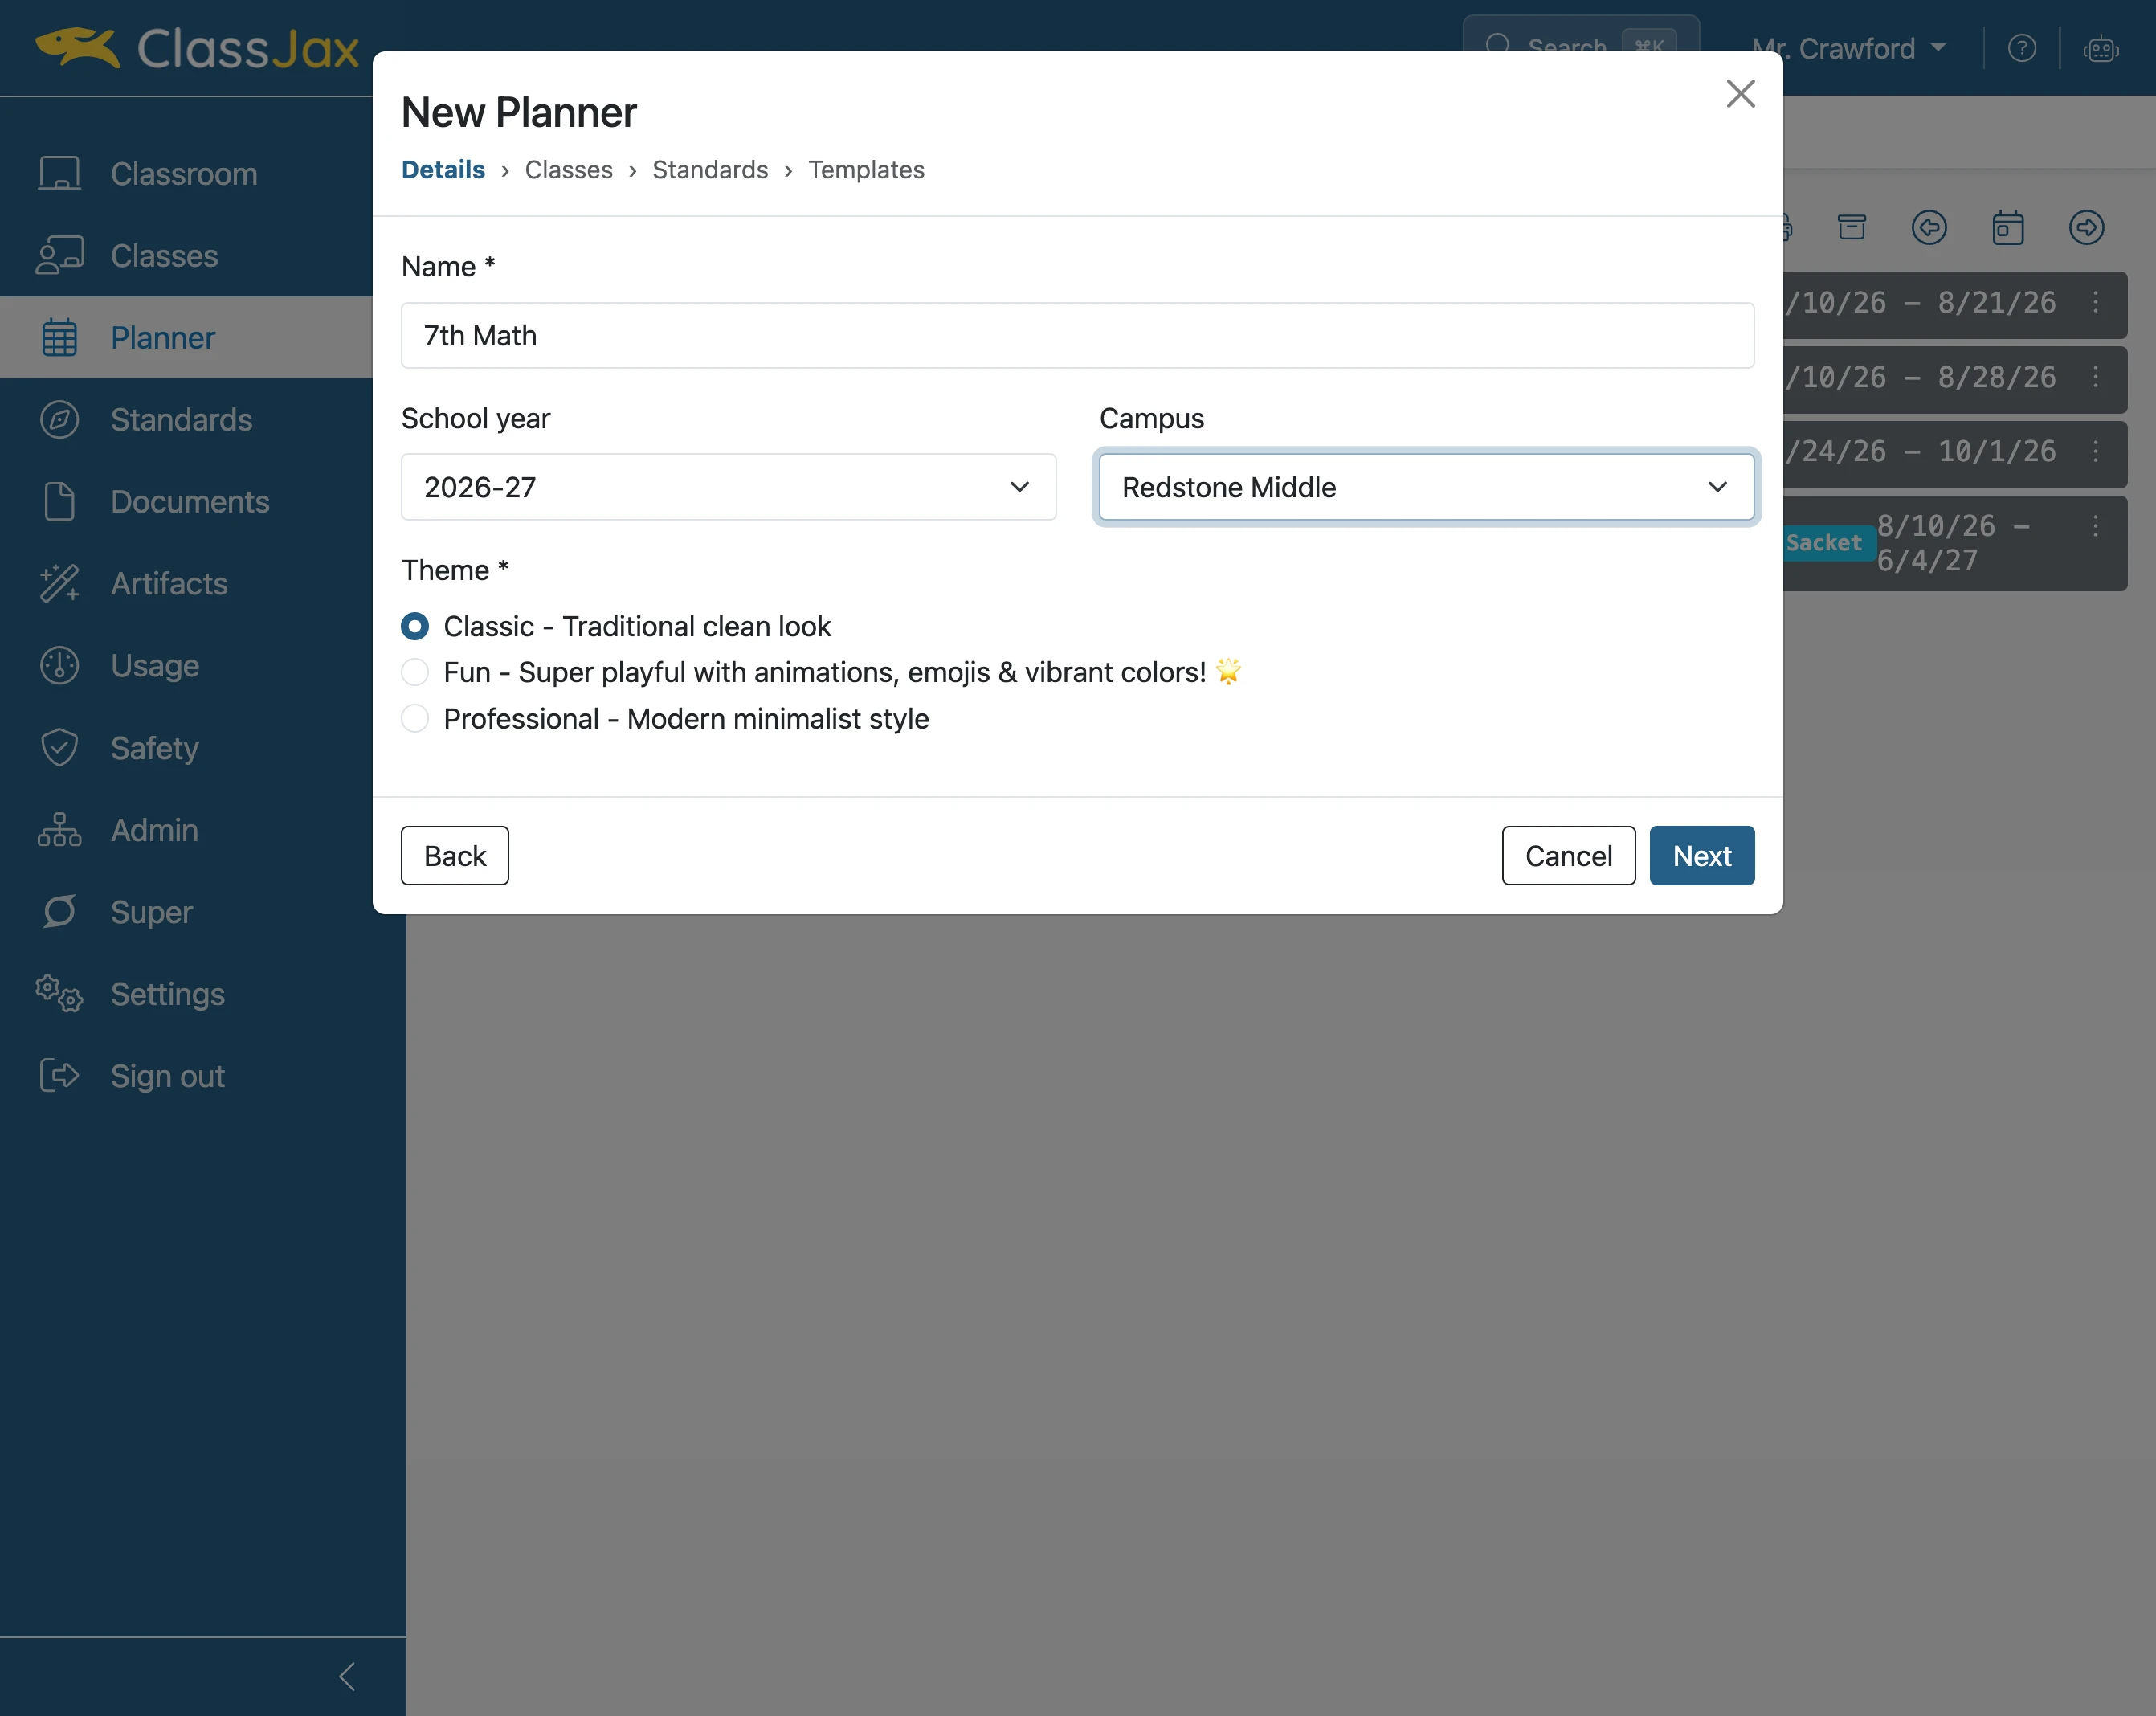
Click desired Theme
A theme sets the style sheet features for the contents of a lesson plan.
- 8
Click 'Next'
- 9
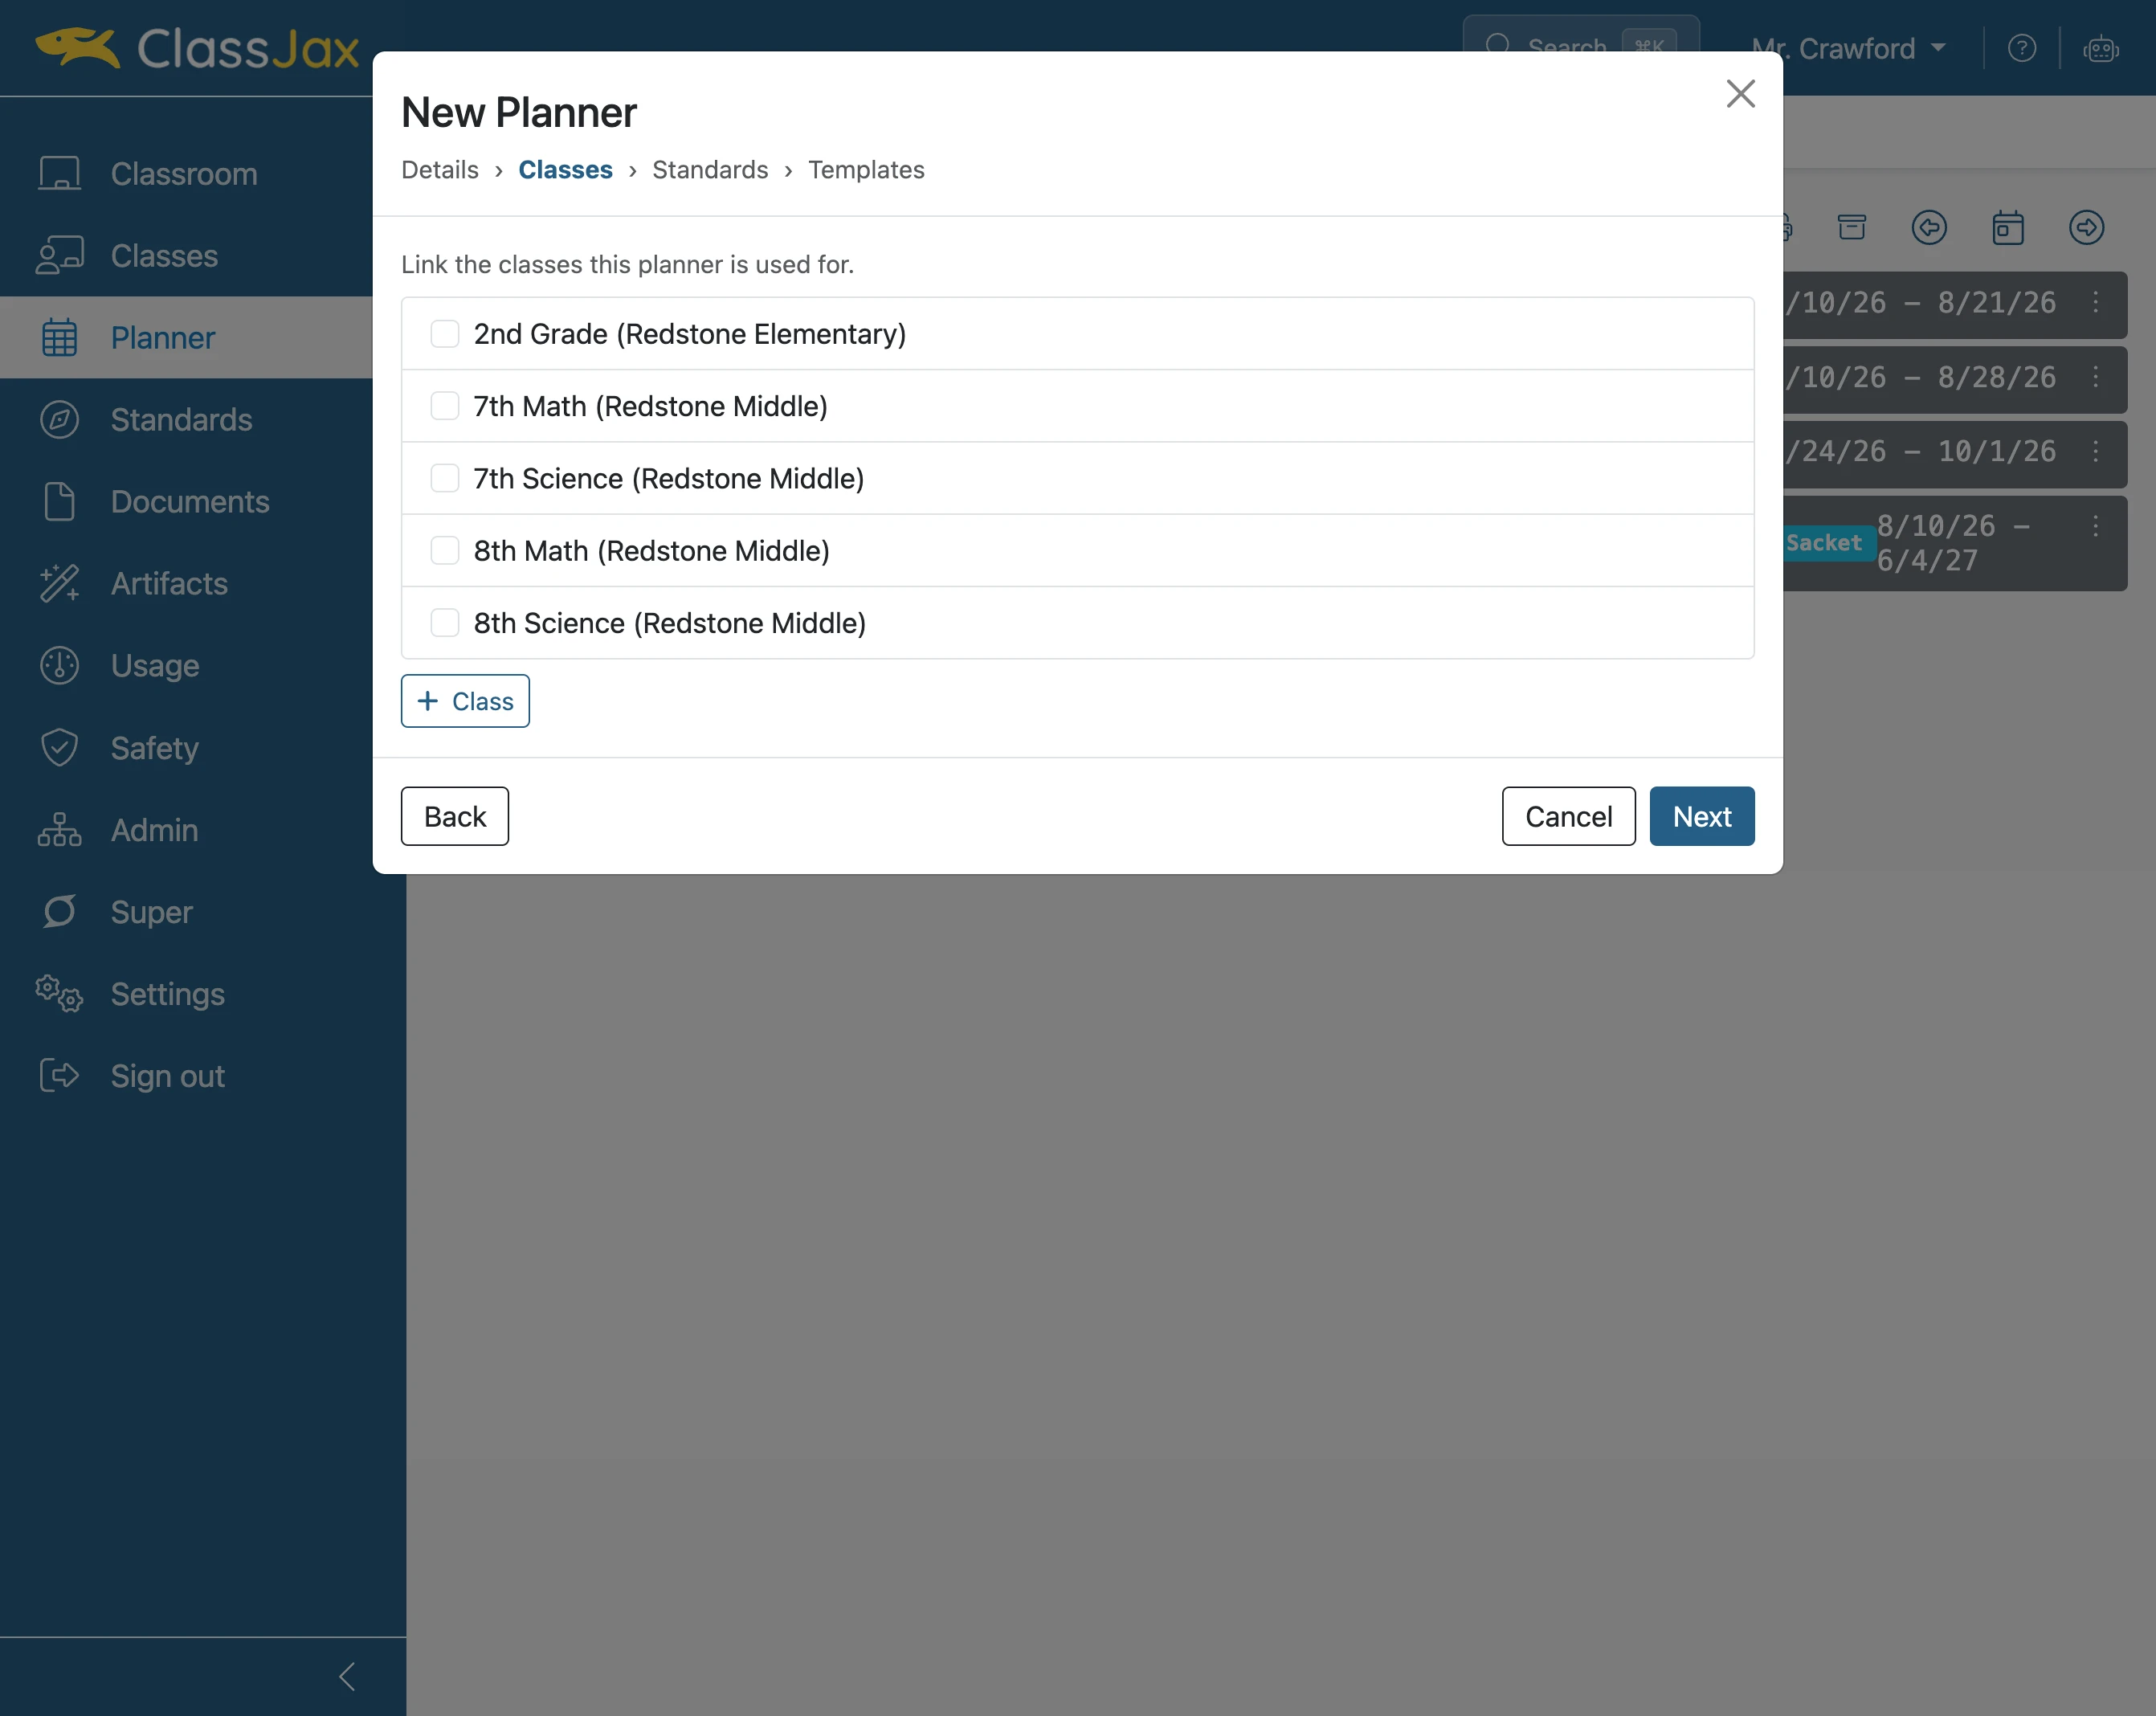
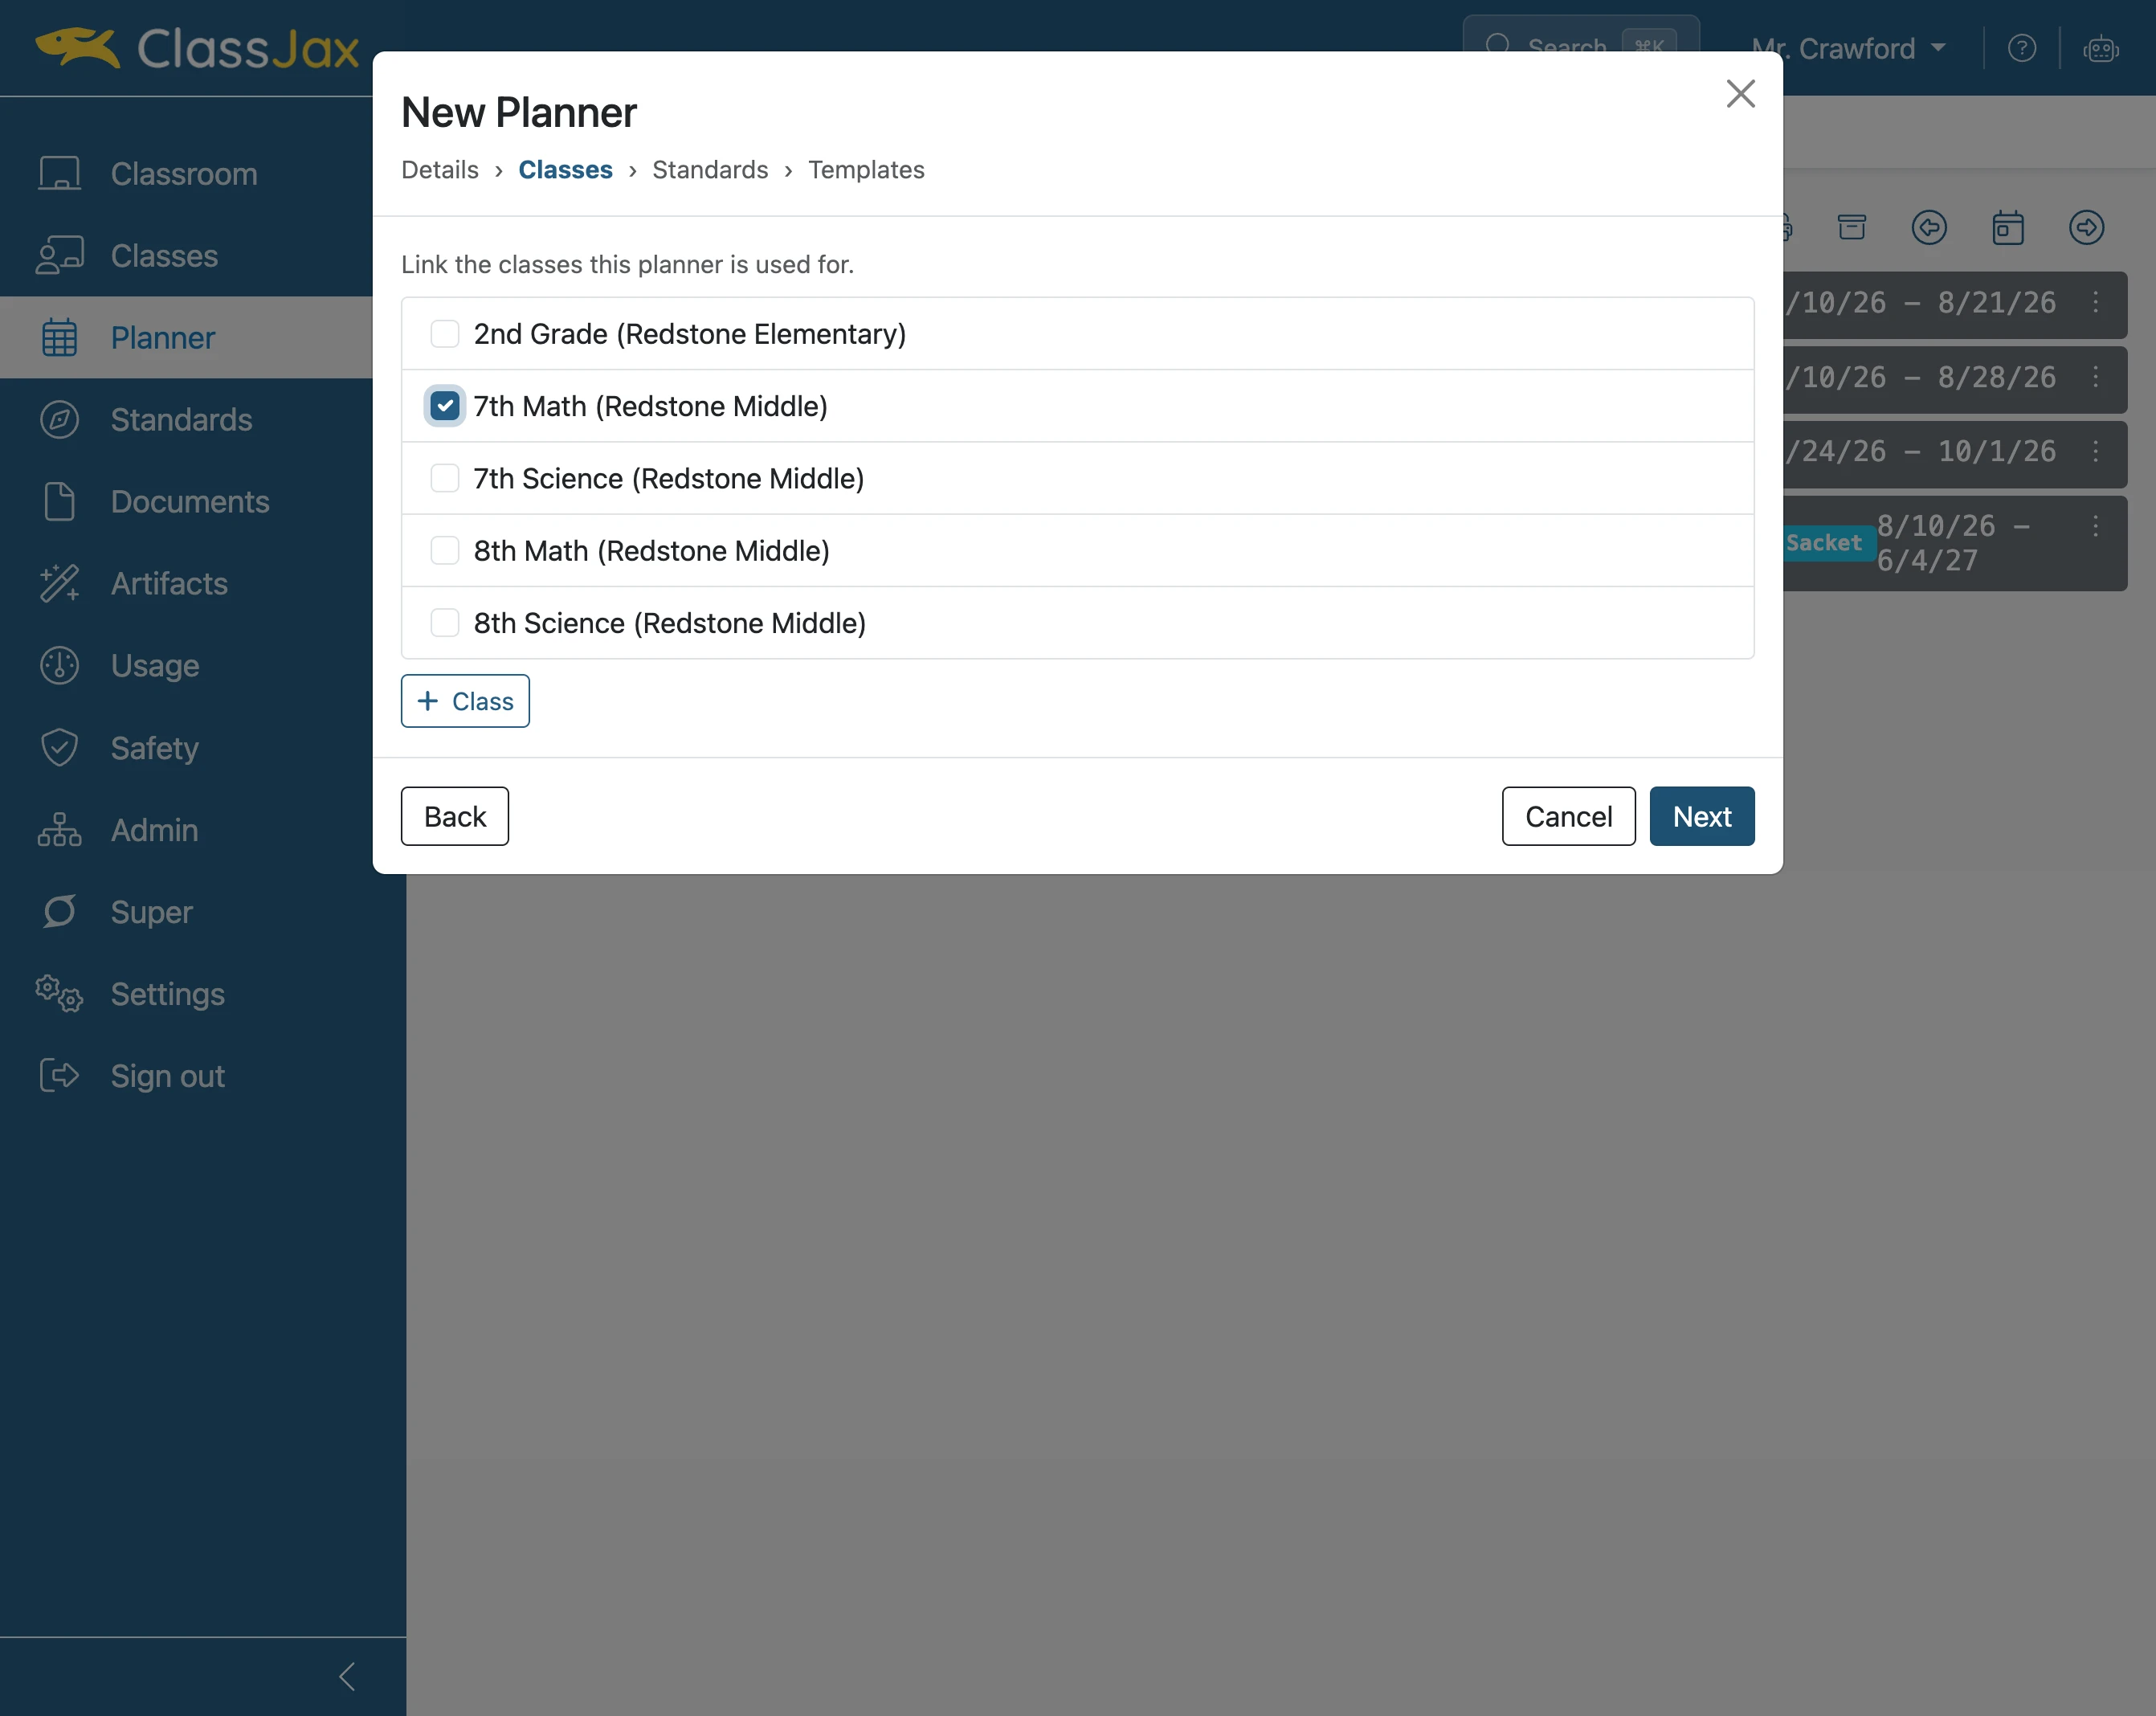
Click the appropriate Class
Choose the class you want to use this planner for. If your class isn’t listed, you can add a new one.
- 10
Click 'Next'
- 11
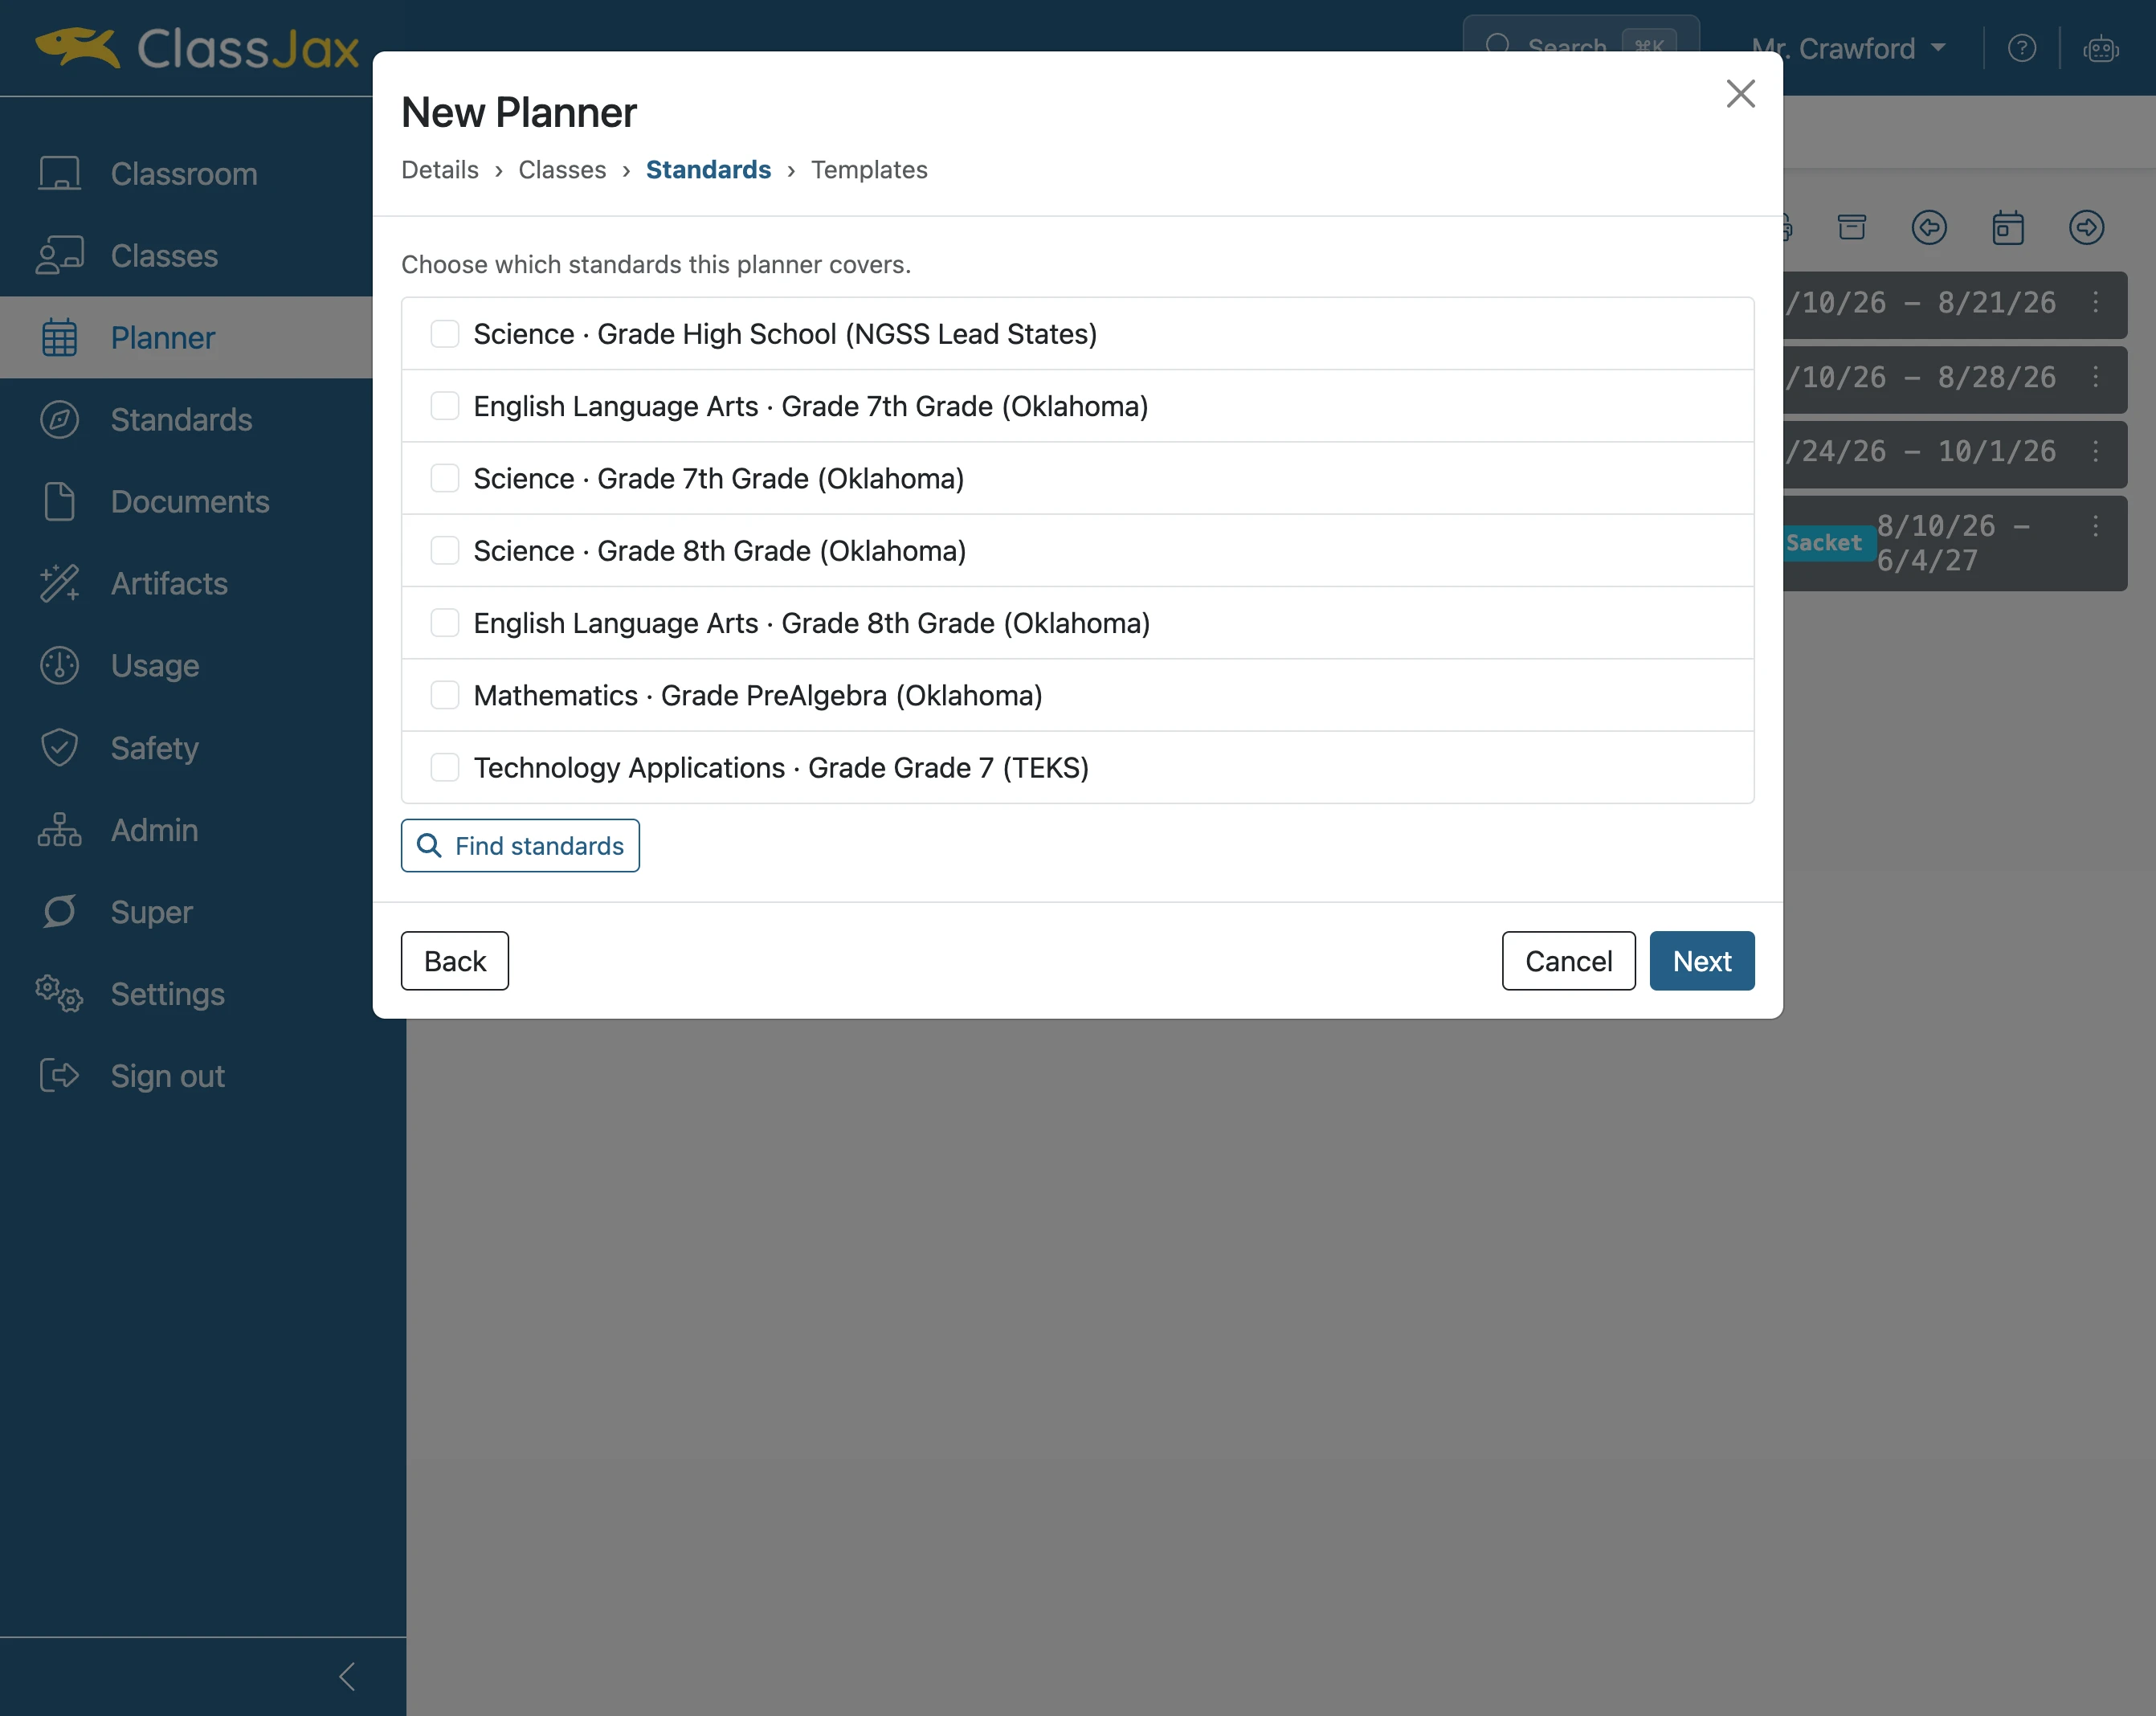
Click desired Standards
Select the standards you’d like to include in this planner.
- 12
Click 'Next'
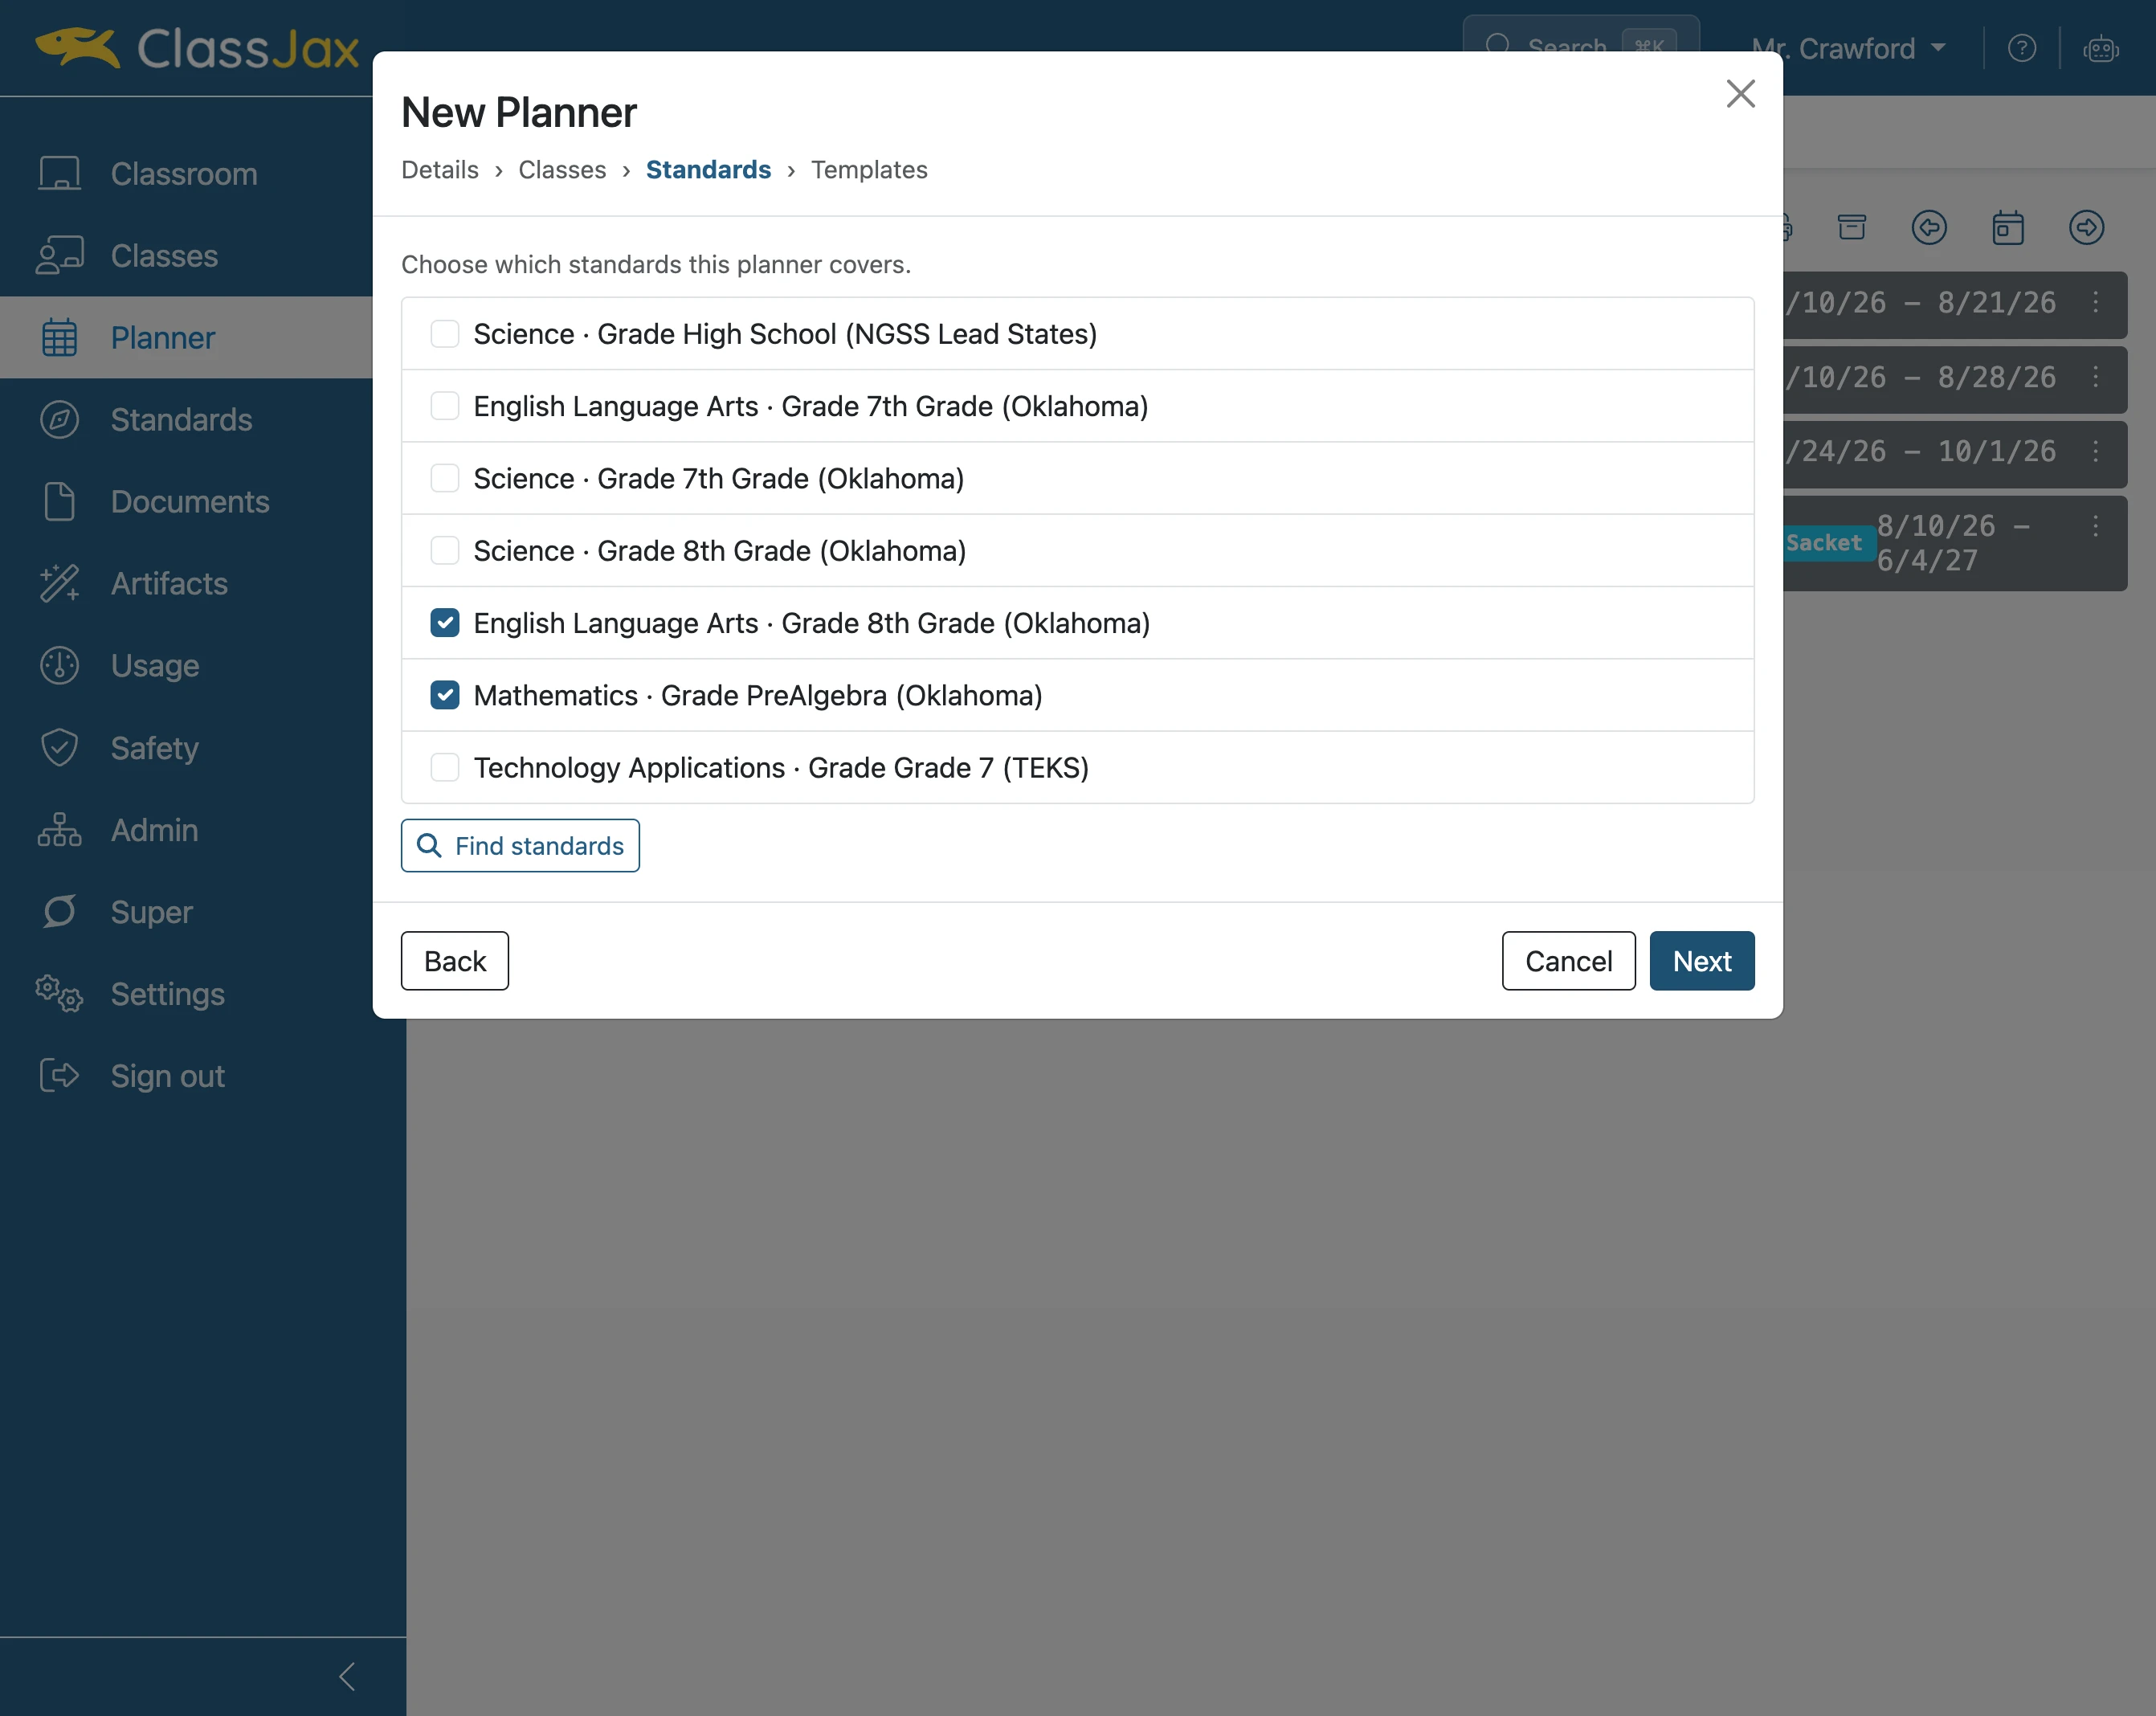
- 13
Select desired Template
Templates help you quickly add preexisting content to a new lesson plan. Campus admins can create templates for everyone, or you can make your own personal templates.
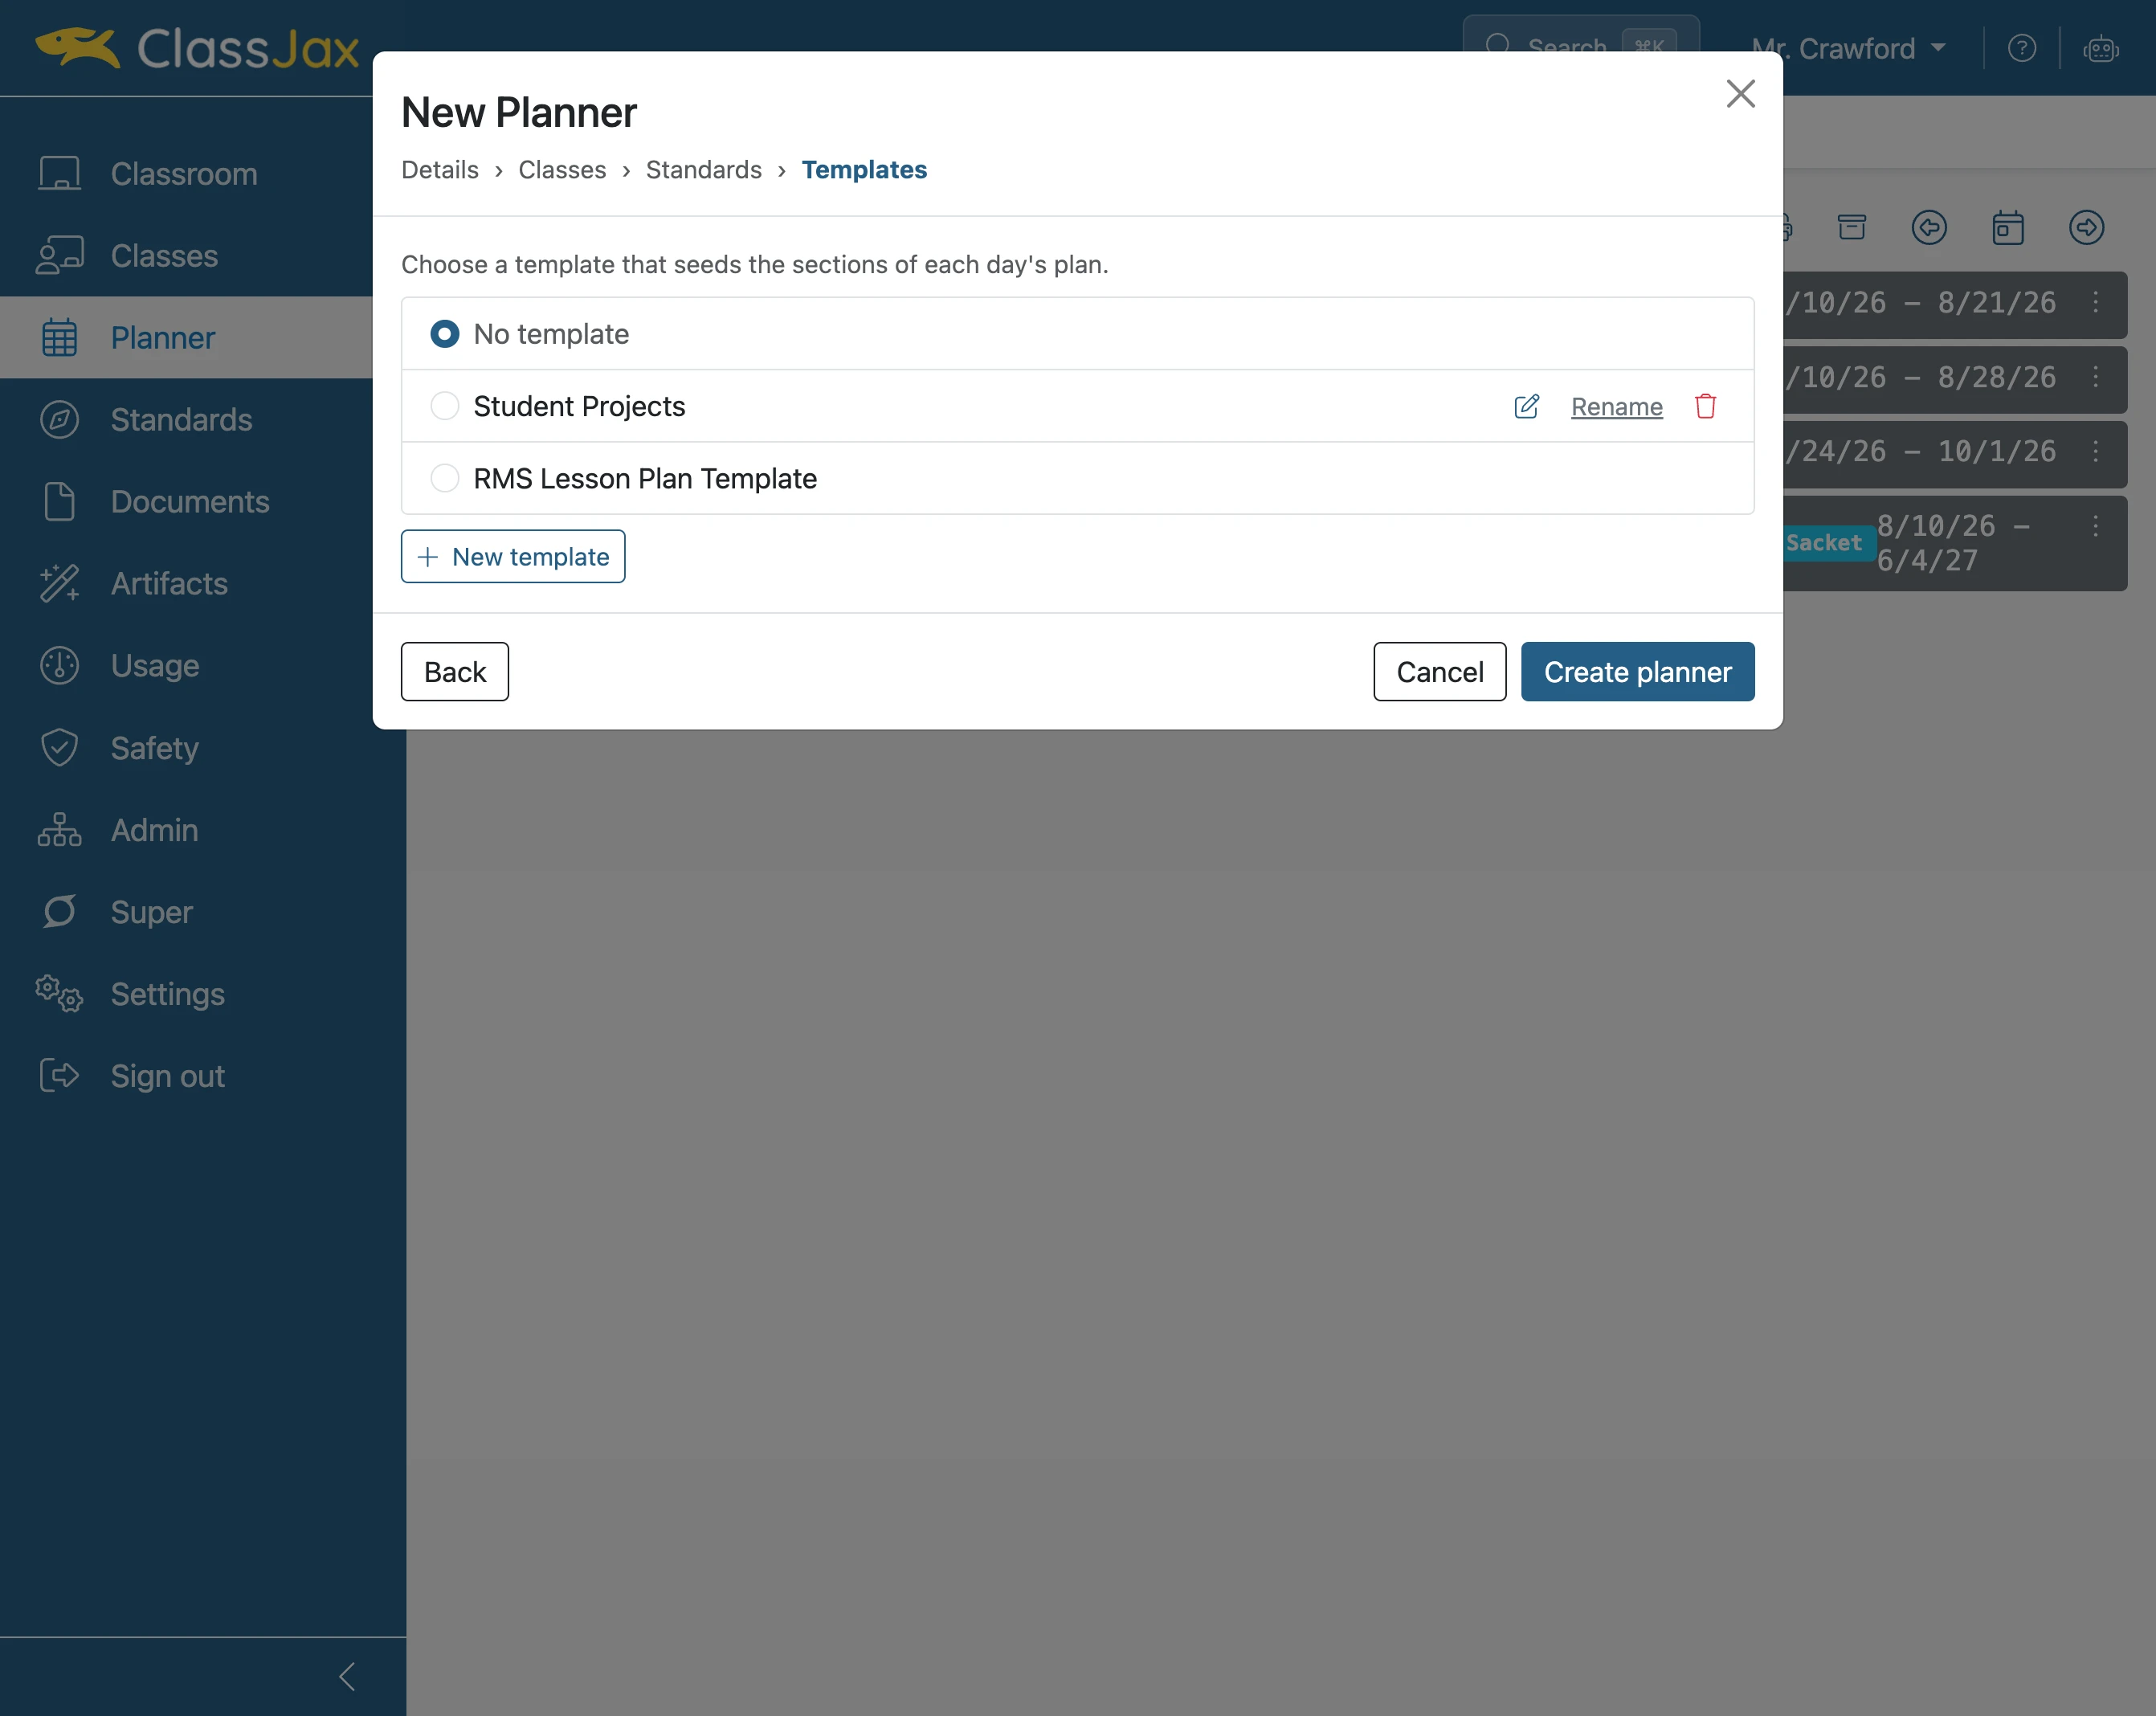
- 14
Click 'Create planner'
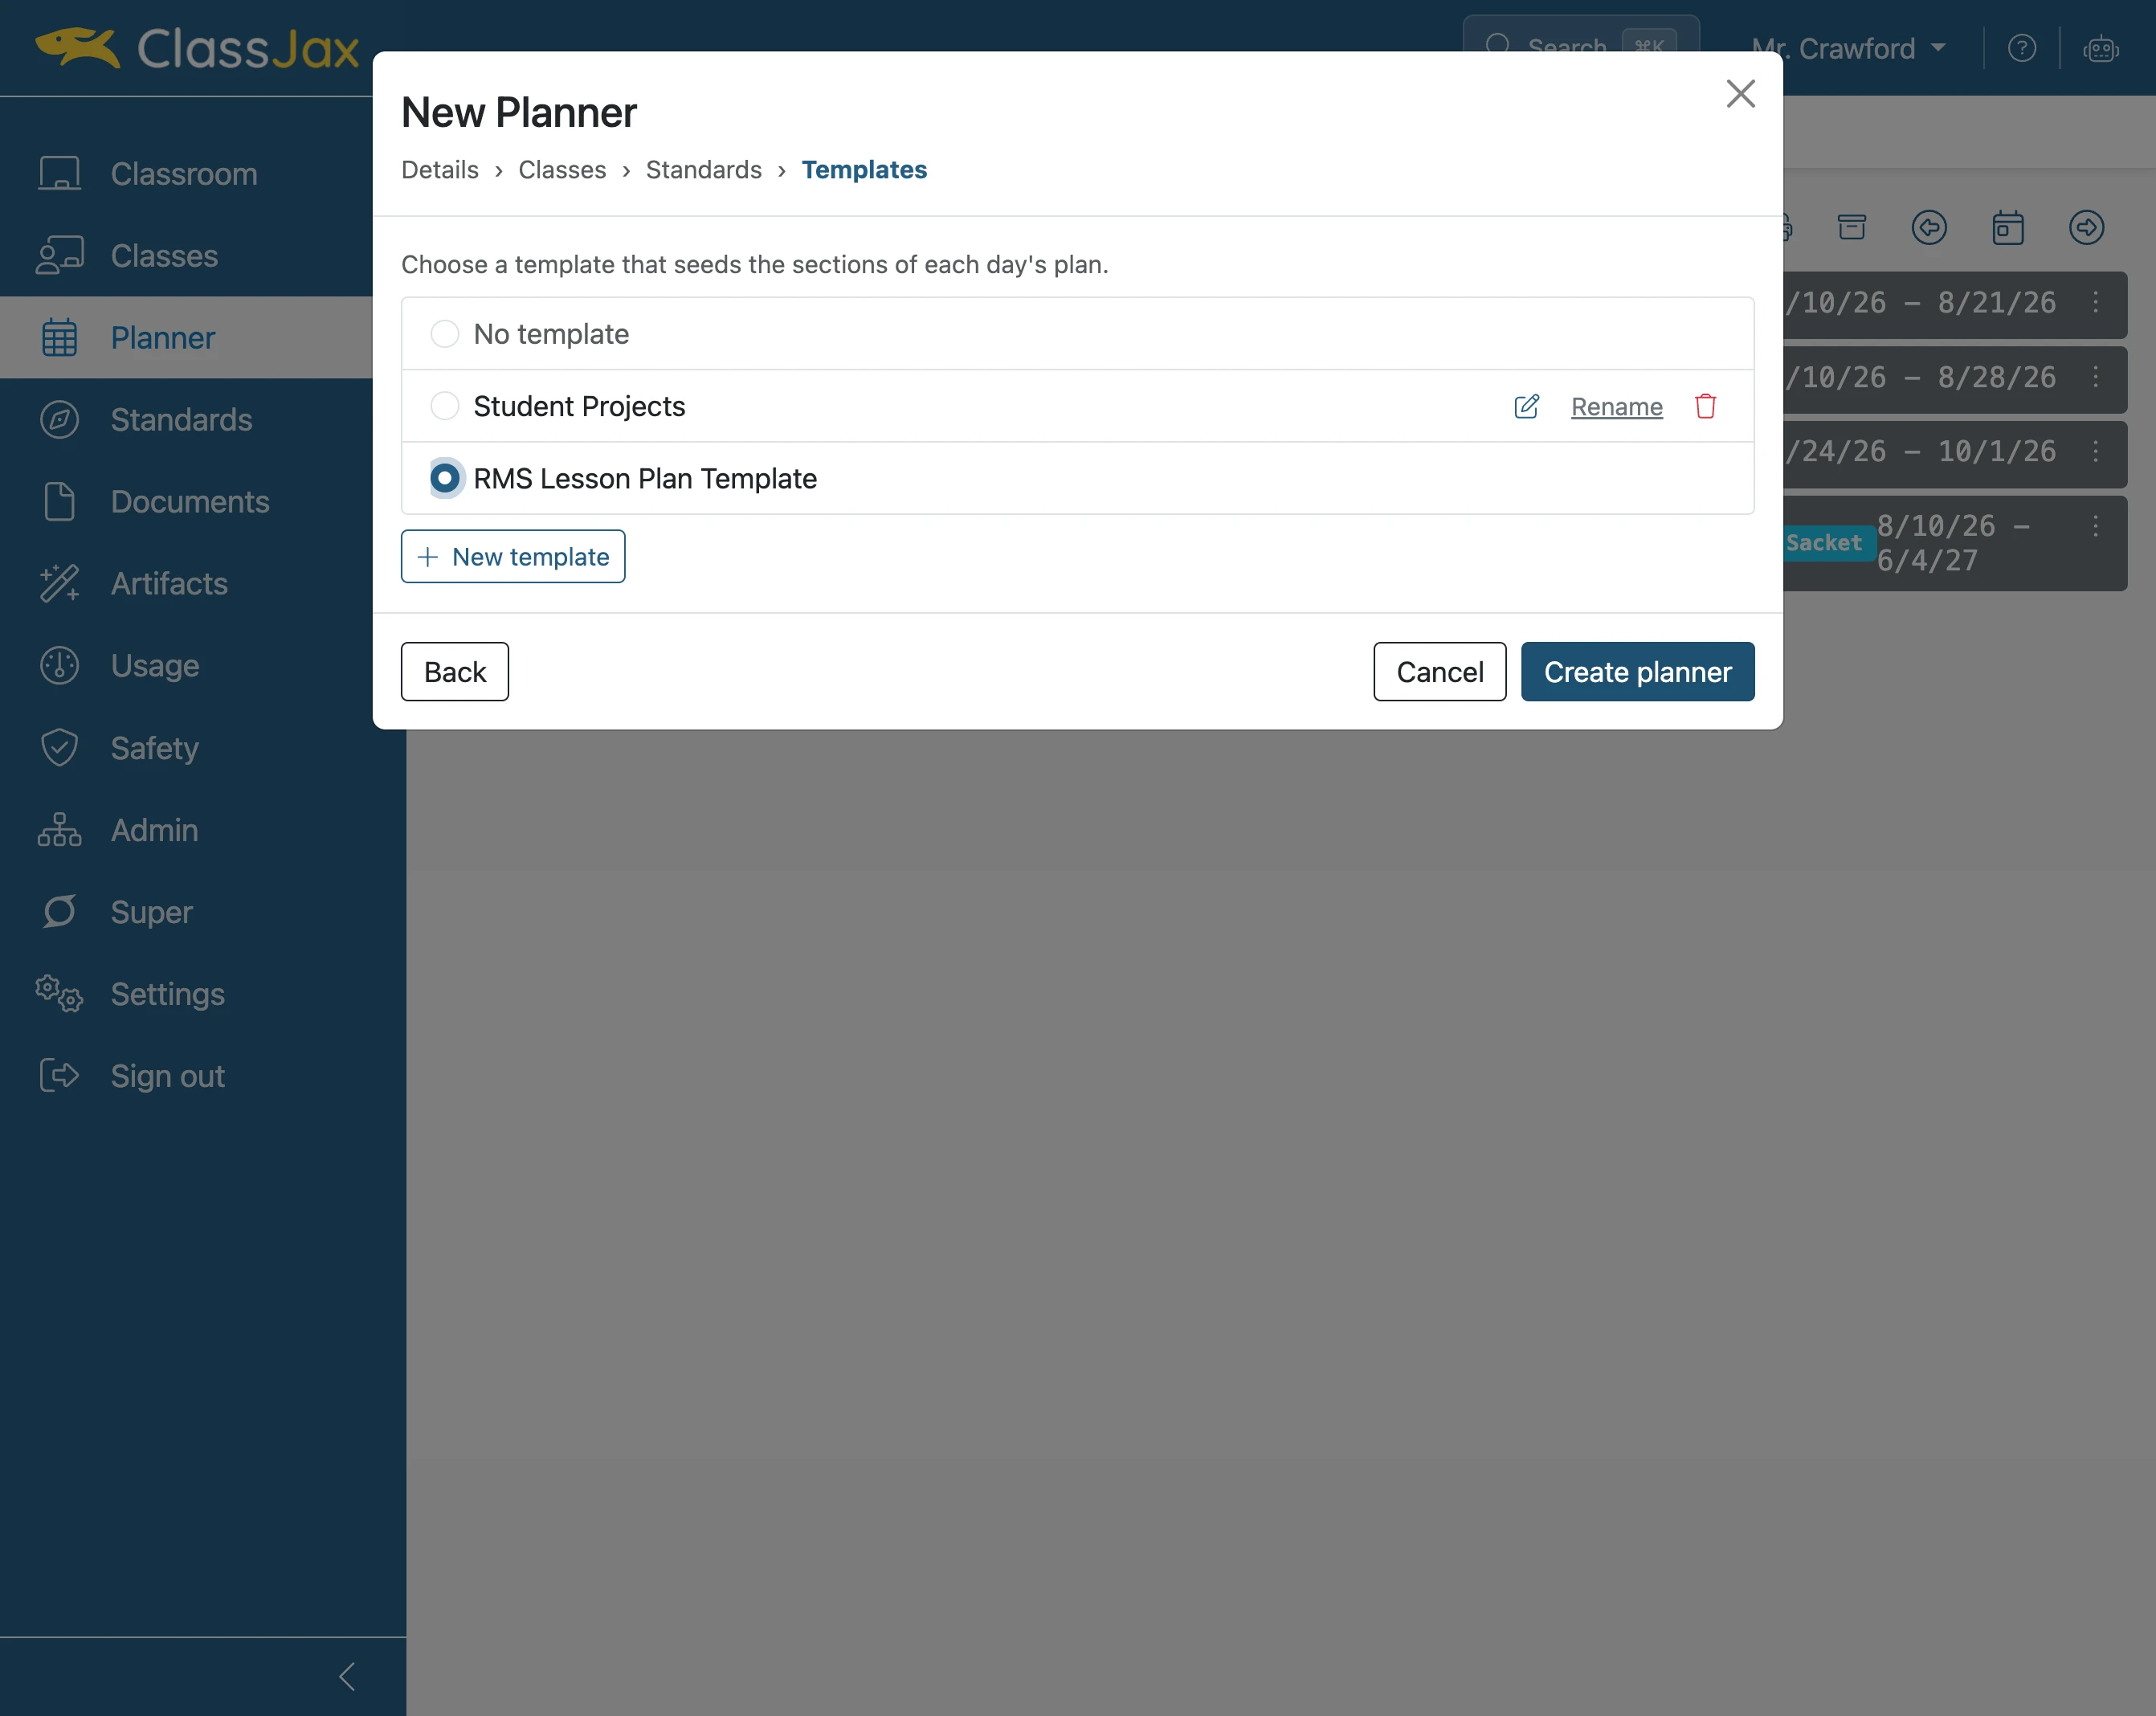
- 15
The Planner is ready to be used.