Create a Planner
ClassJax makes lesson planning simple and organized. This guide will show you how to quickly set up and customize your own lesson planner, helping you efficiently manage and track your teaching plans all in one place.
- 1
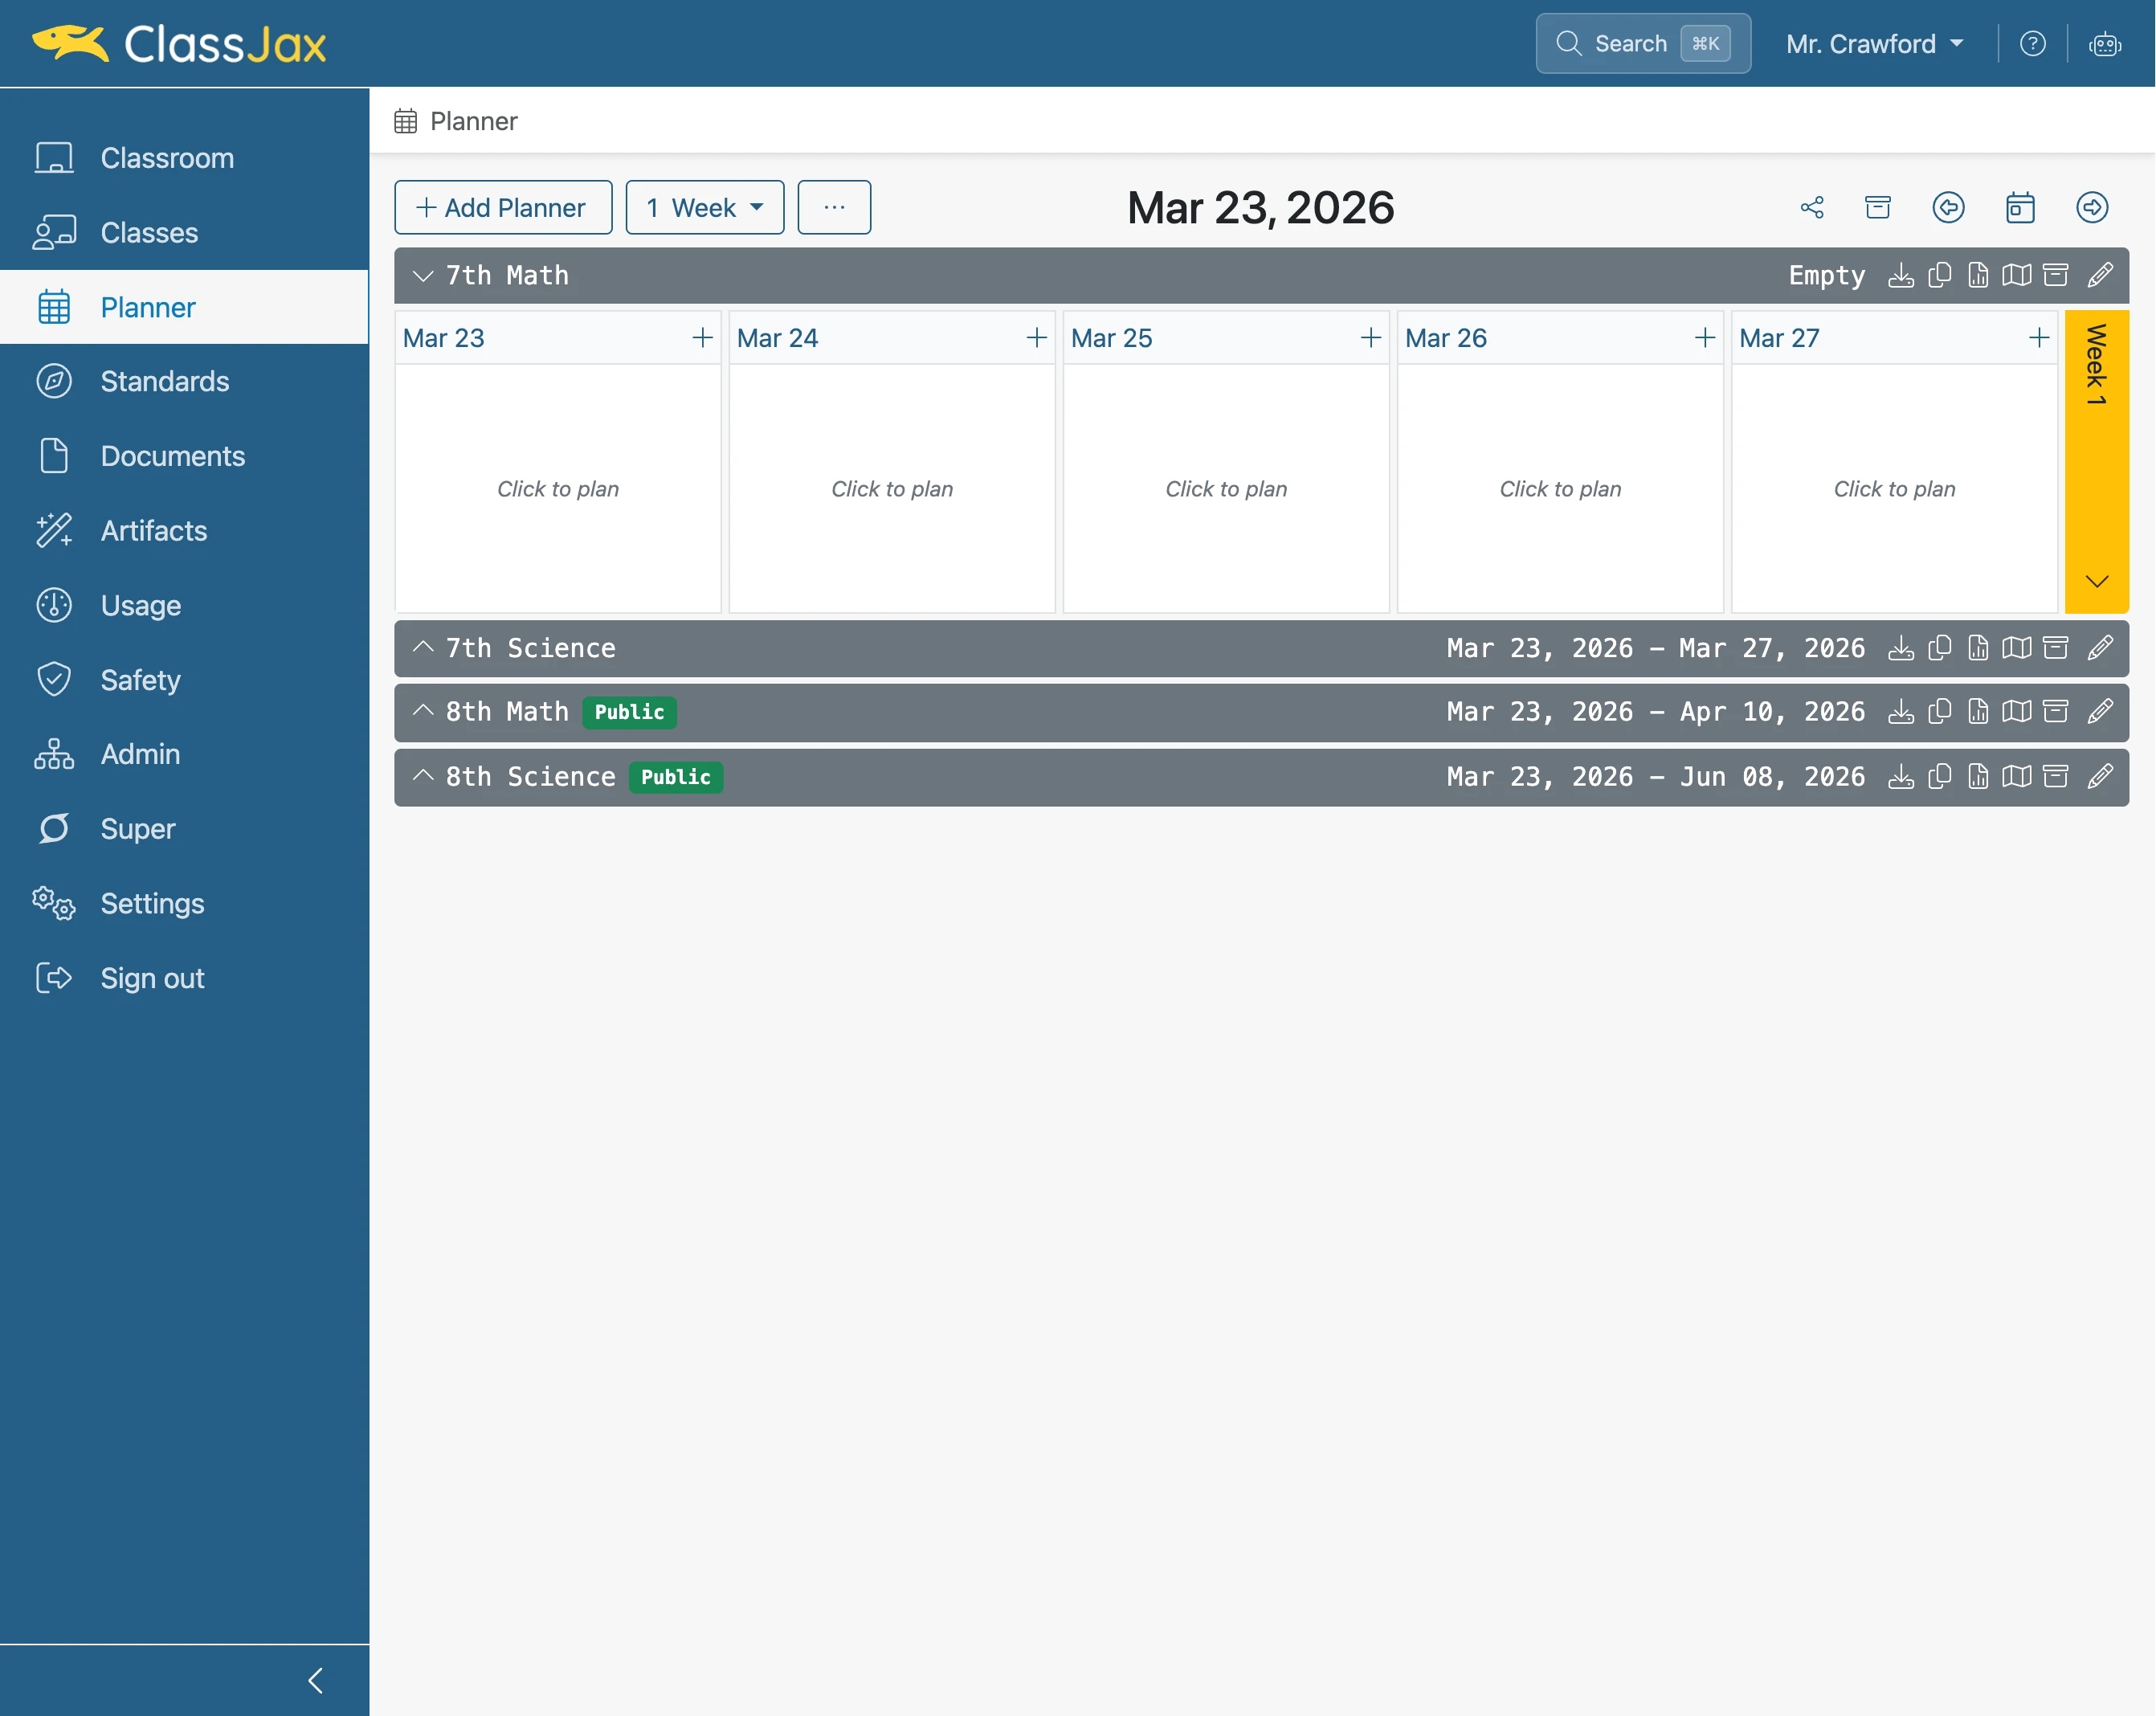
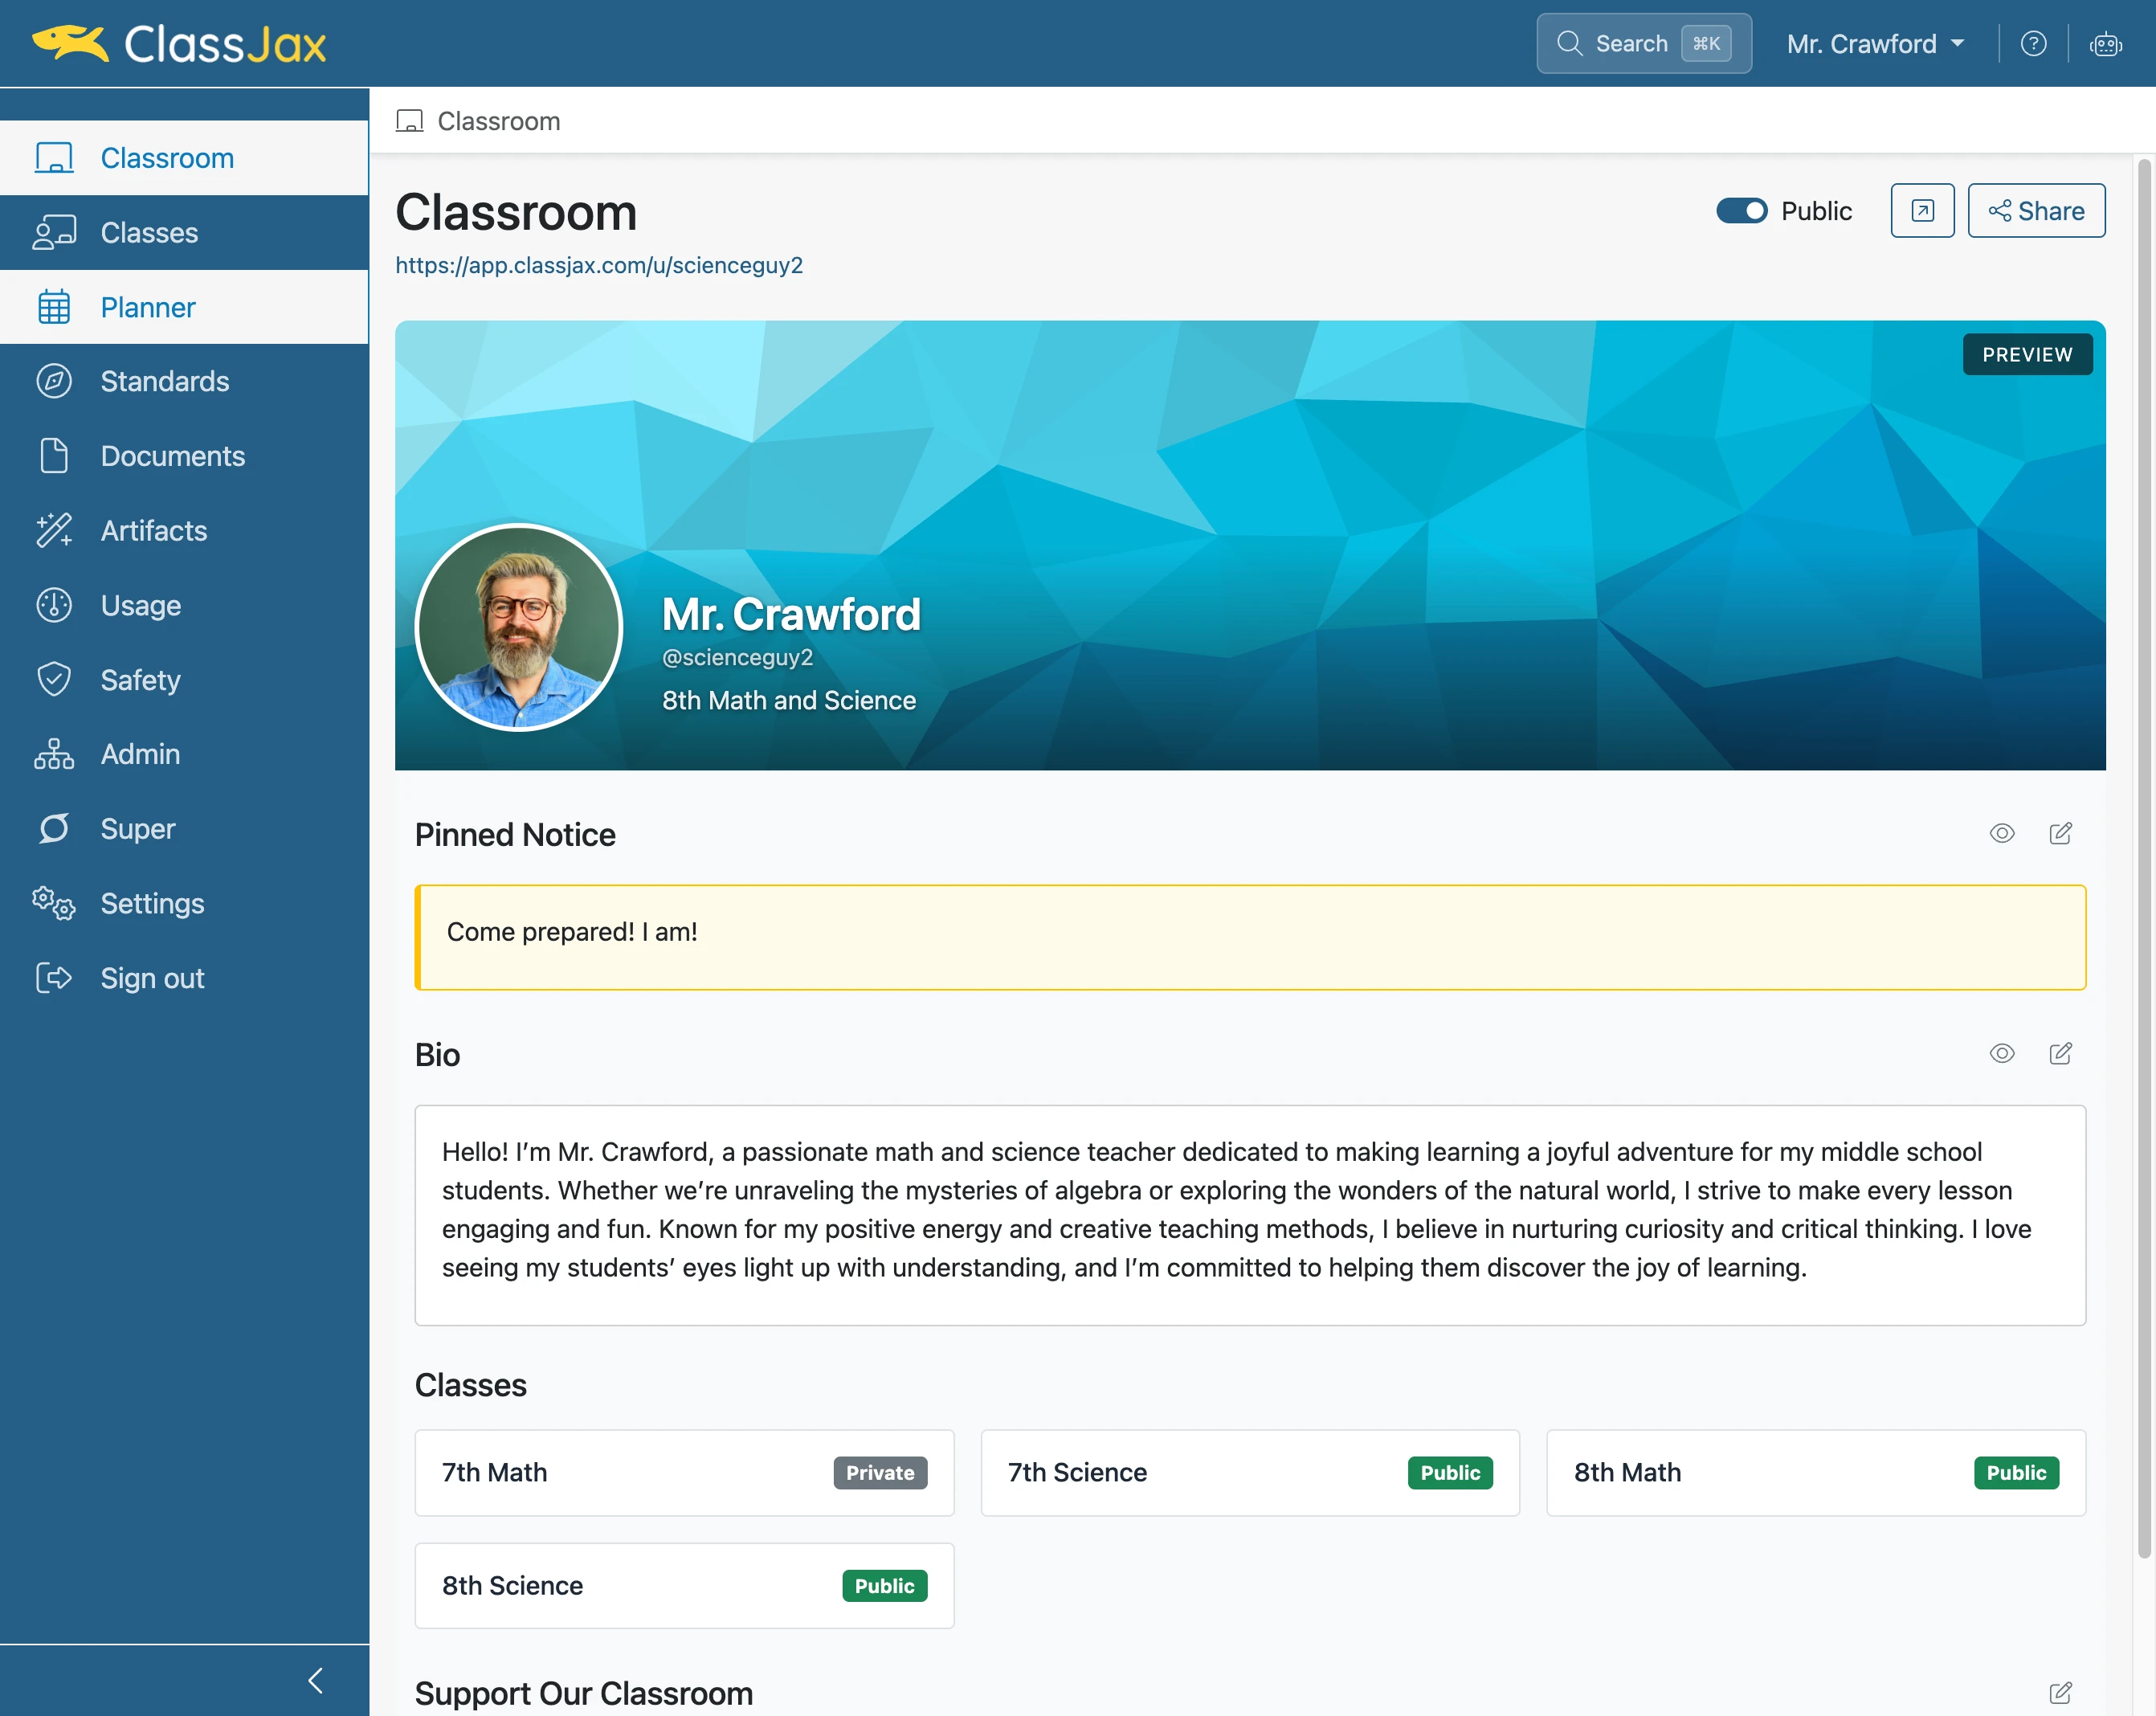
Click the 'Planner' link
- 2
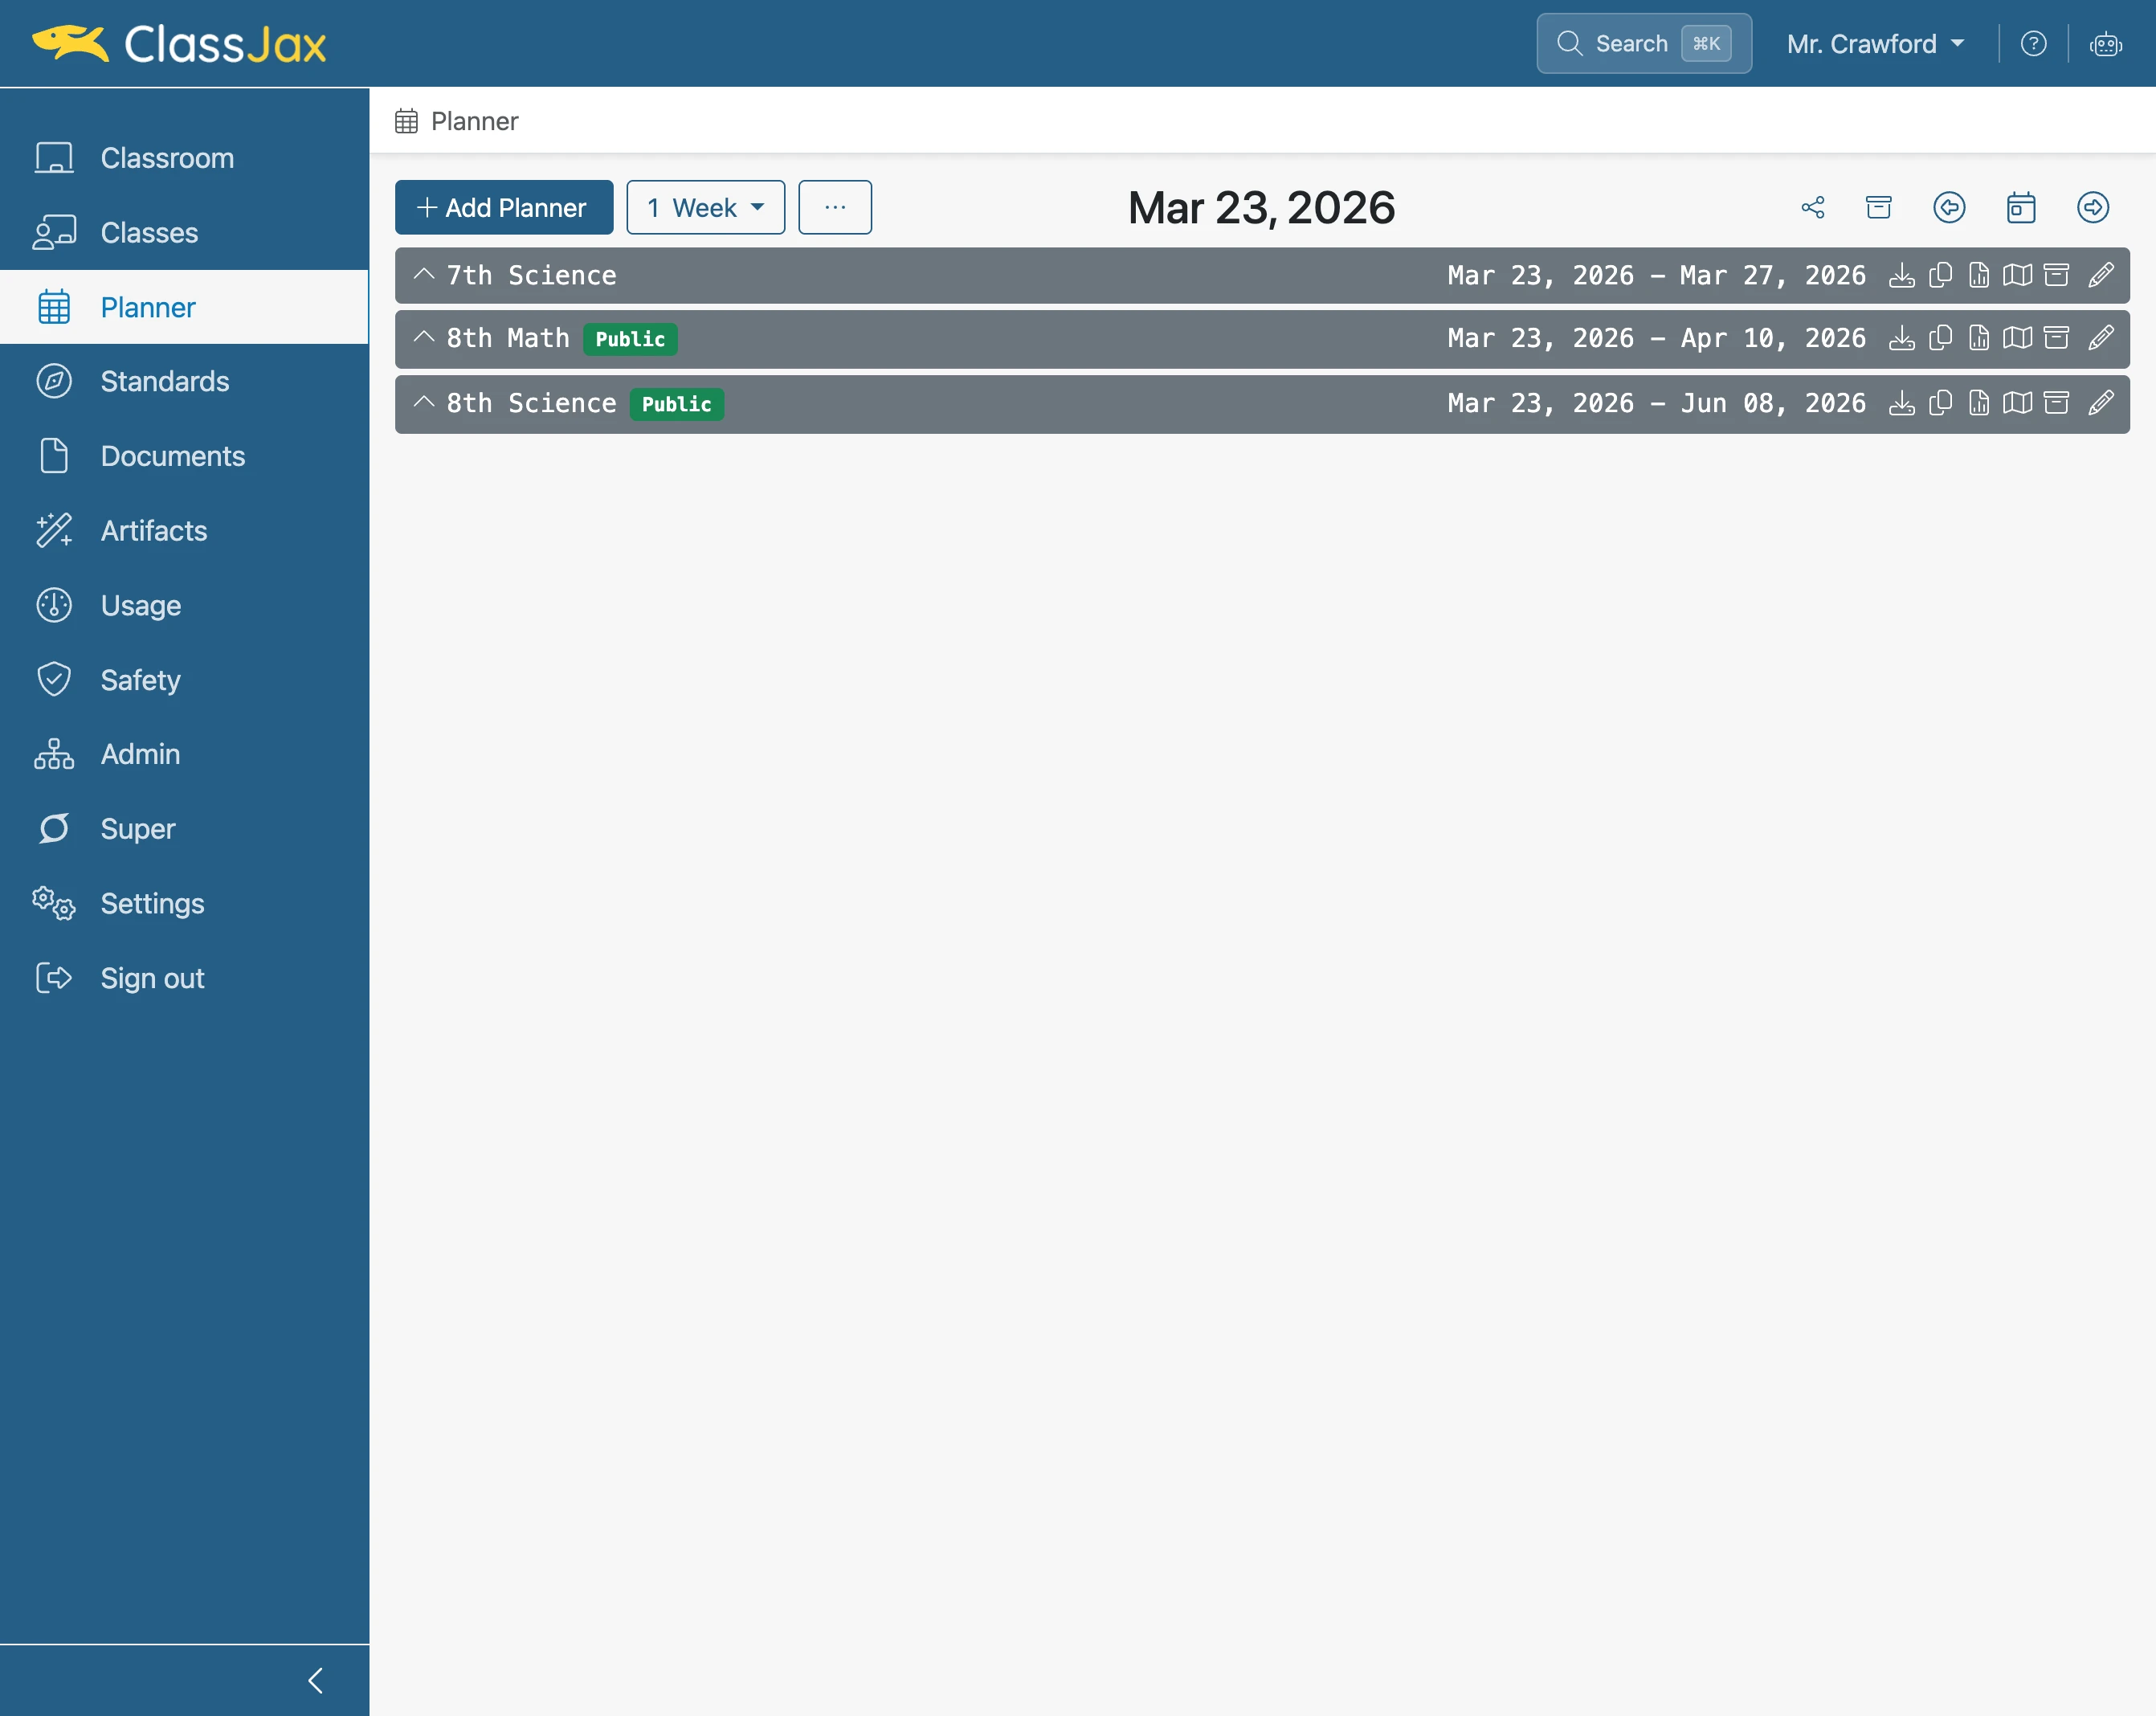
Click 'Add Planner'
- 3
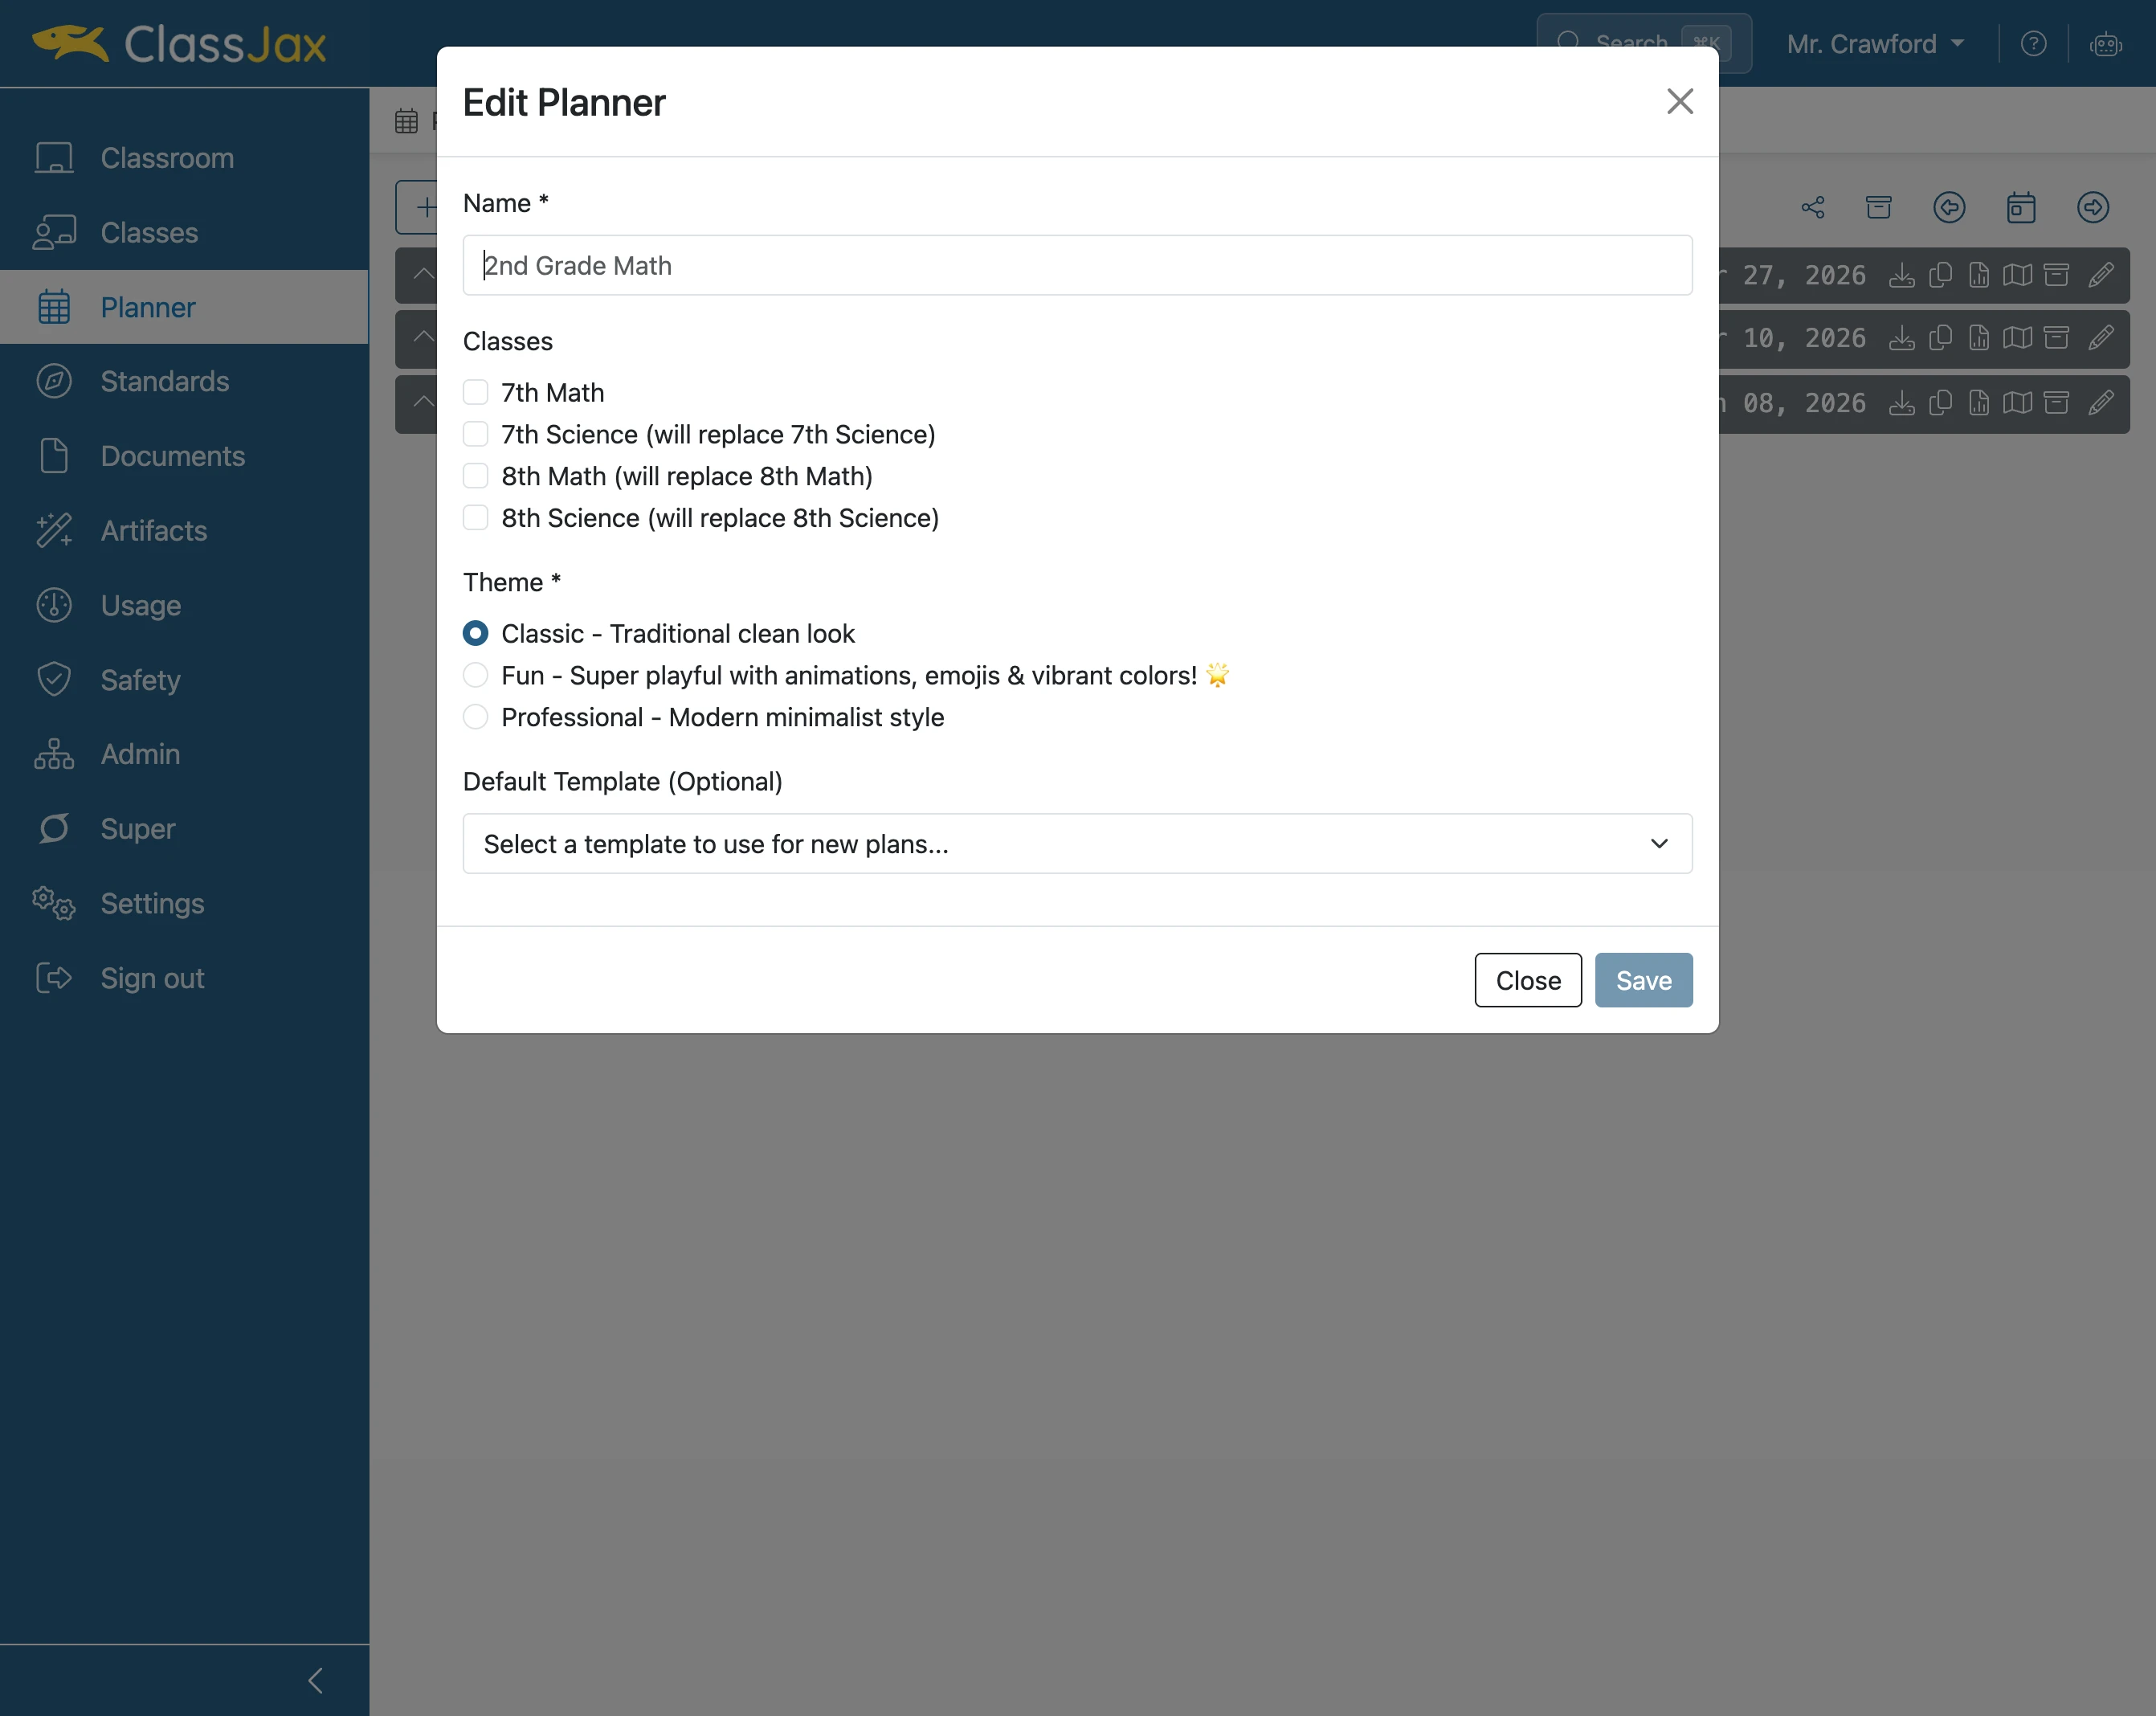
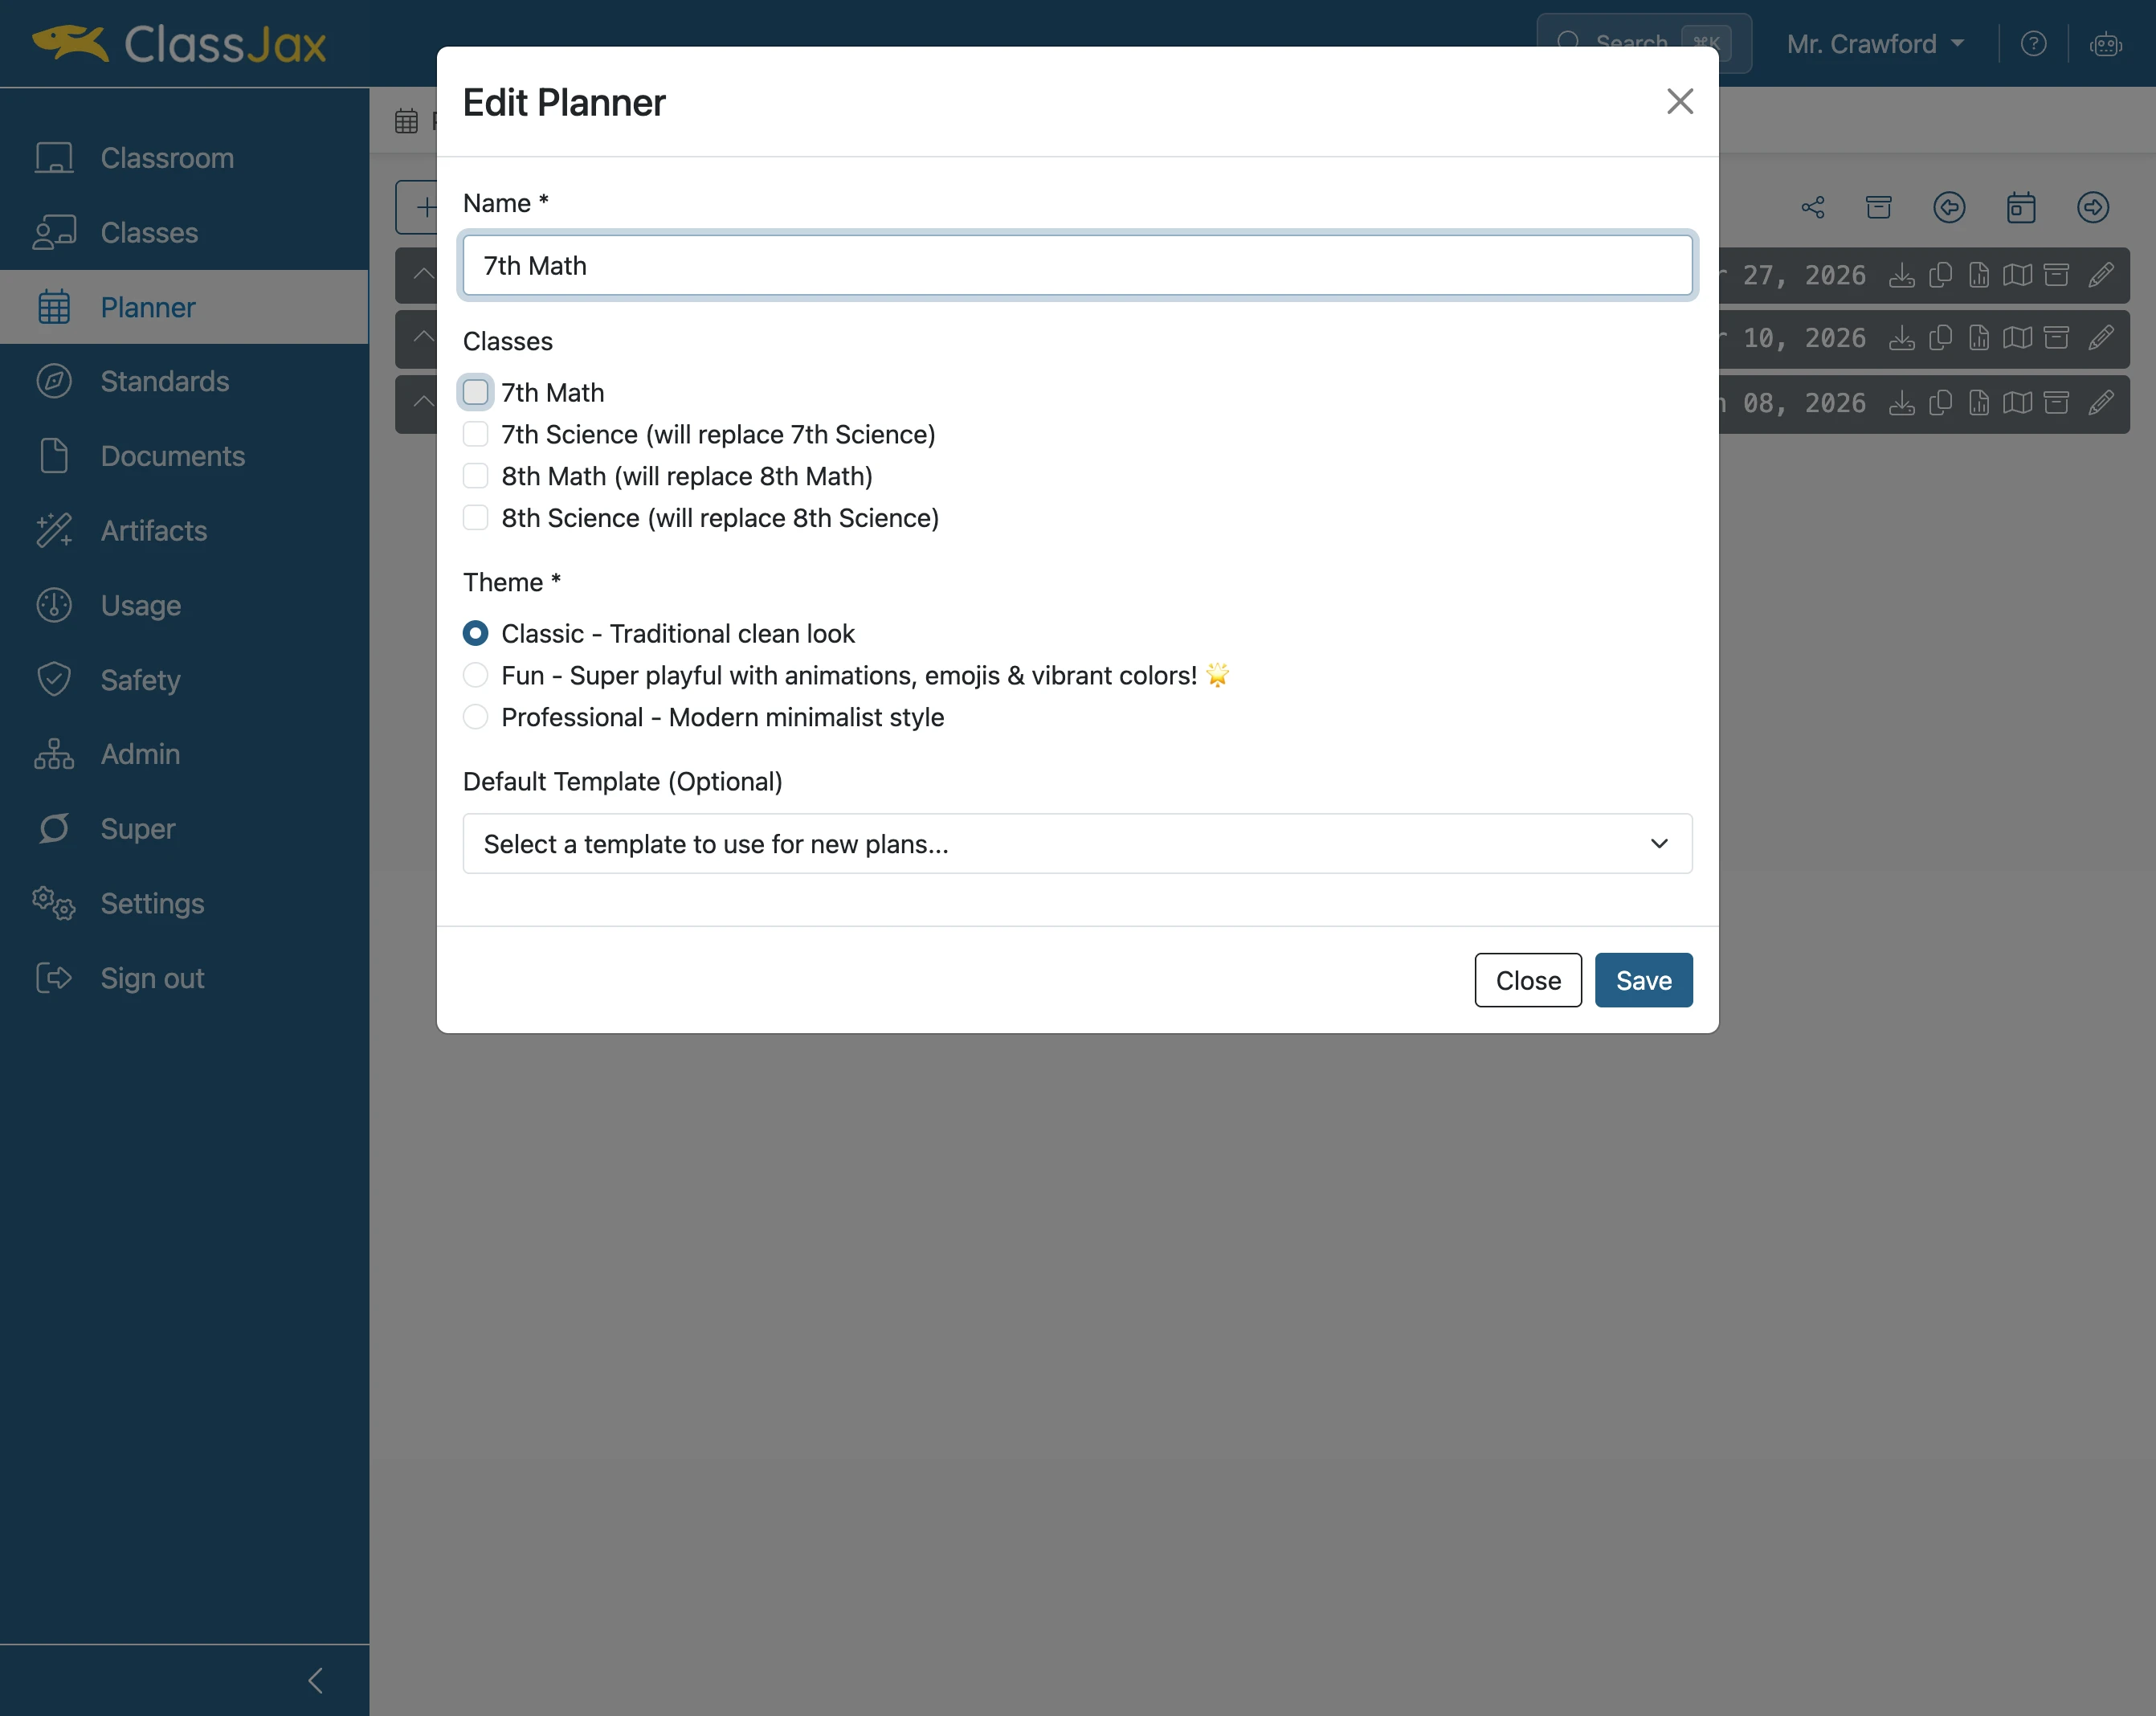
Click the 'Name' field
Enter the name of the new Planner.
- 4
Check the Class(es) the Planner addresses
If the Class is not listed, create it and attach the Planner to it. Although not required, a class provides additional options for sharing information with students and parents.
- 5
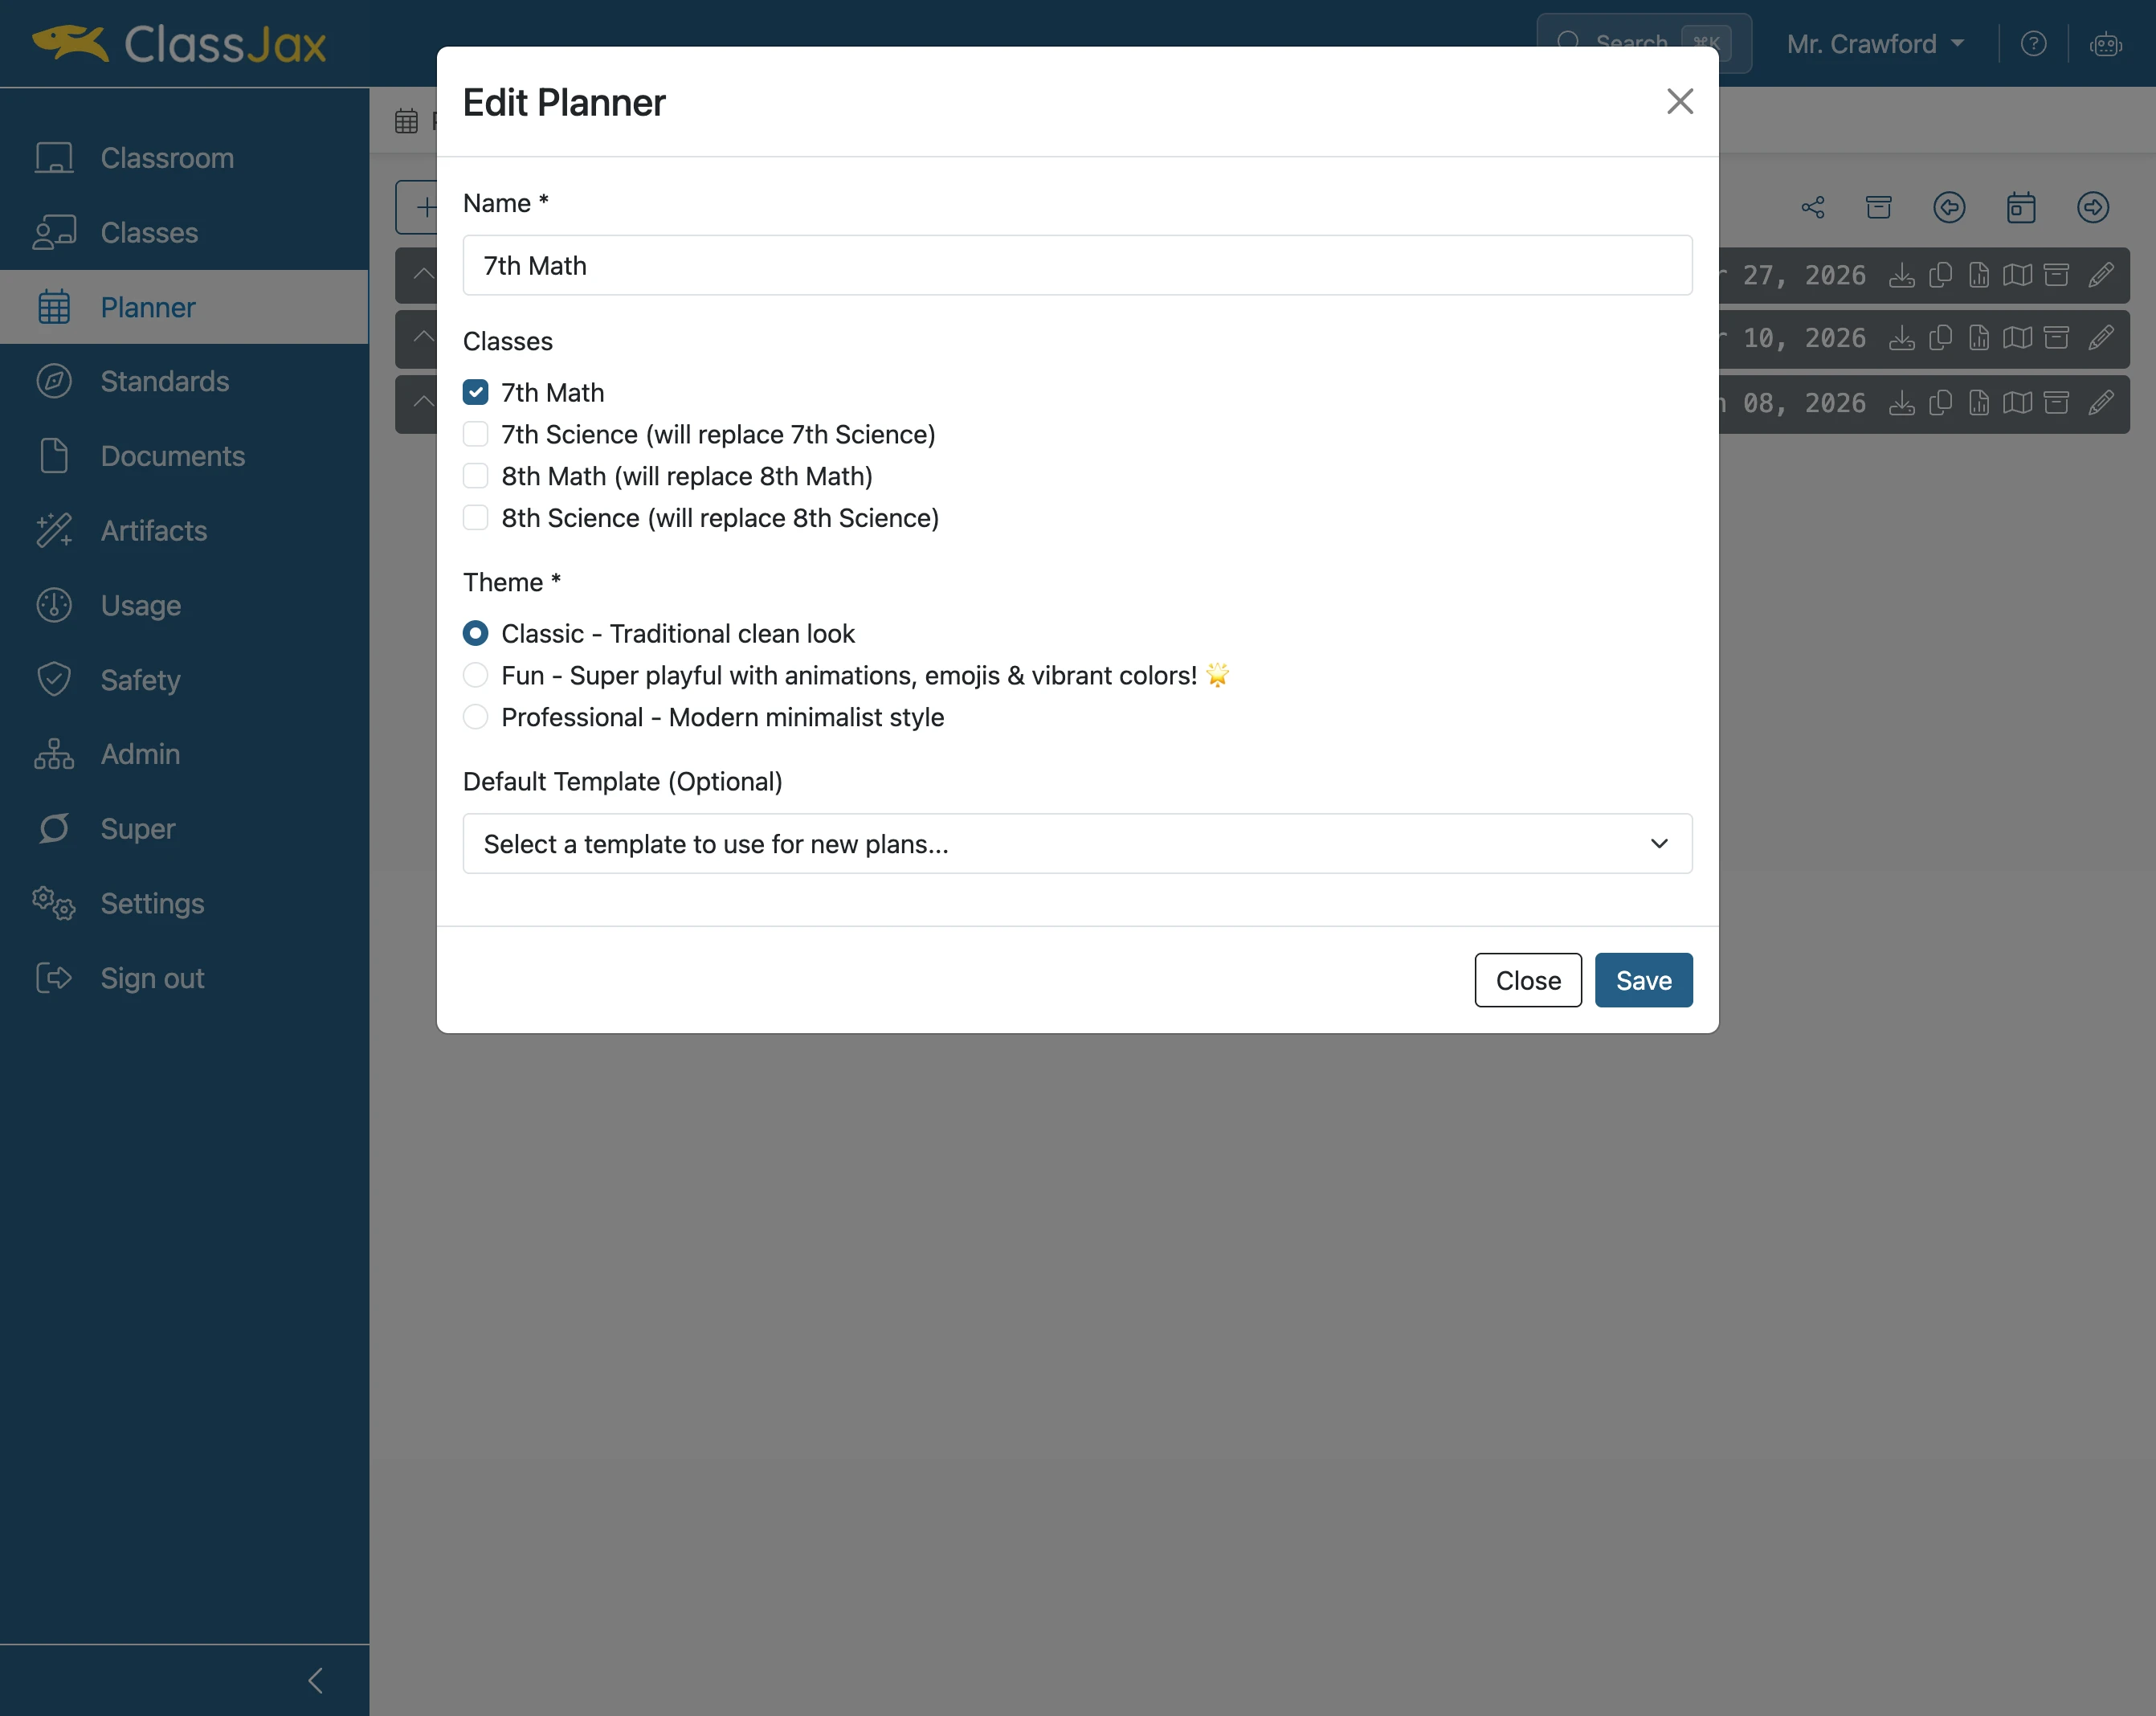
Click 'Default Template'
The optional templates provide different presentations of lesson plan content.
- 6
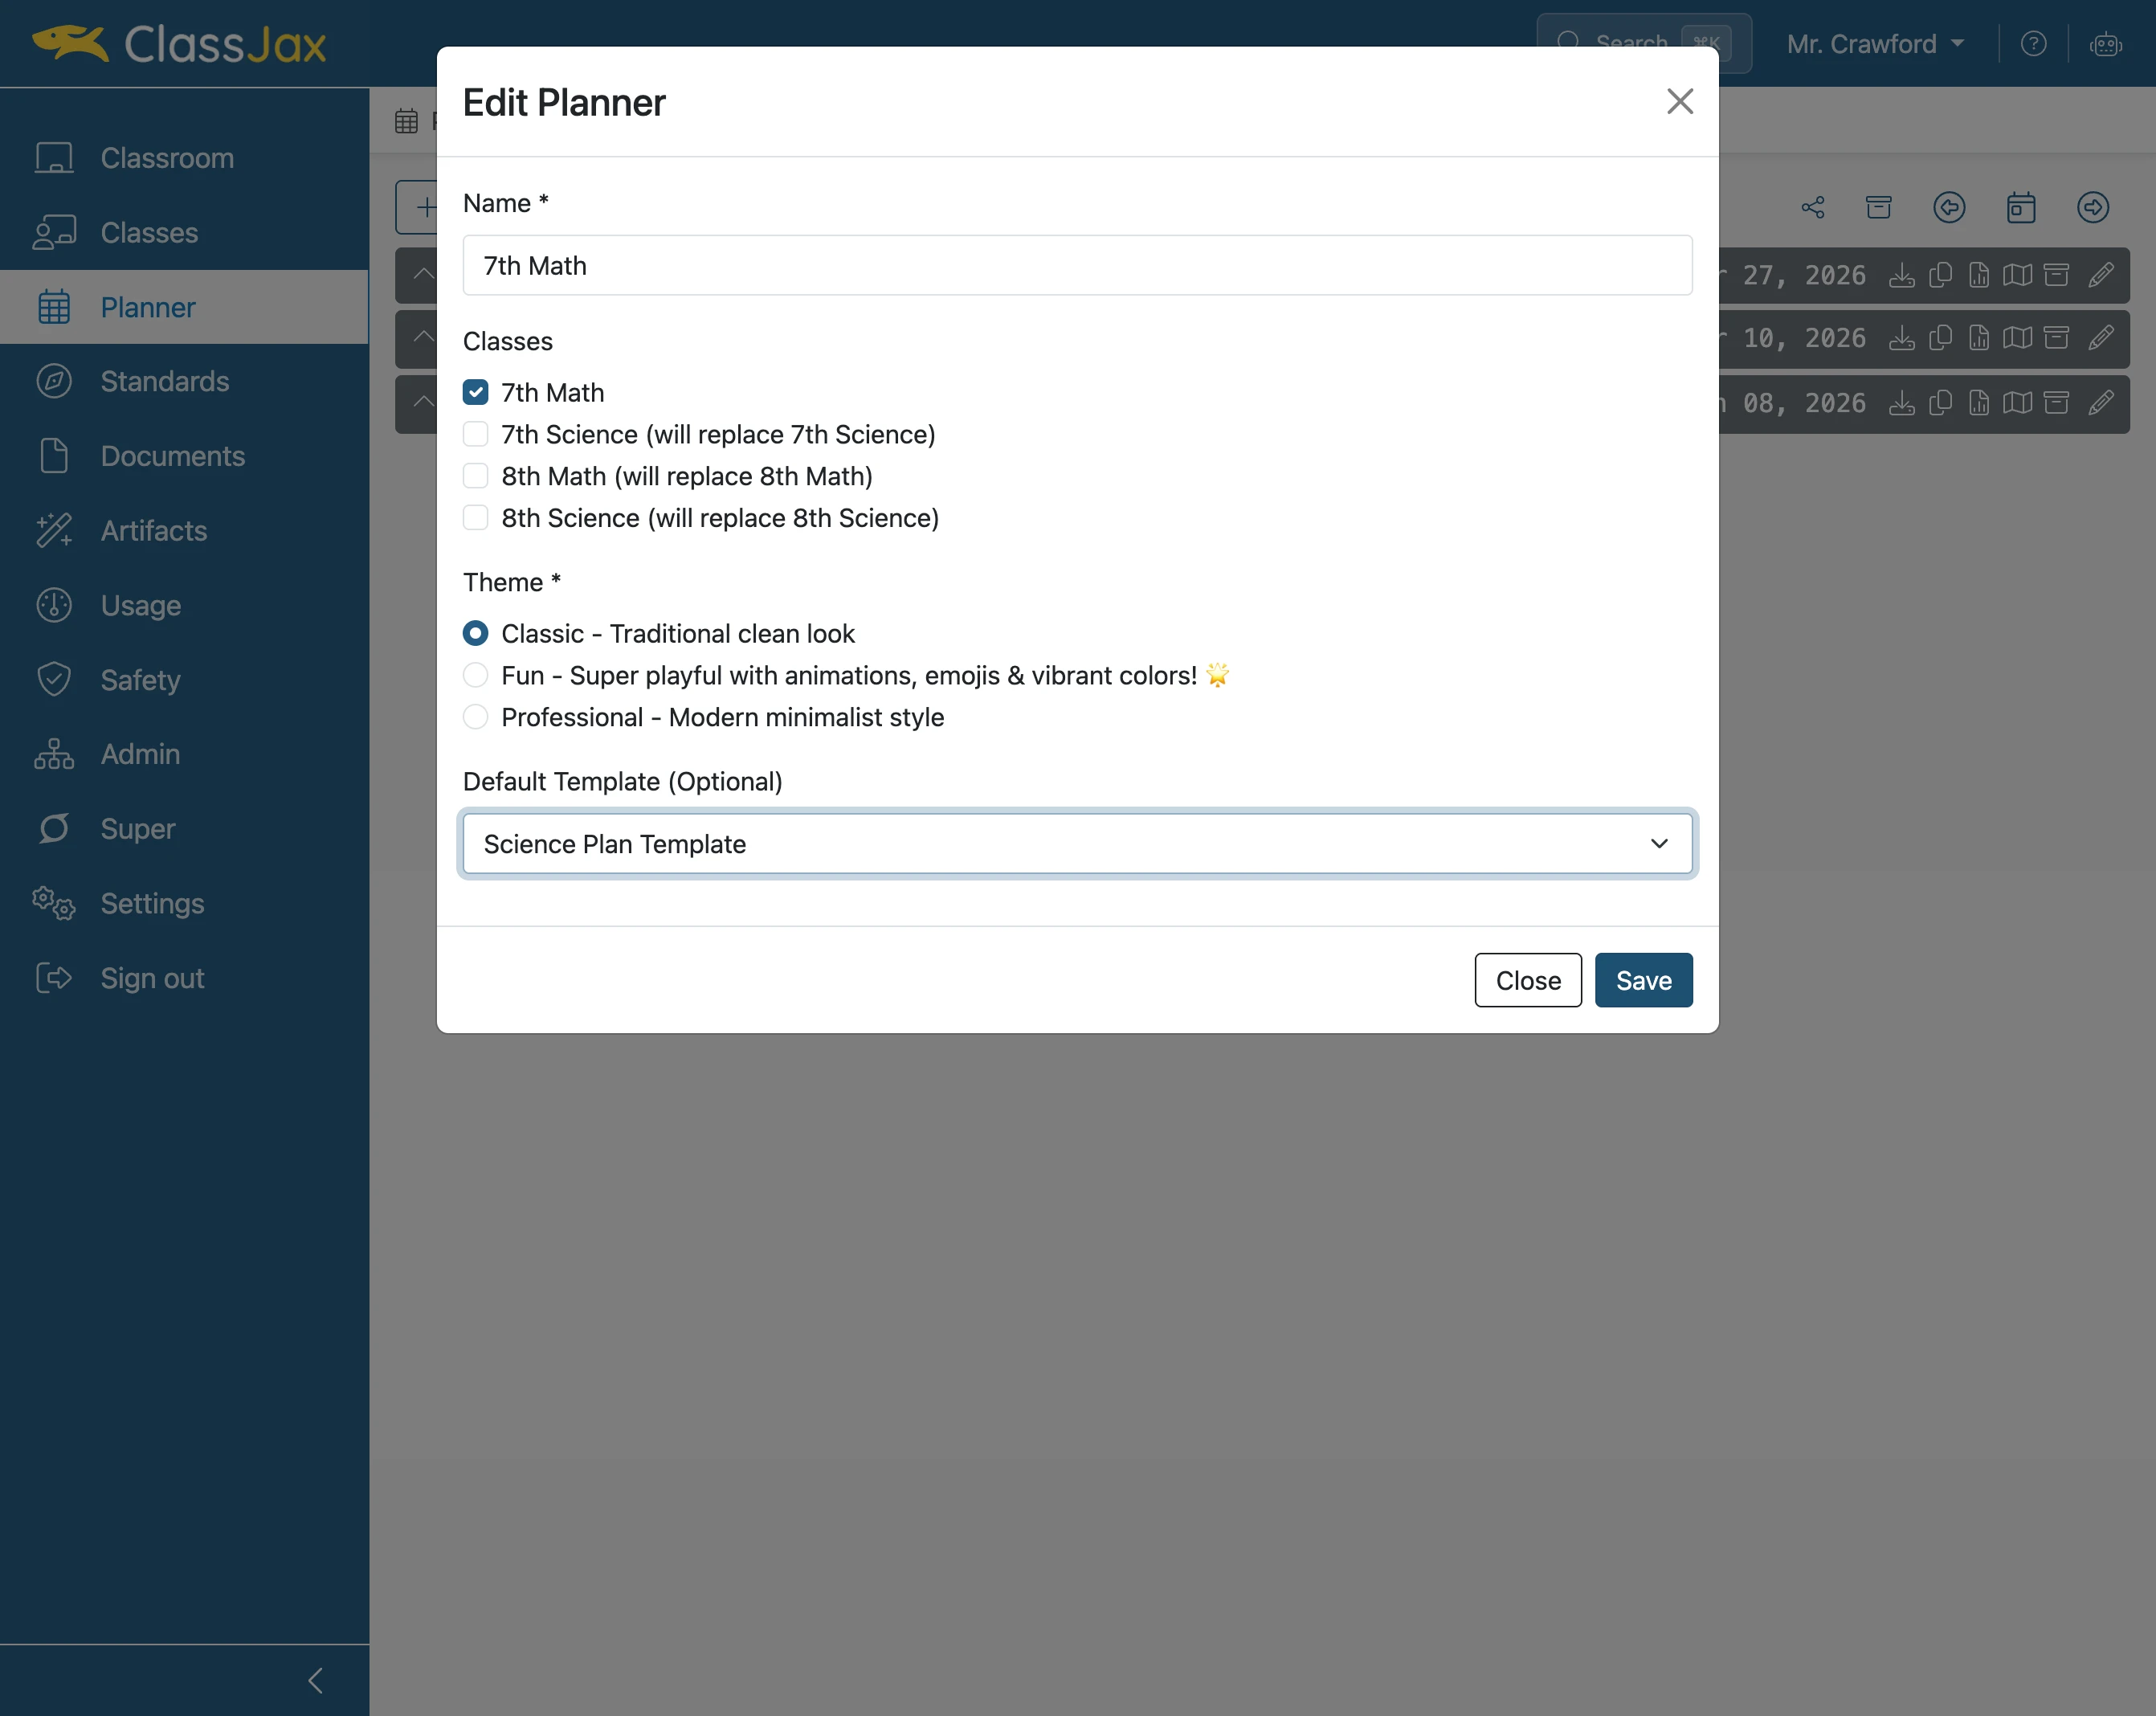
Click 'Save'
- 7
The New Planner Displayed
The new planner is ready for use.