Create My Classes
Creating a class in ClassJax is a simple process designed to help you organize your announcements, students, lesson plans, and resources all in one place.
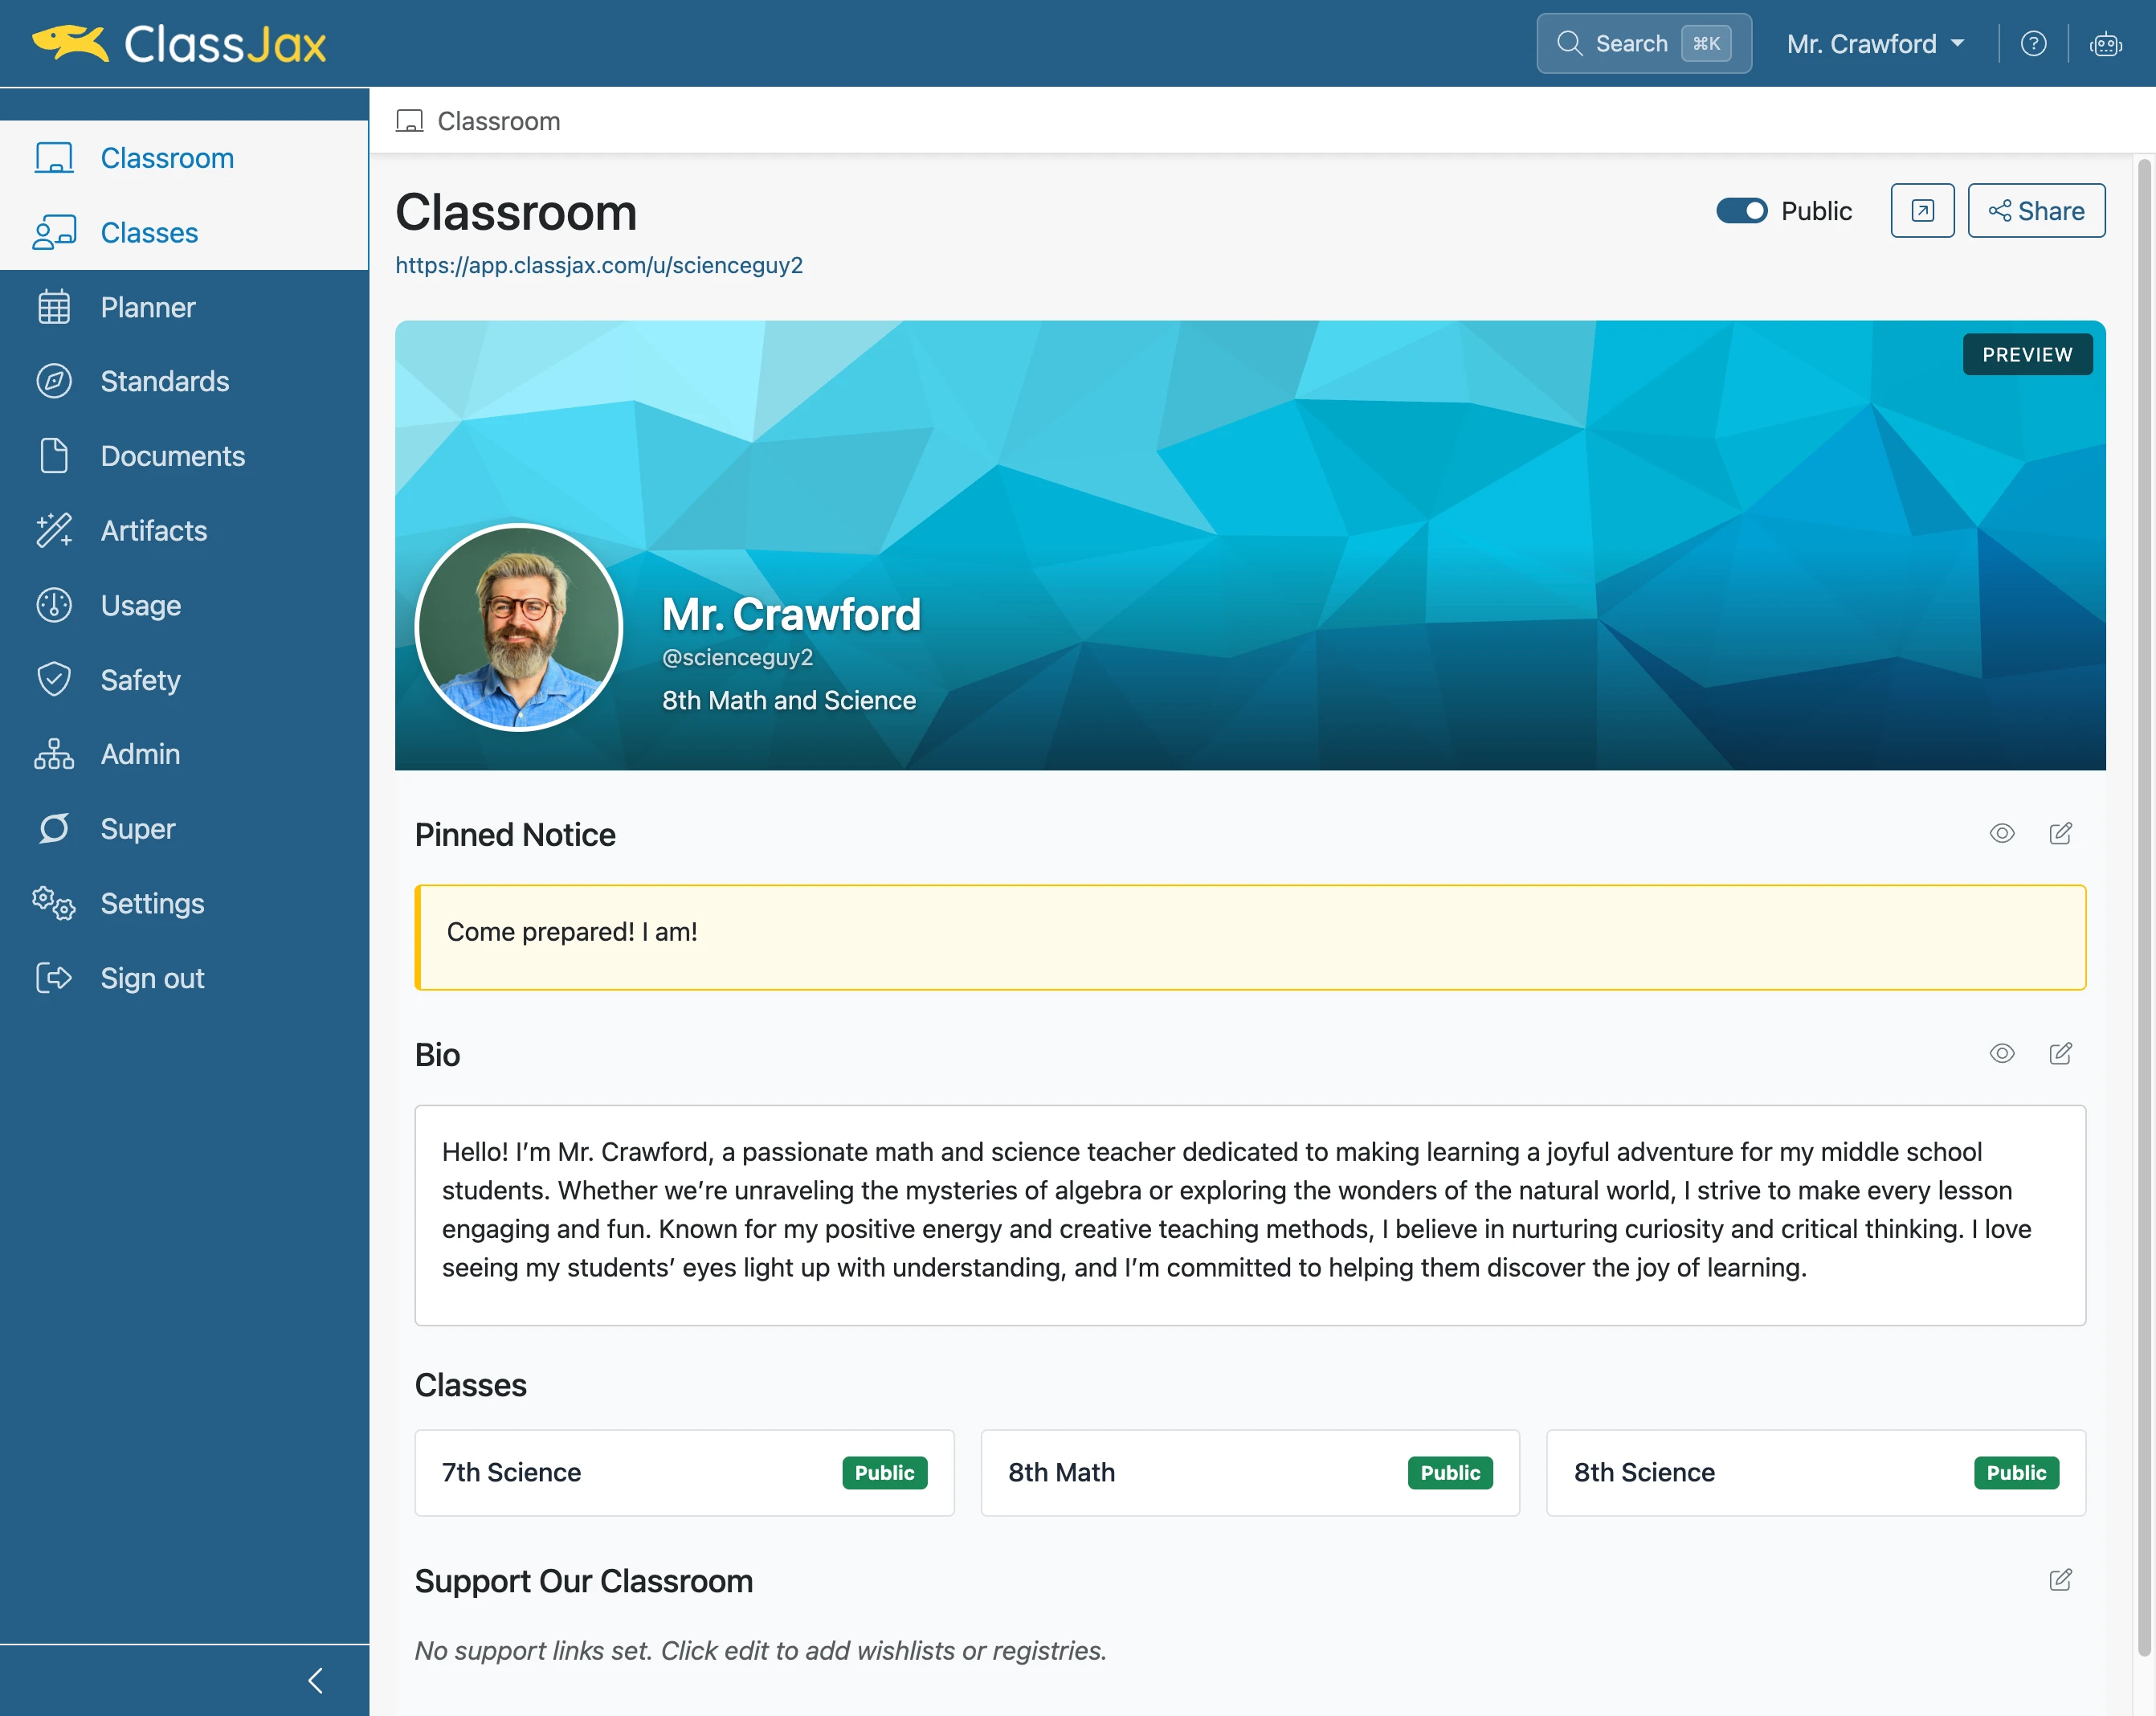
- 1
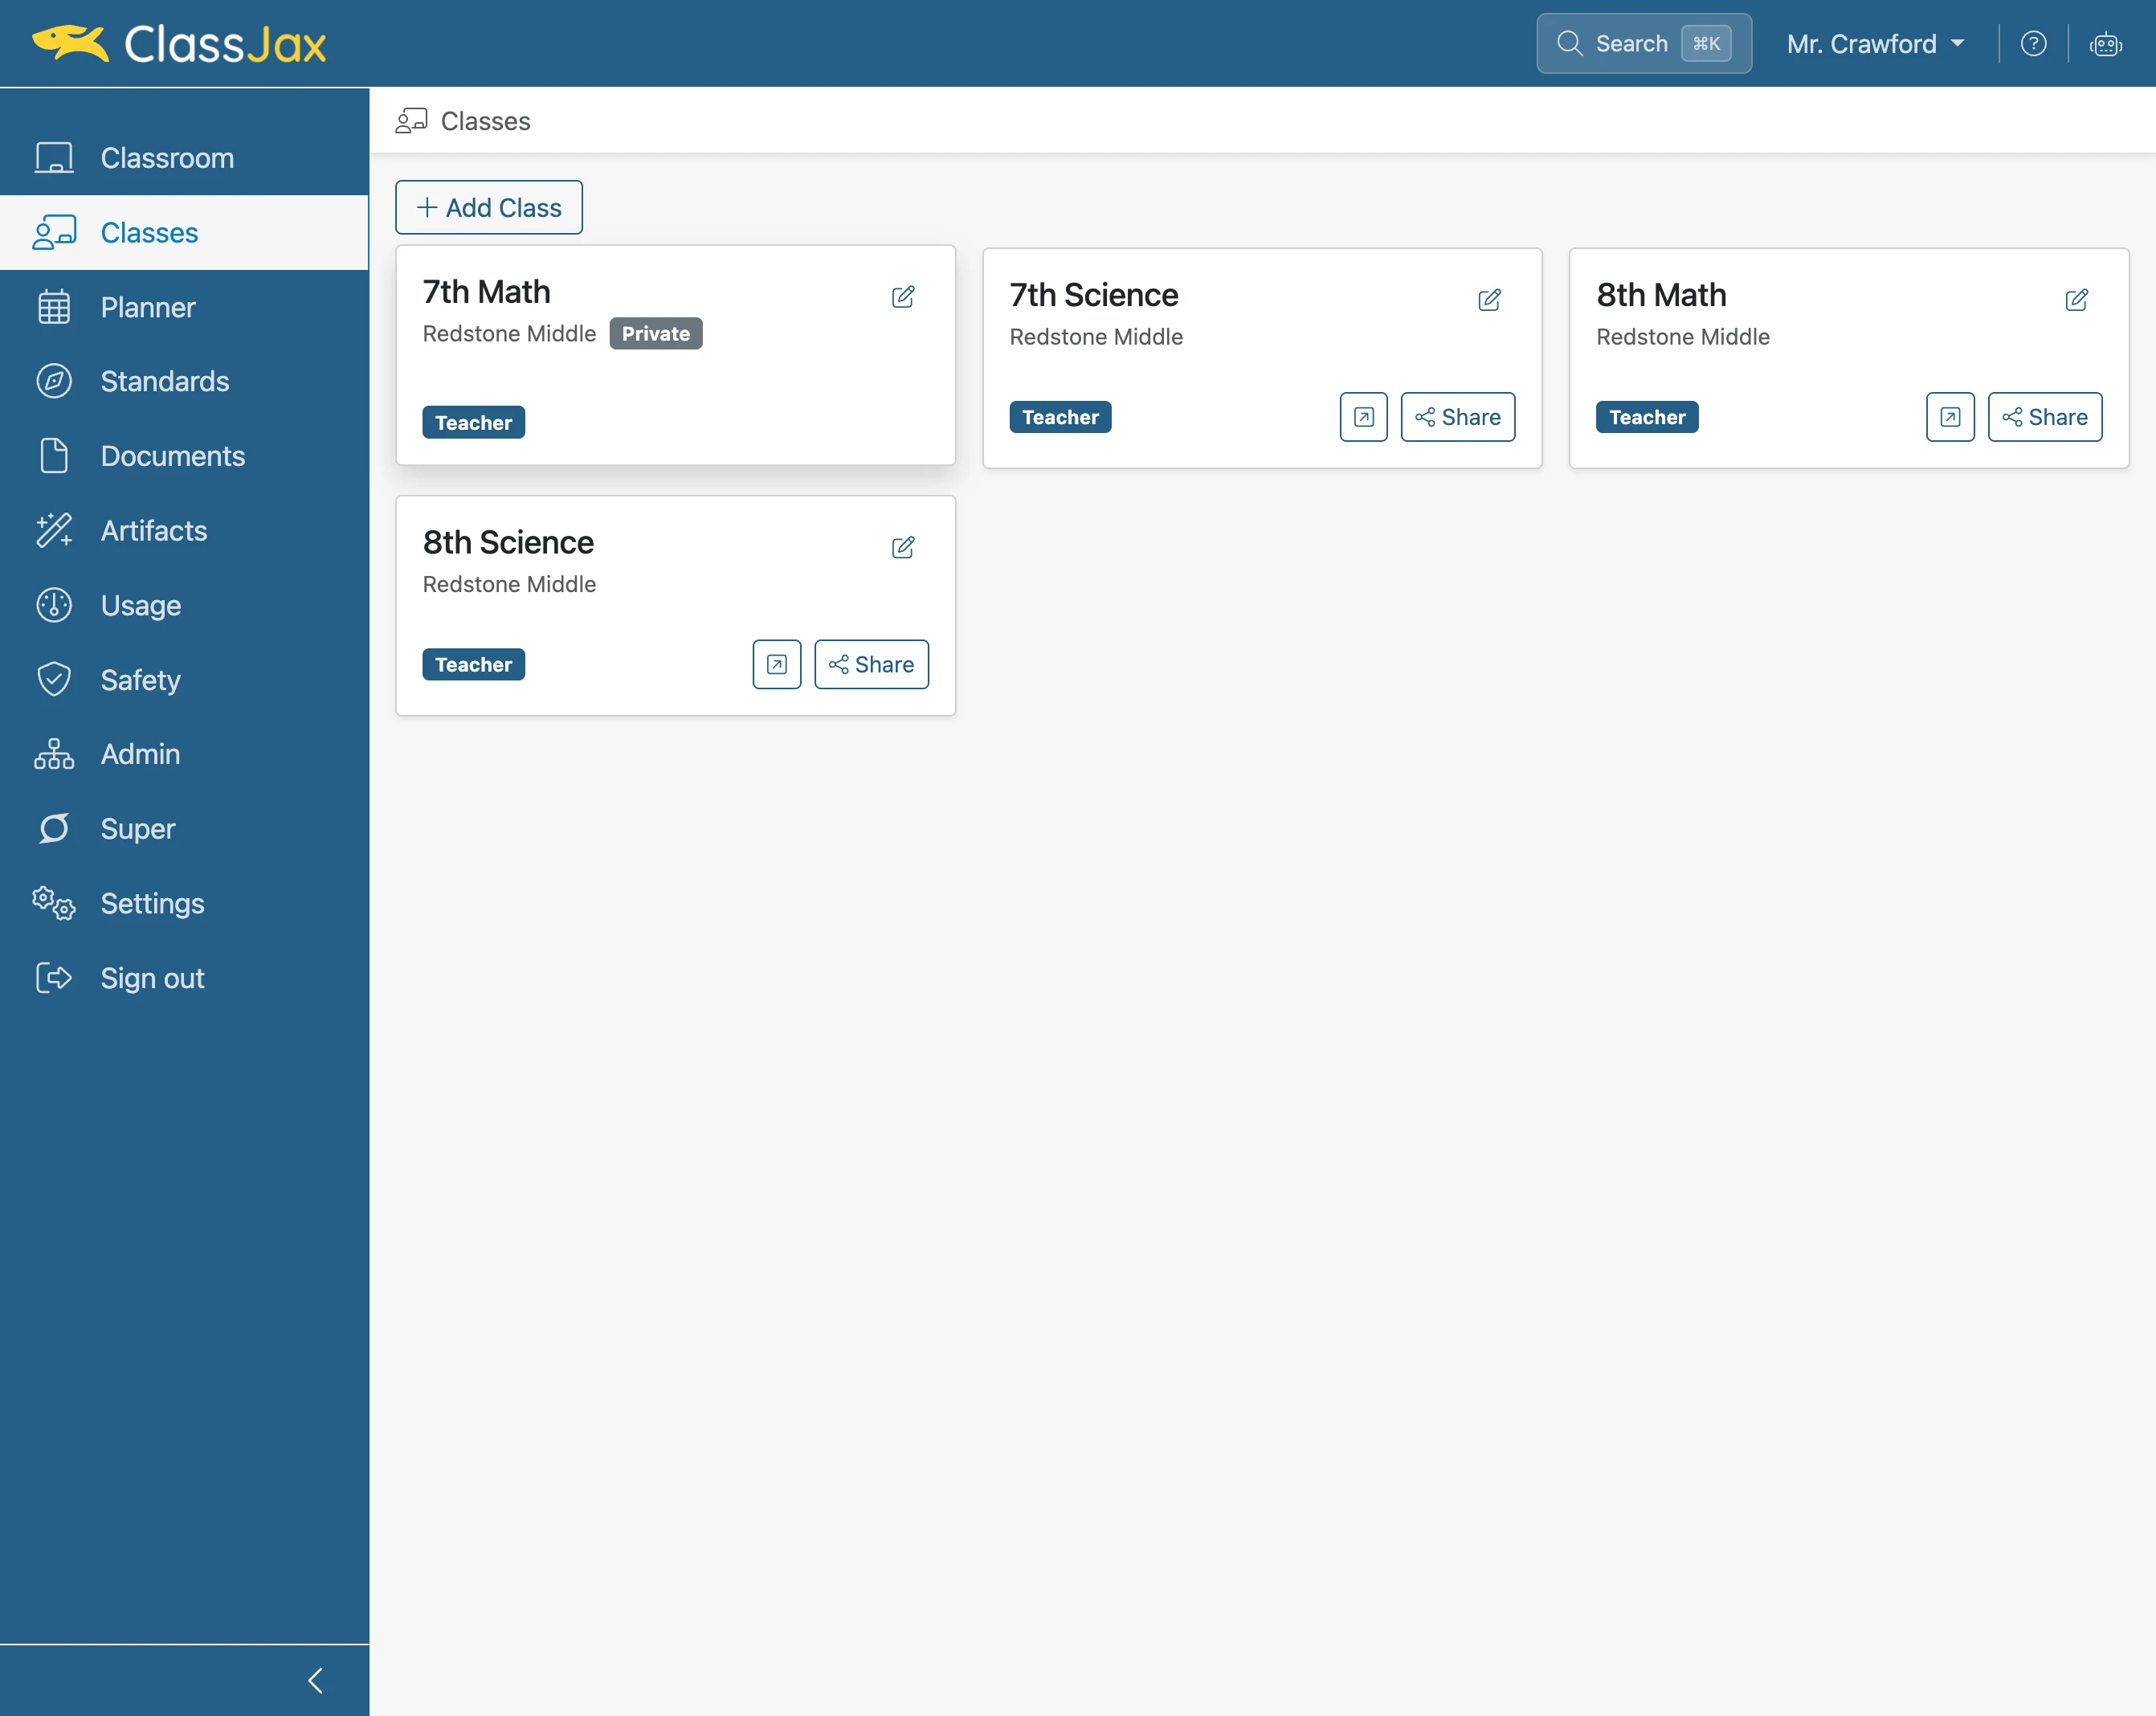
Click the 'Classes' link
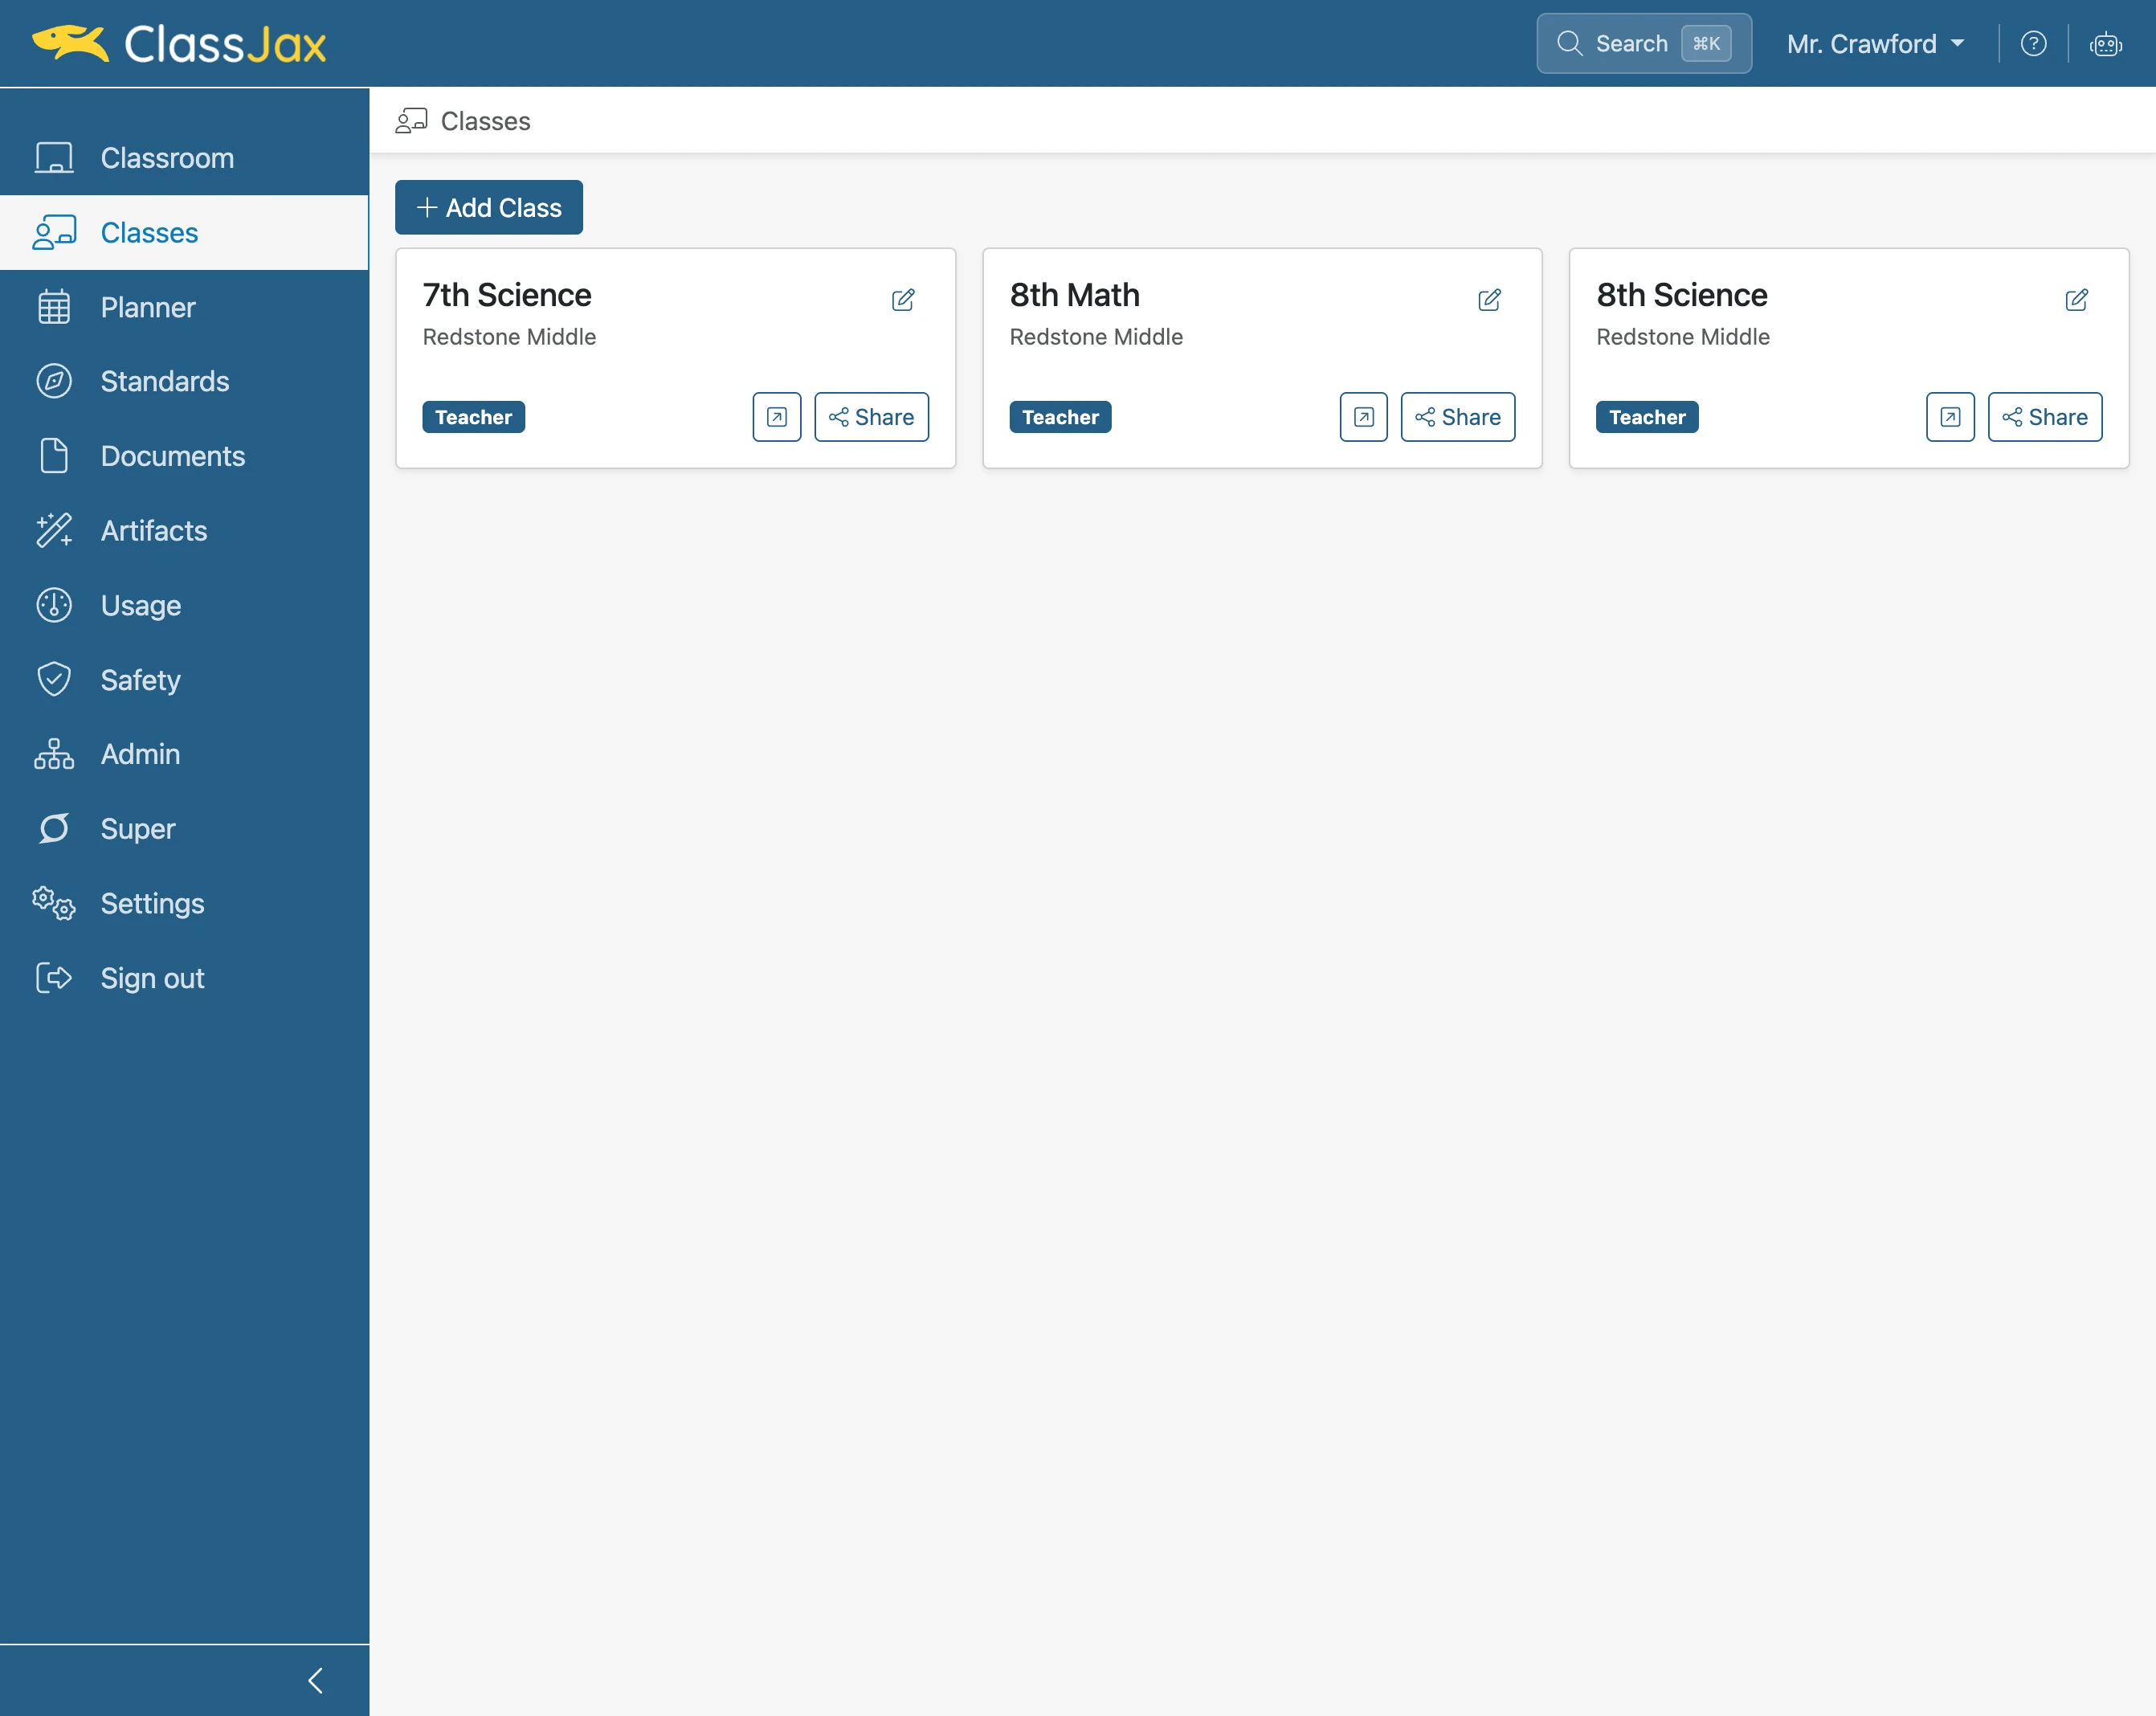
- 2
Click 'Add Class'
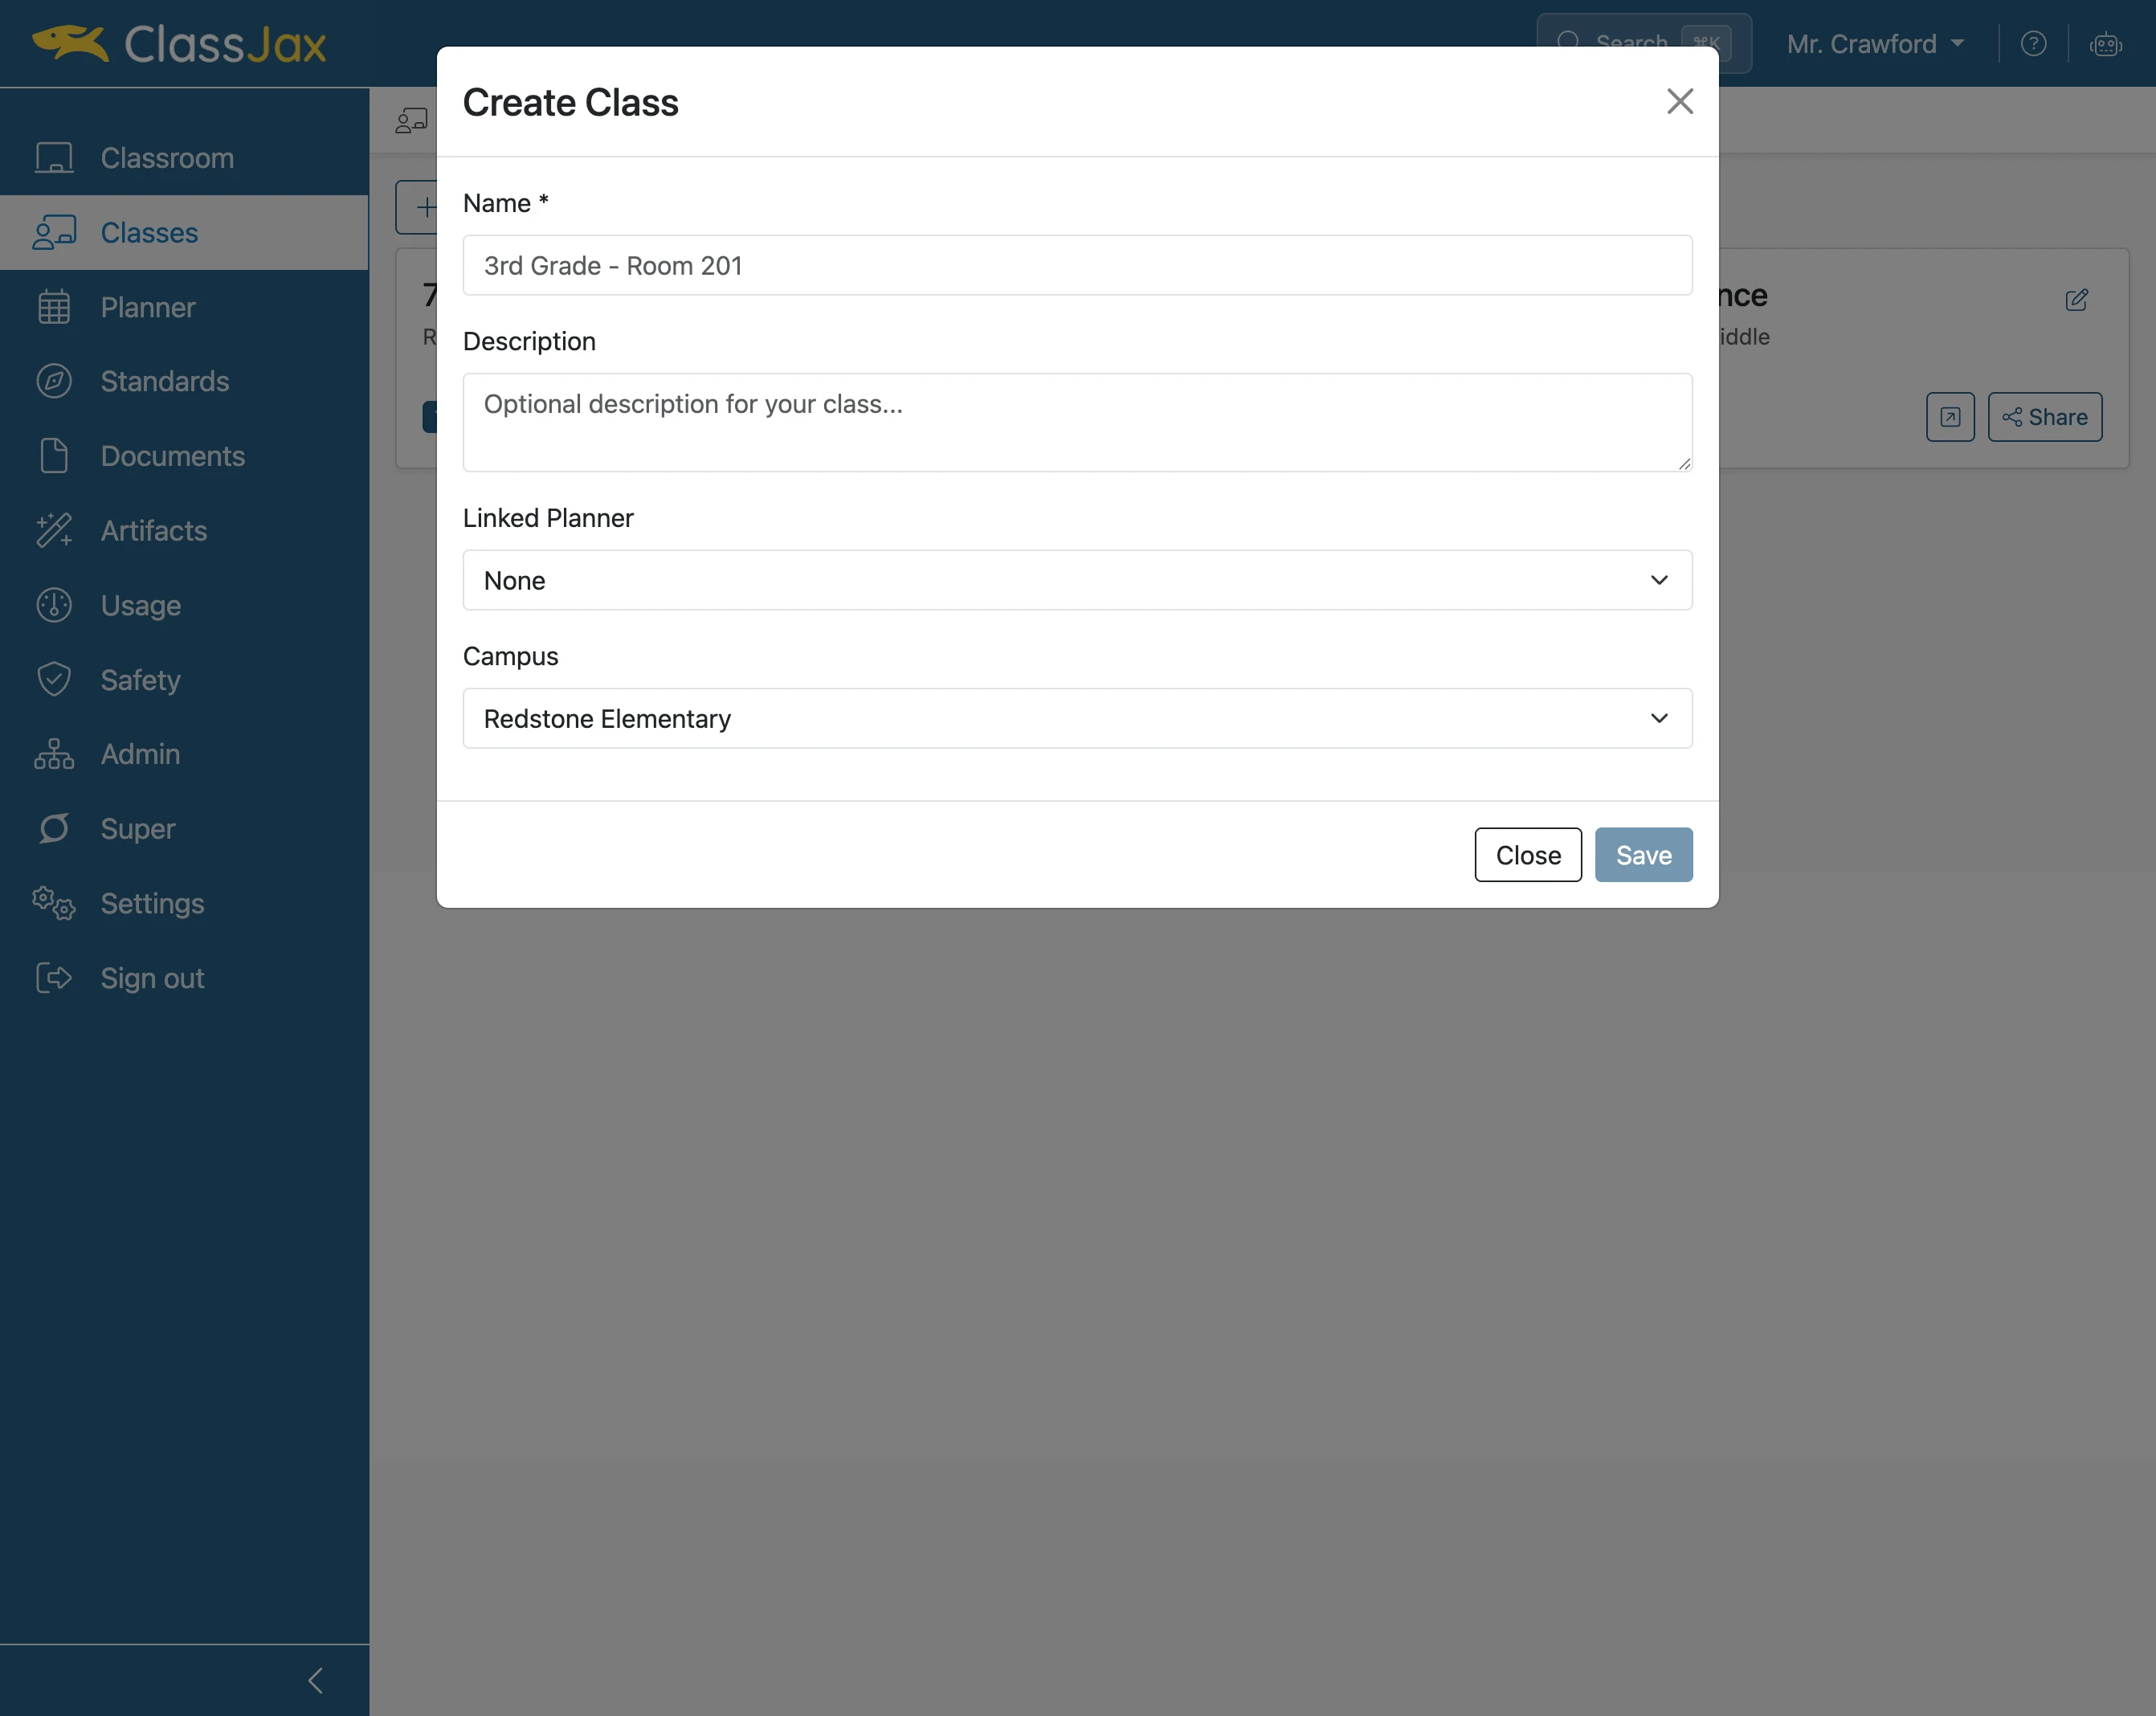
- 3
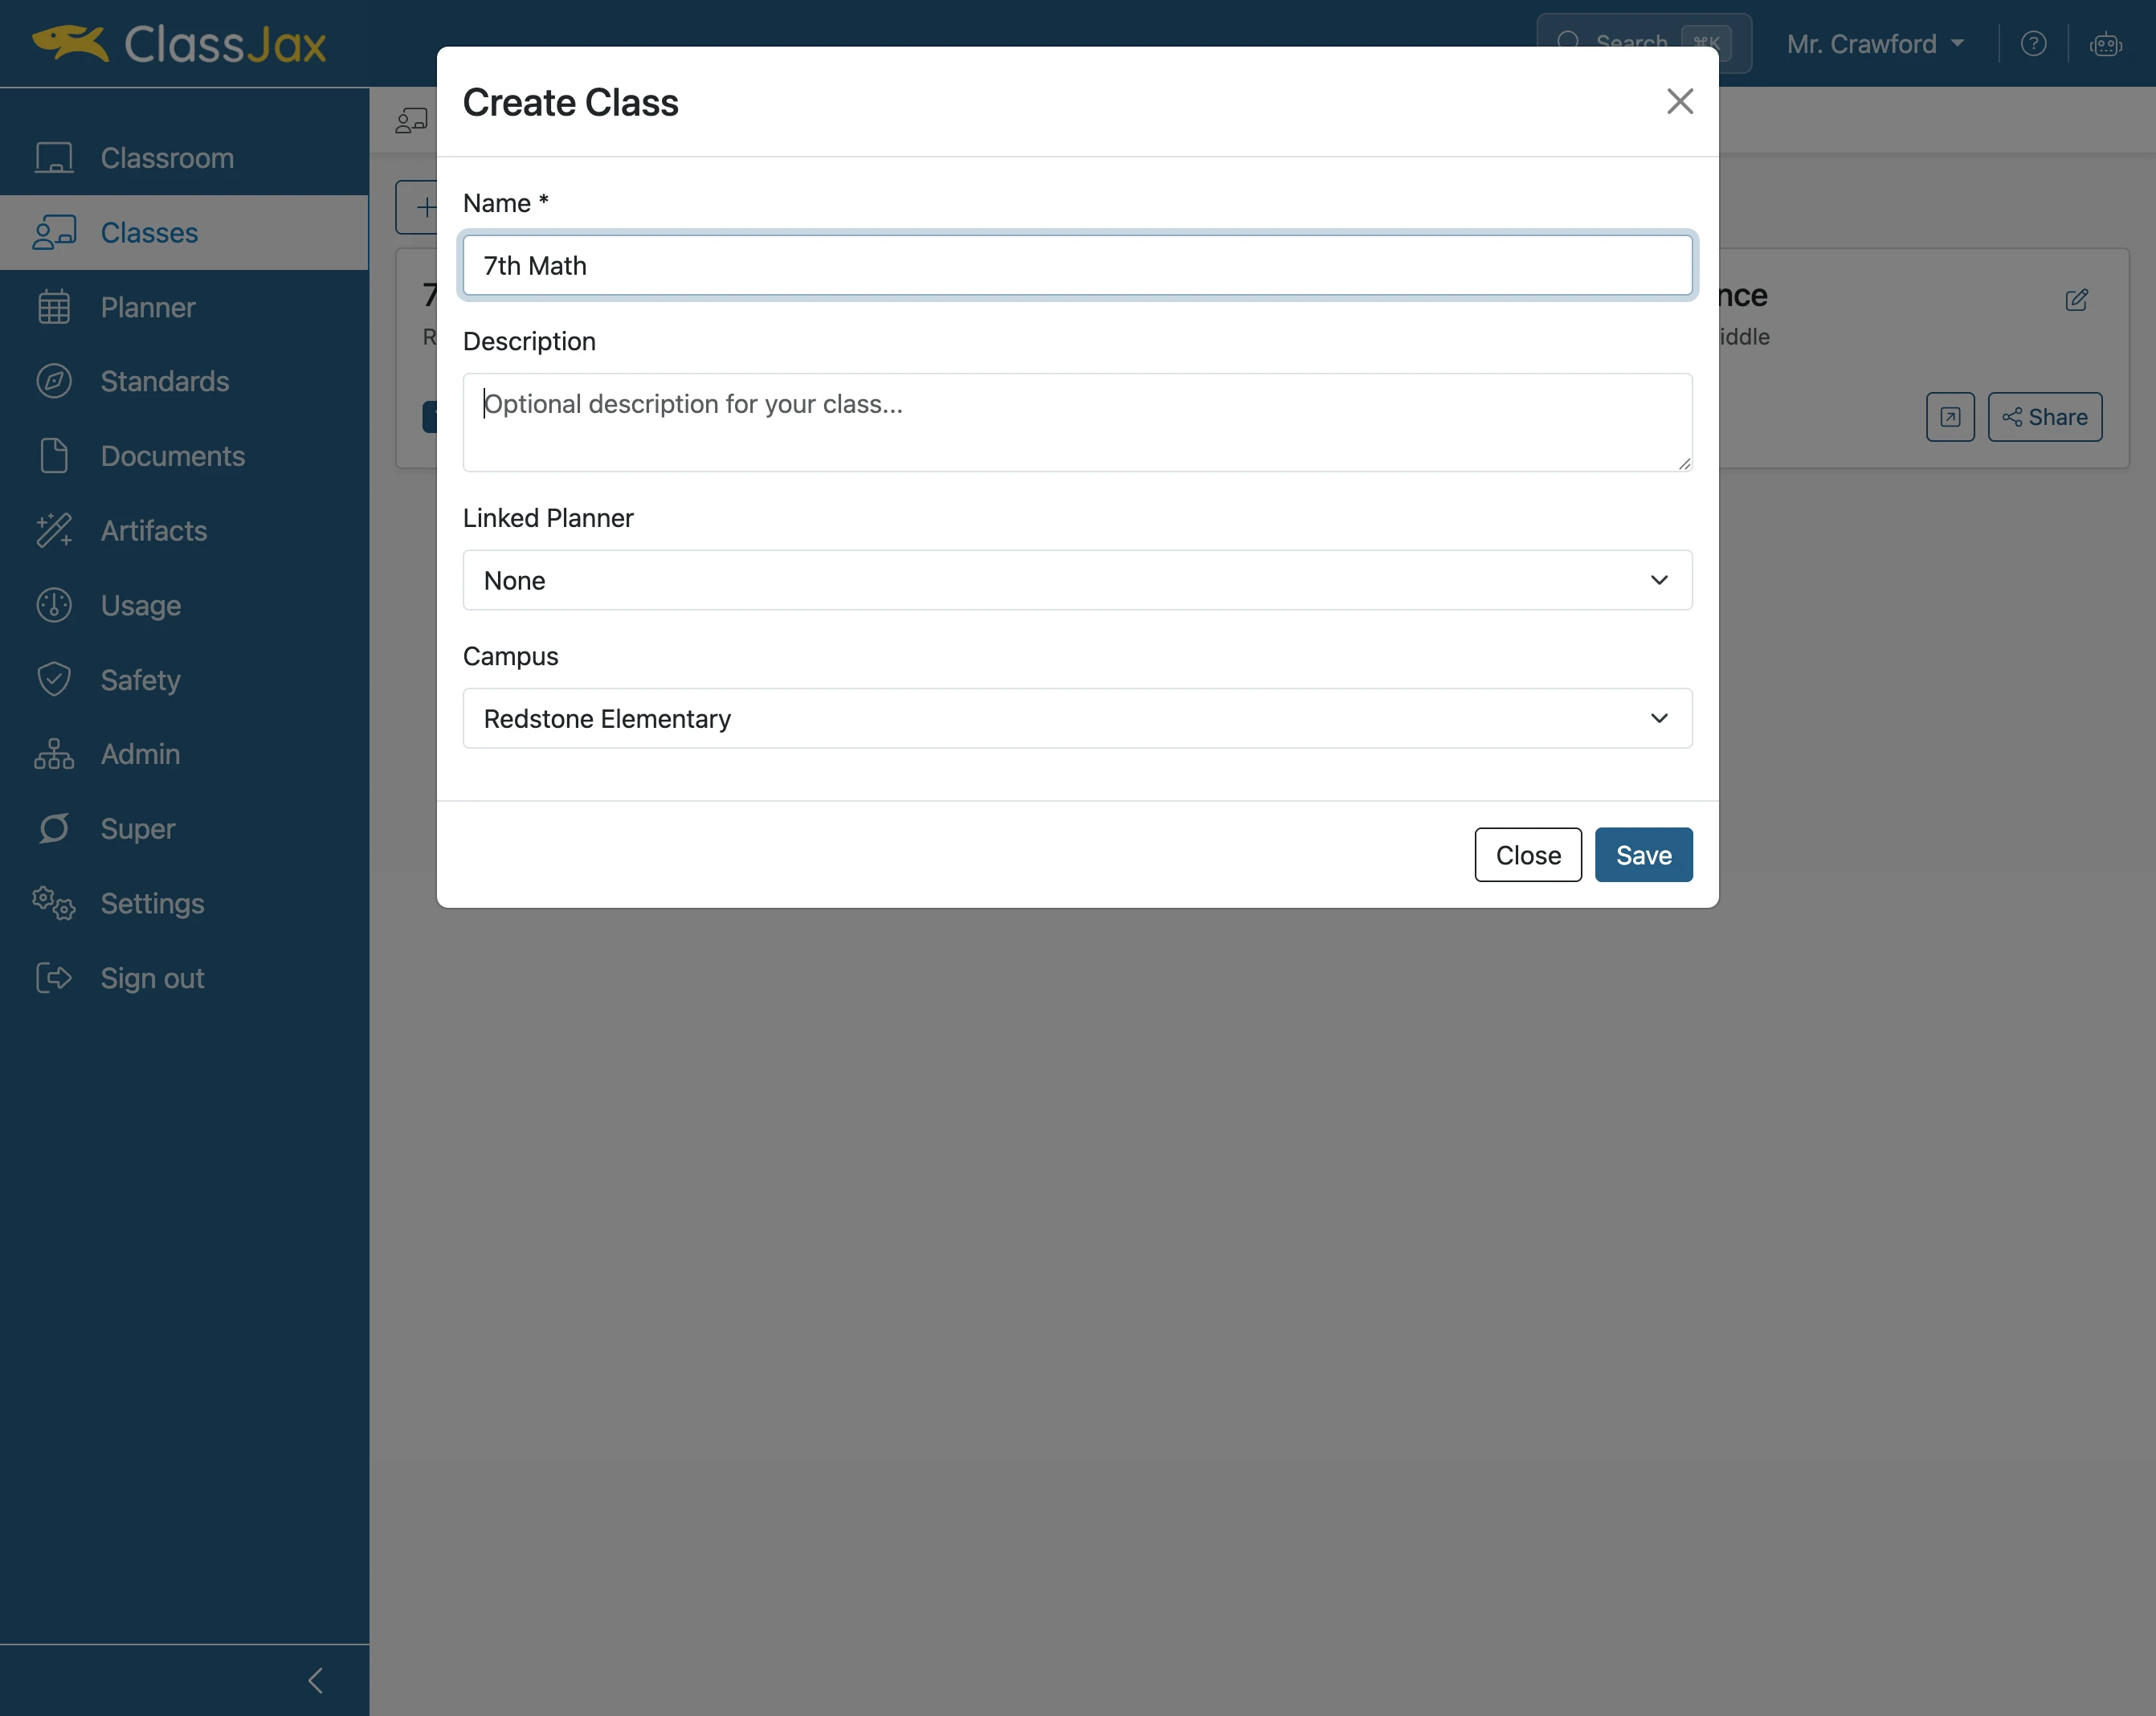
Click in the 'Name' field
Enter the name of the new class.
- 4
Click in the 'Description' field
Enter the description of the new class.
- 5
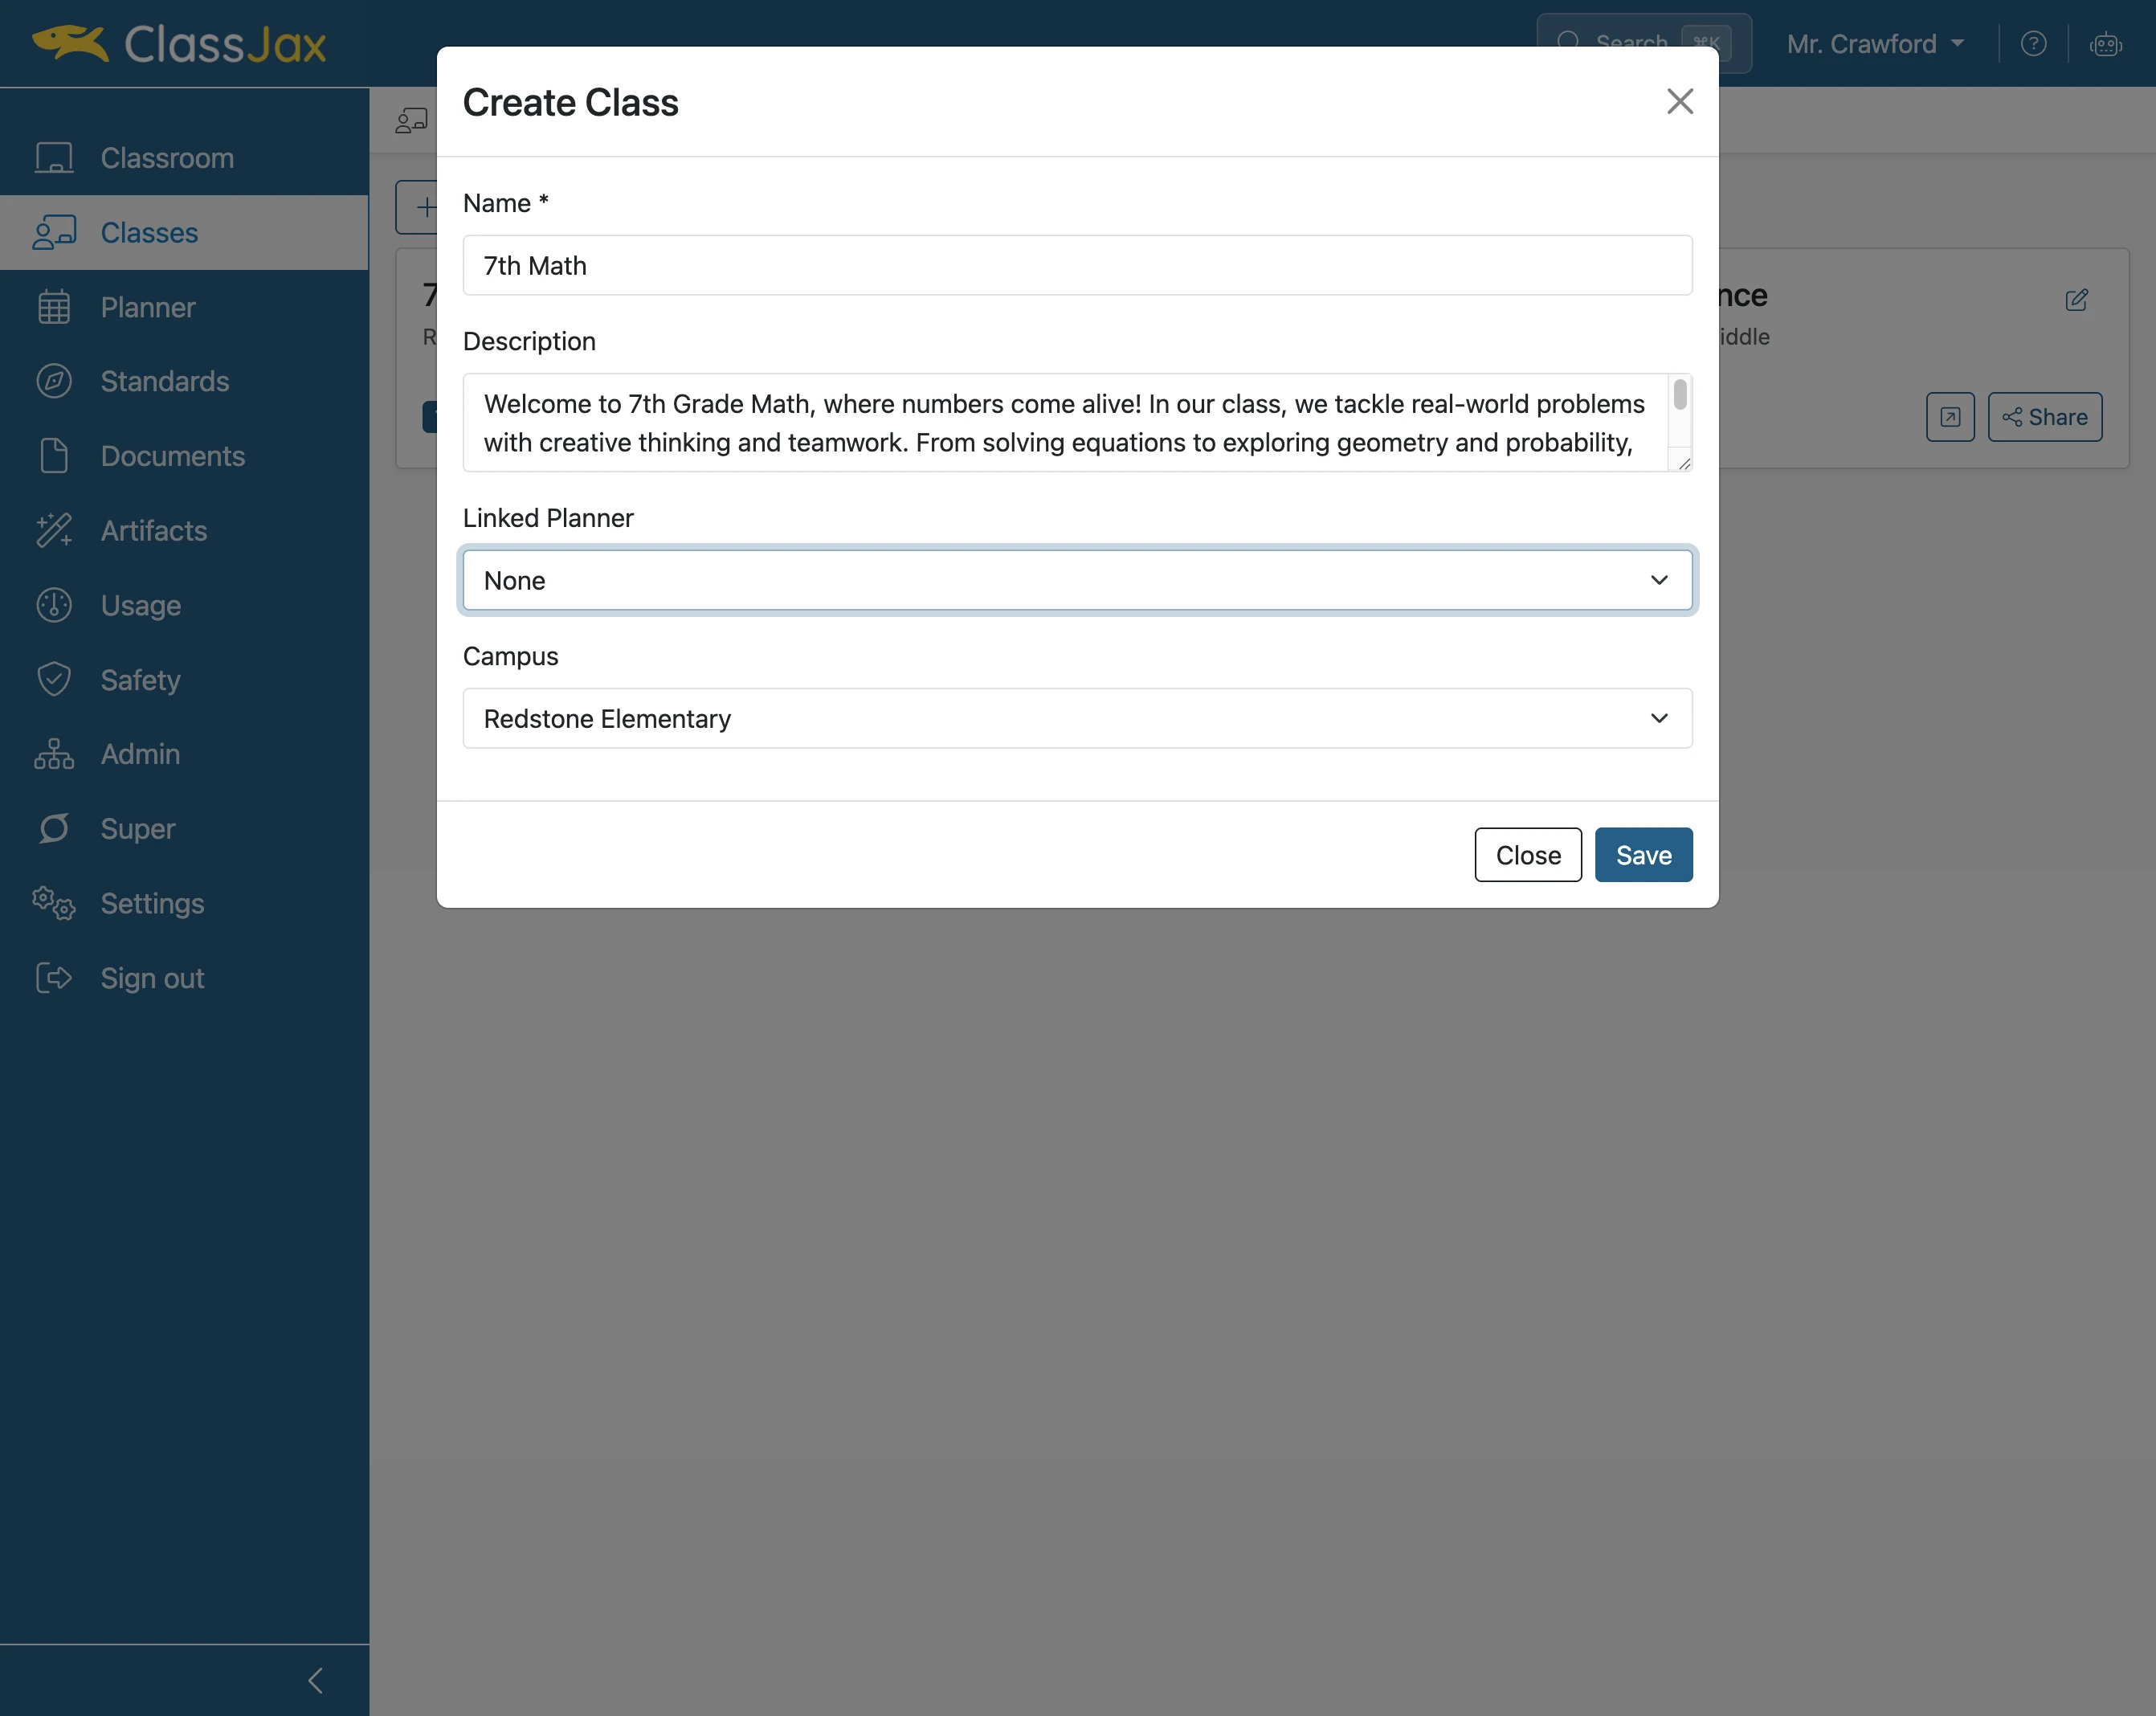
Click the 'Linked Planner' pulldown menu
Select the Planner associated with the new Class. Note: if the planner is not available, skip this step. Add the Planner when it does become available.
- 6
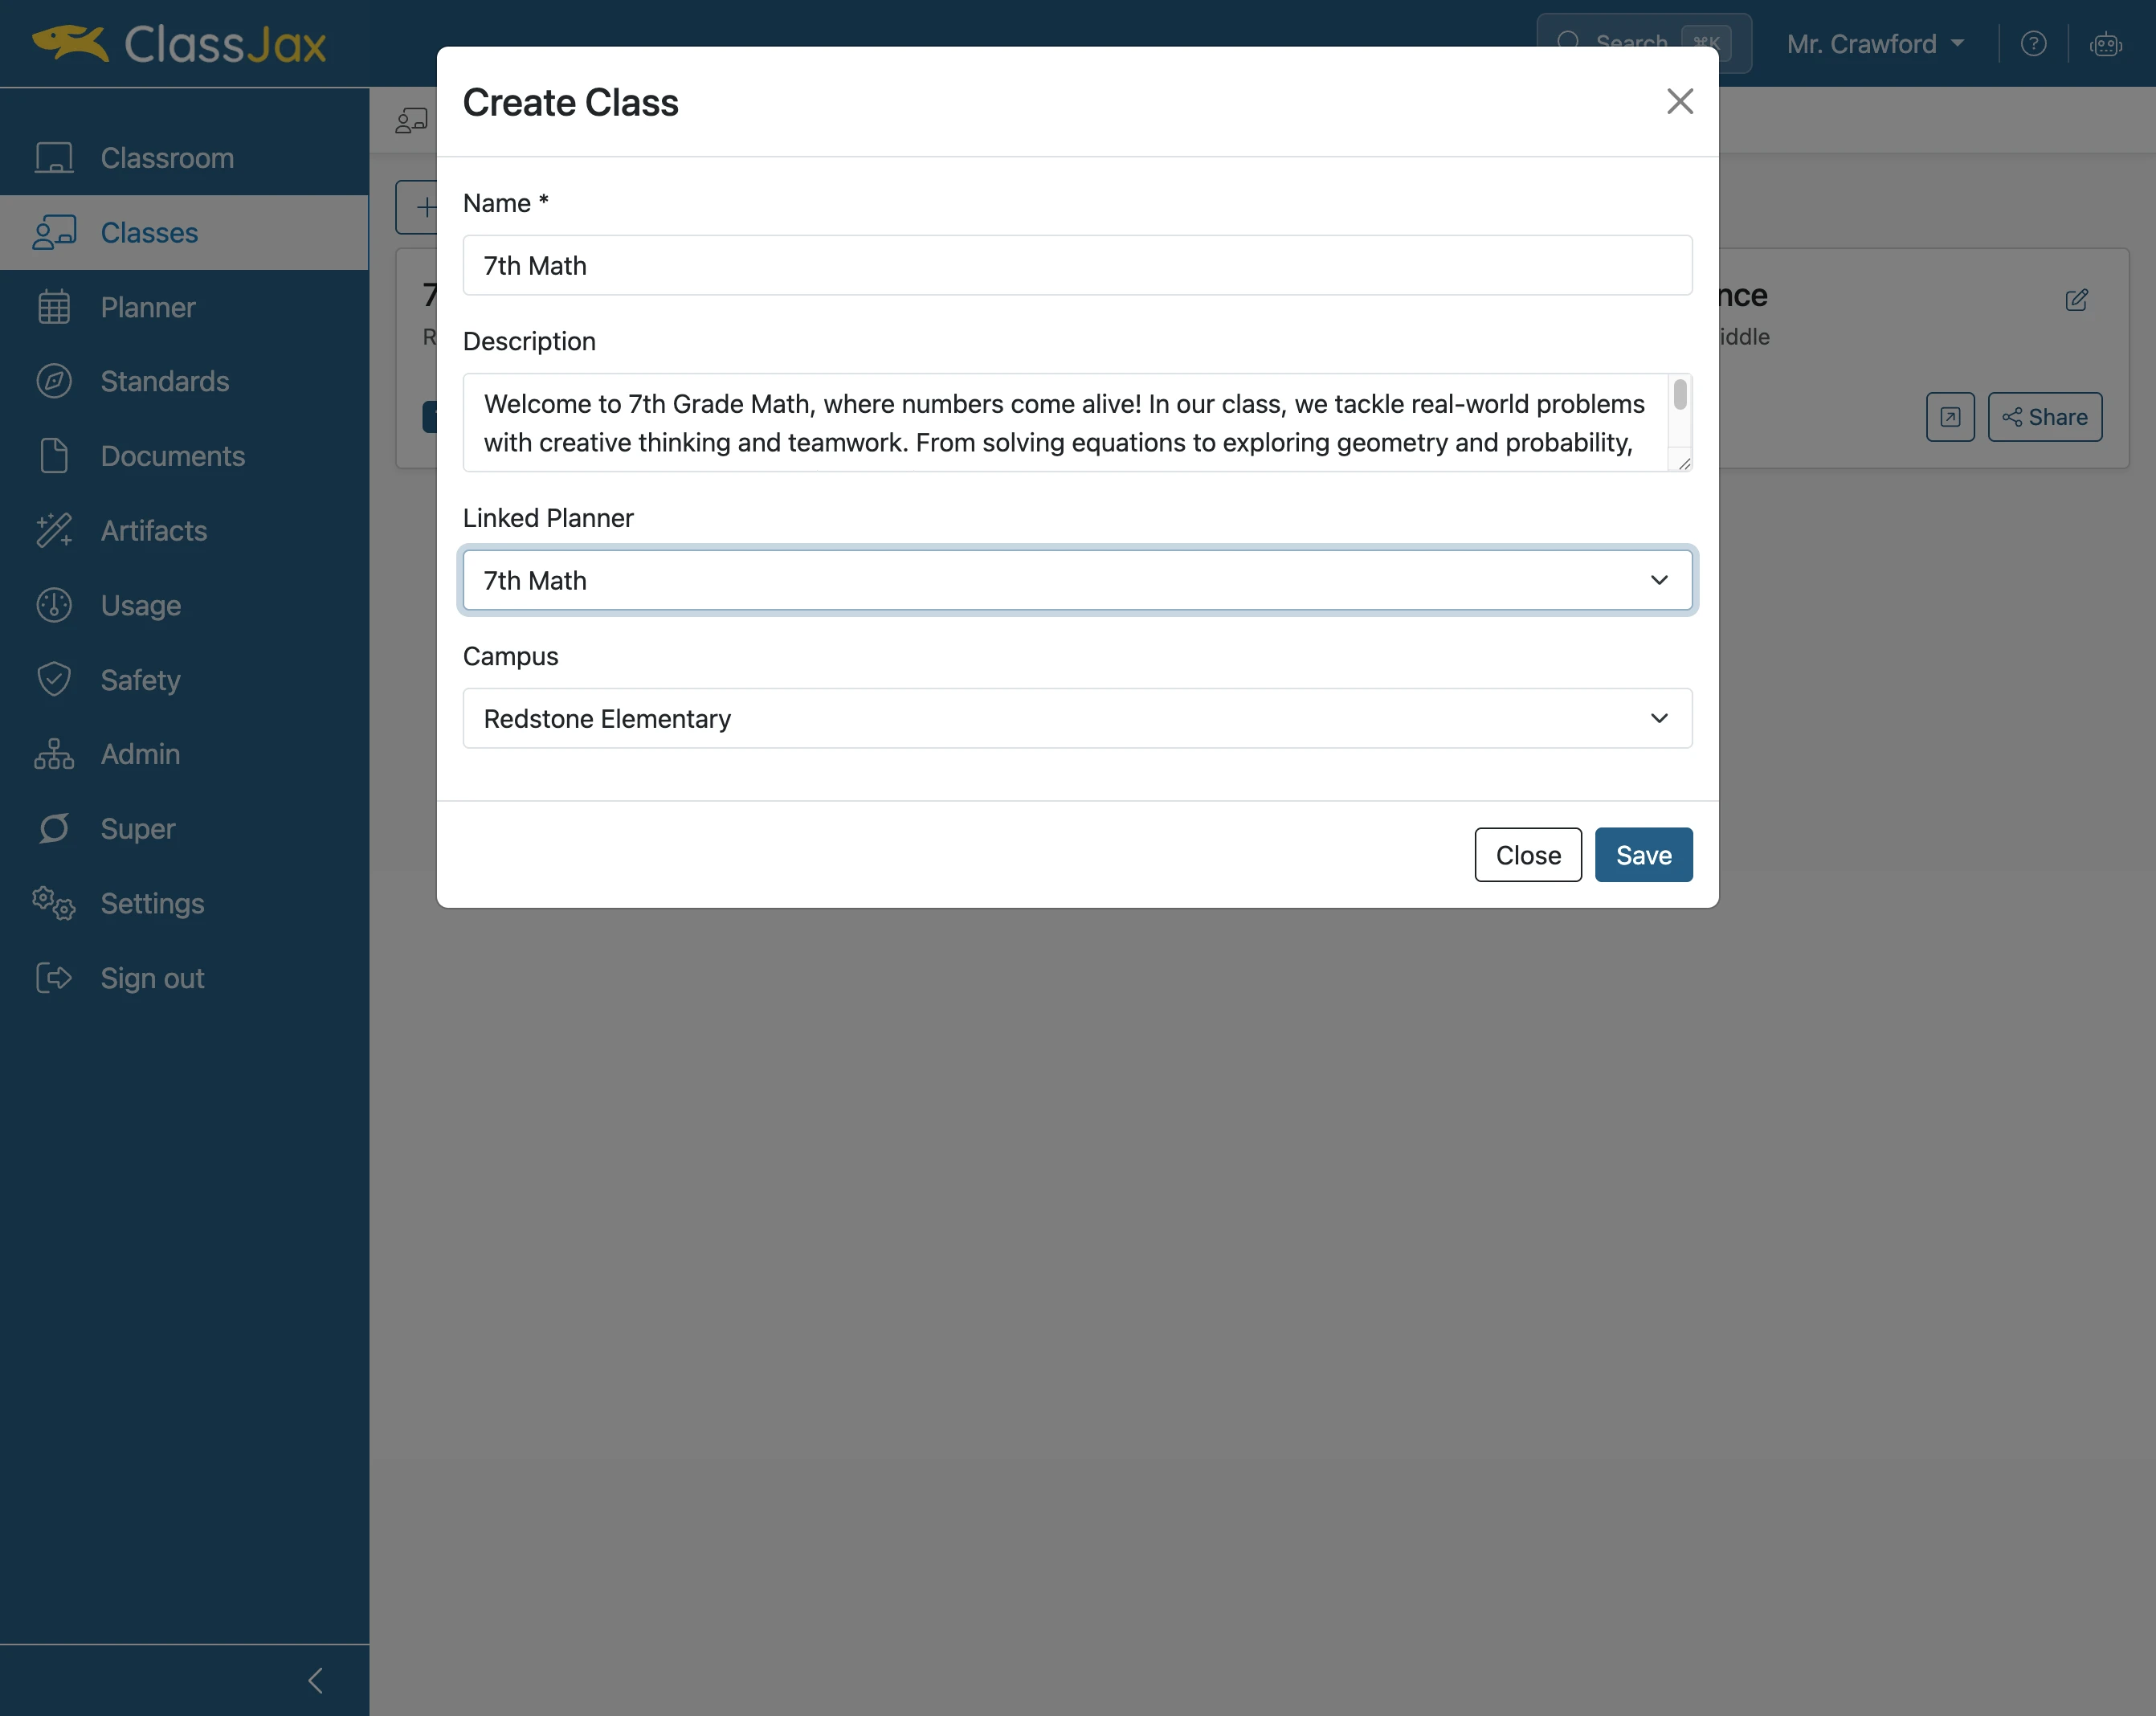
If a available, click the 'Campus' pulldown menu
Select the Campus the new Class is associated with.
- 7
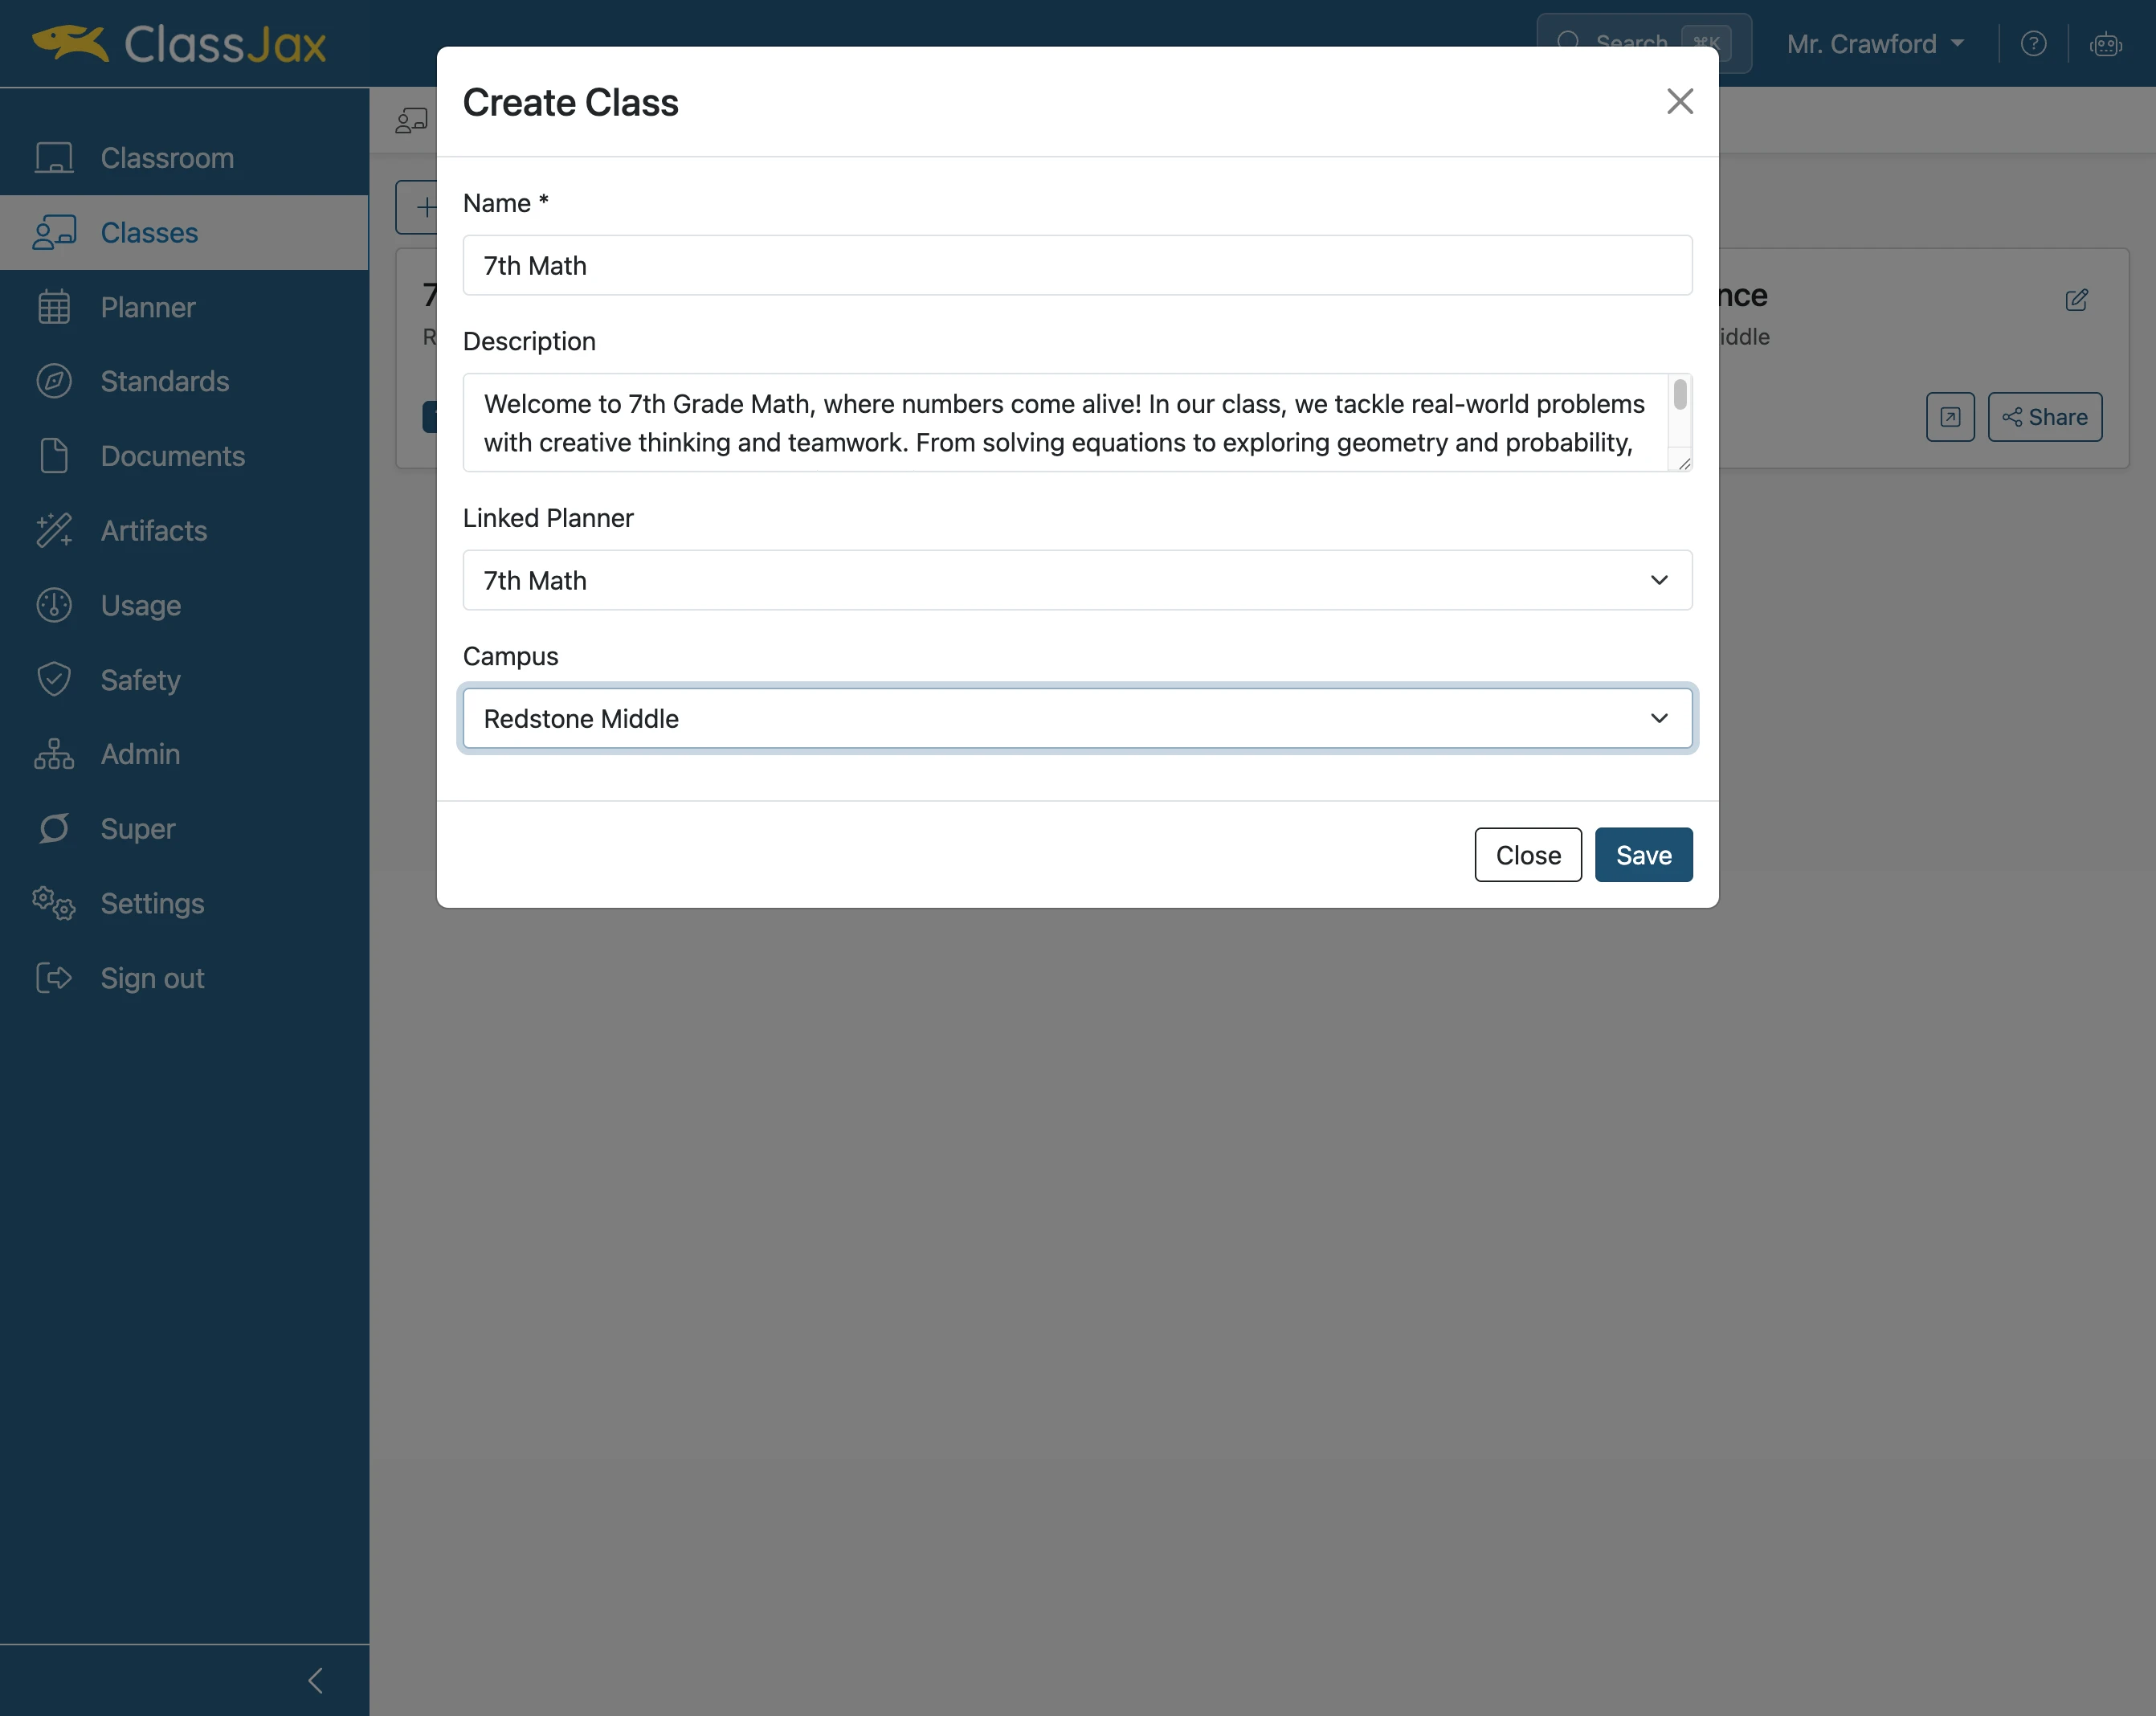
Click 'Save'
- 8
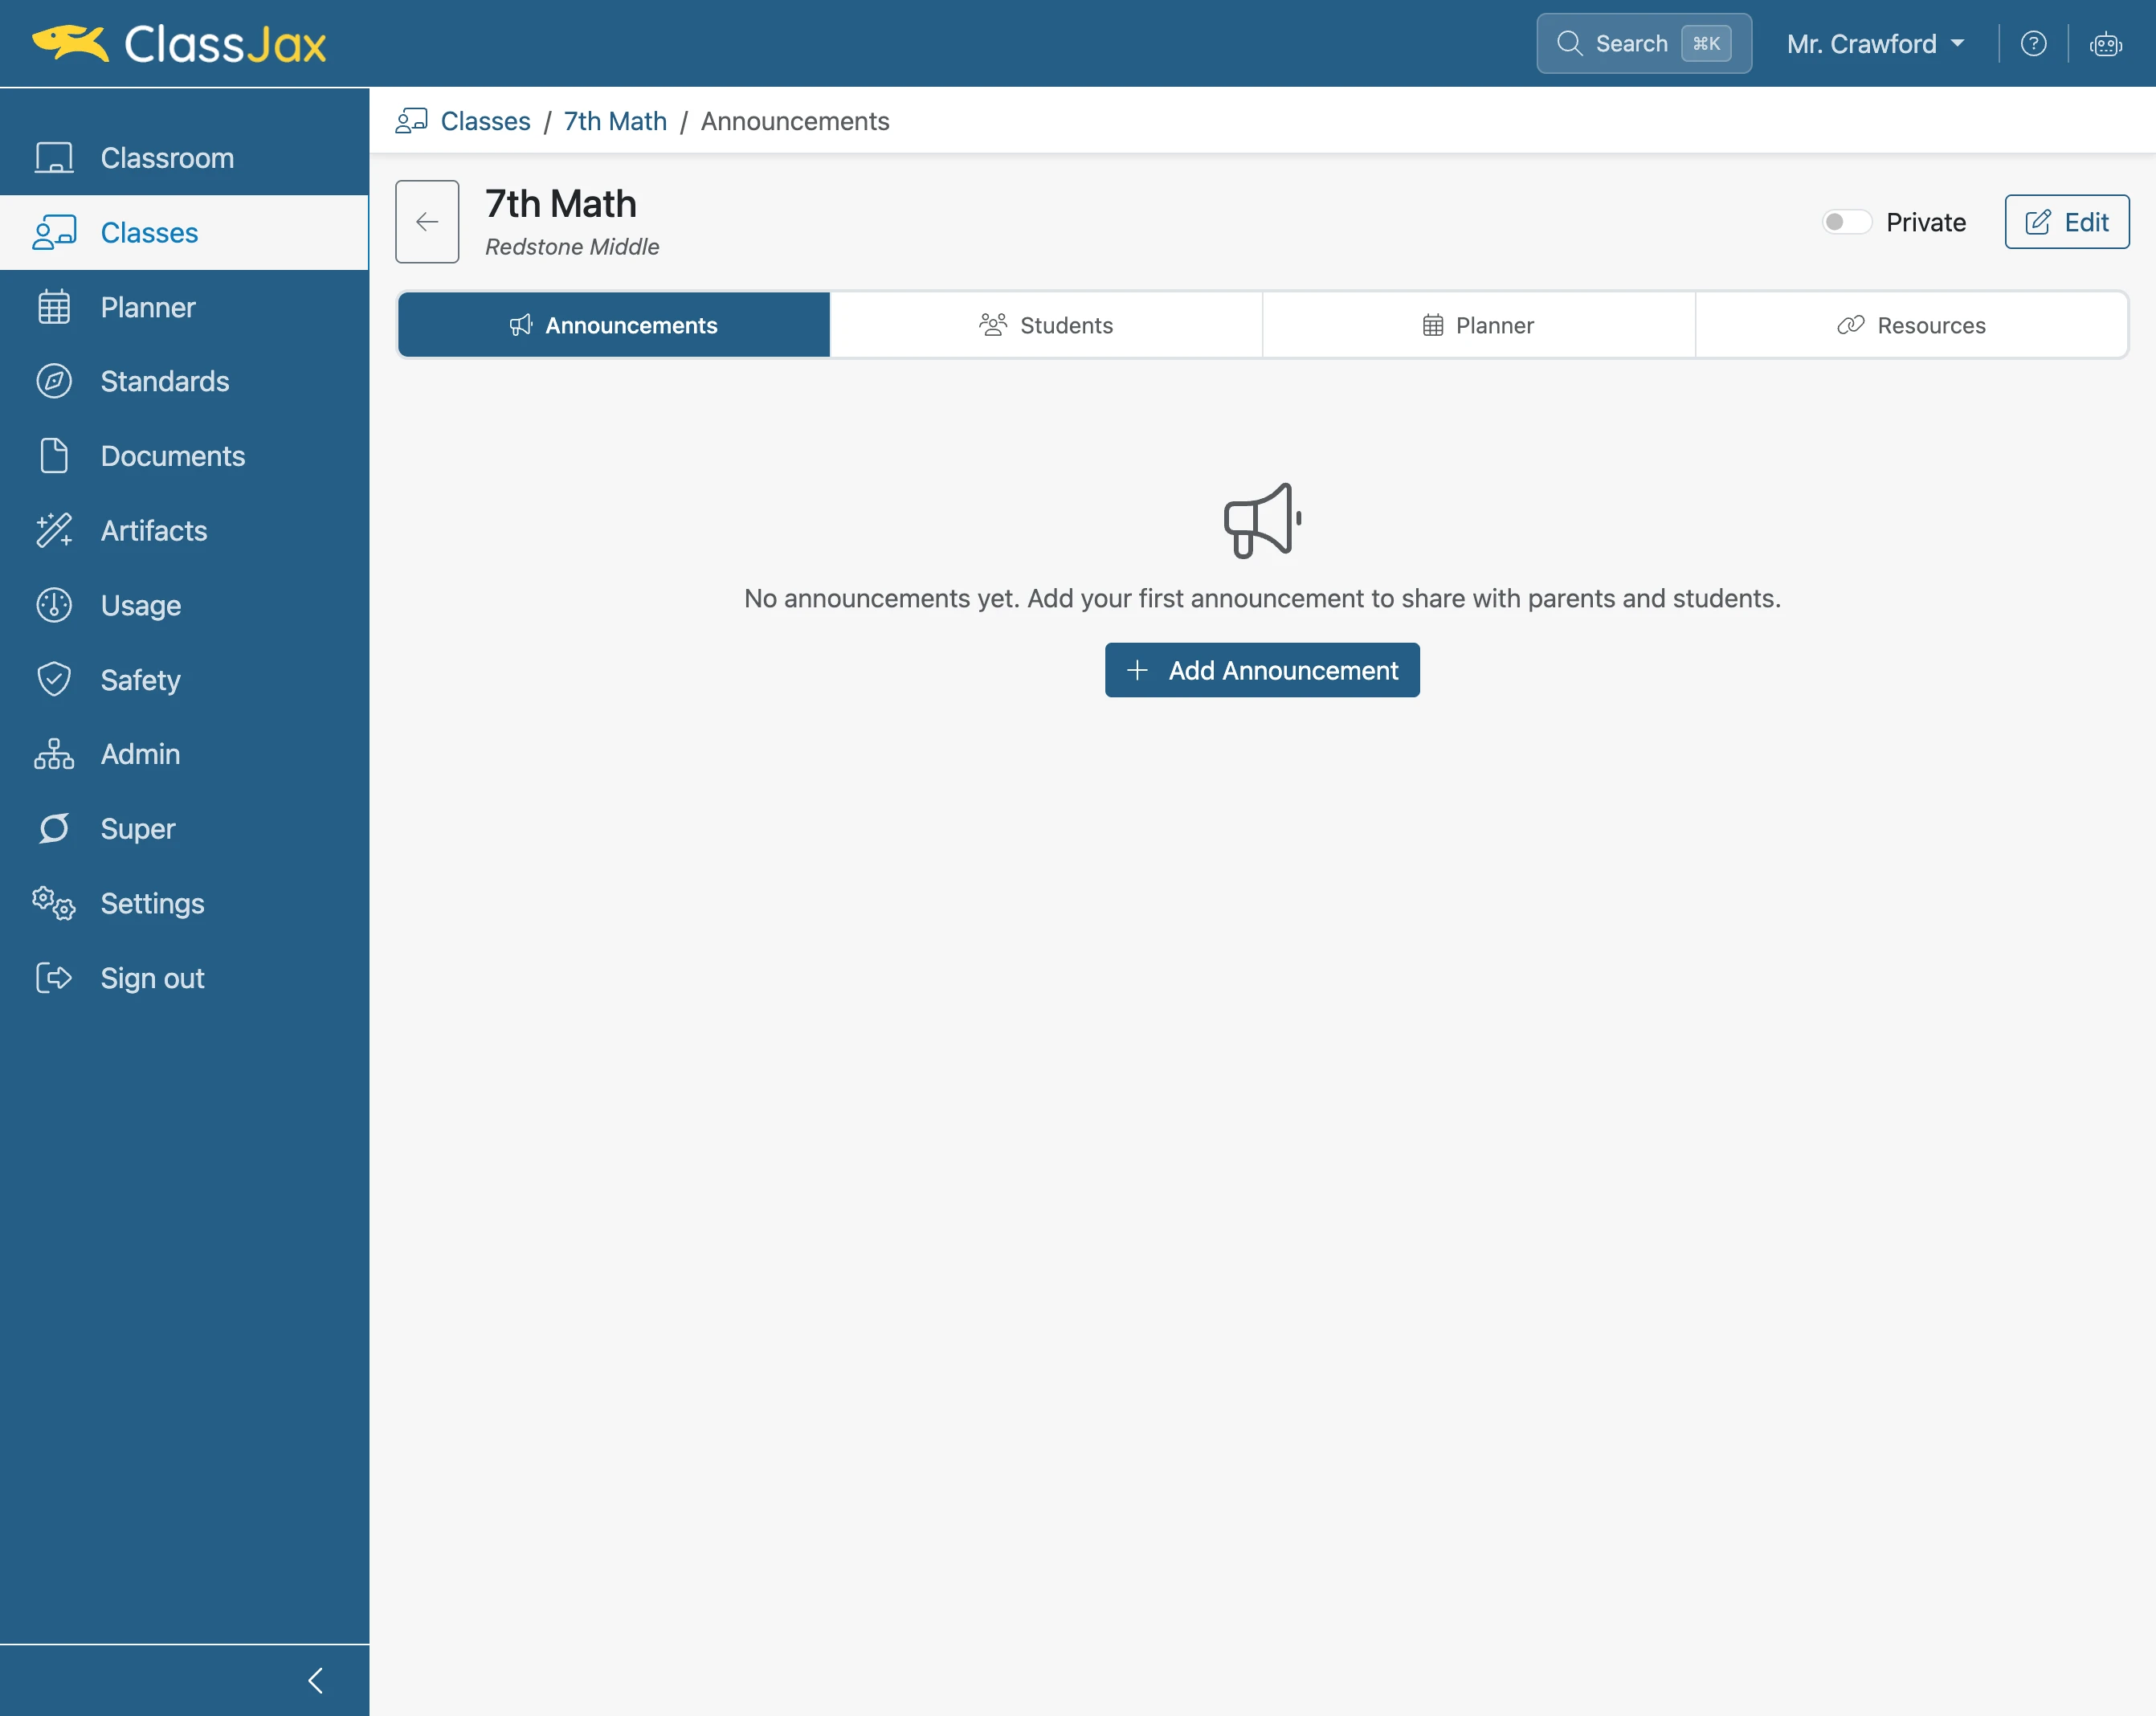
Click on the newly created Class
- 9
Set up the Class Options
Class options include:
- Announcements can be shared with students and parents specific to the Class.
- Students can be added to the Class.
- The attached Planner can be access from within the Class.
- Class-specific Resources can be added to the Class.