
Create a Class
Creating a class in ClassJax is a simple process designed to help you organize your announcements, students, lesson plans, and resources all in one place.
Plan smarter this year
ClassJax is free for teachers. No credit card required.
- 1
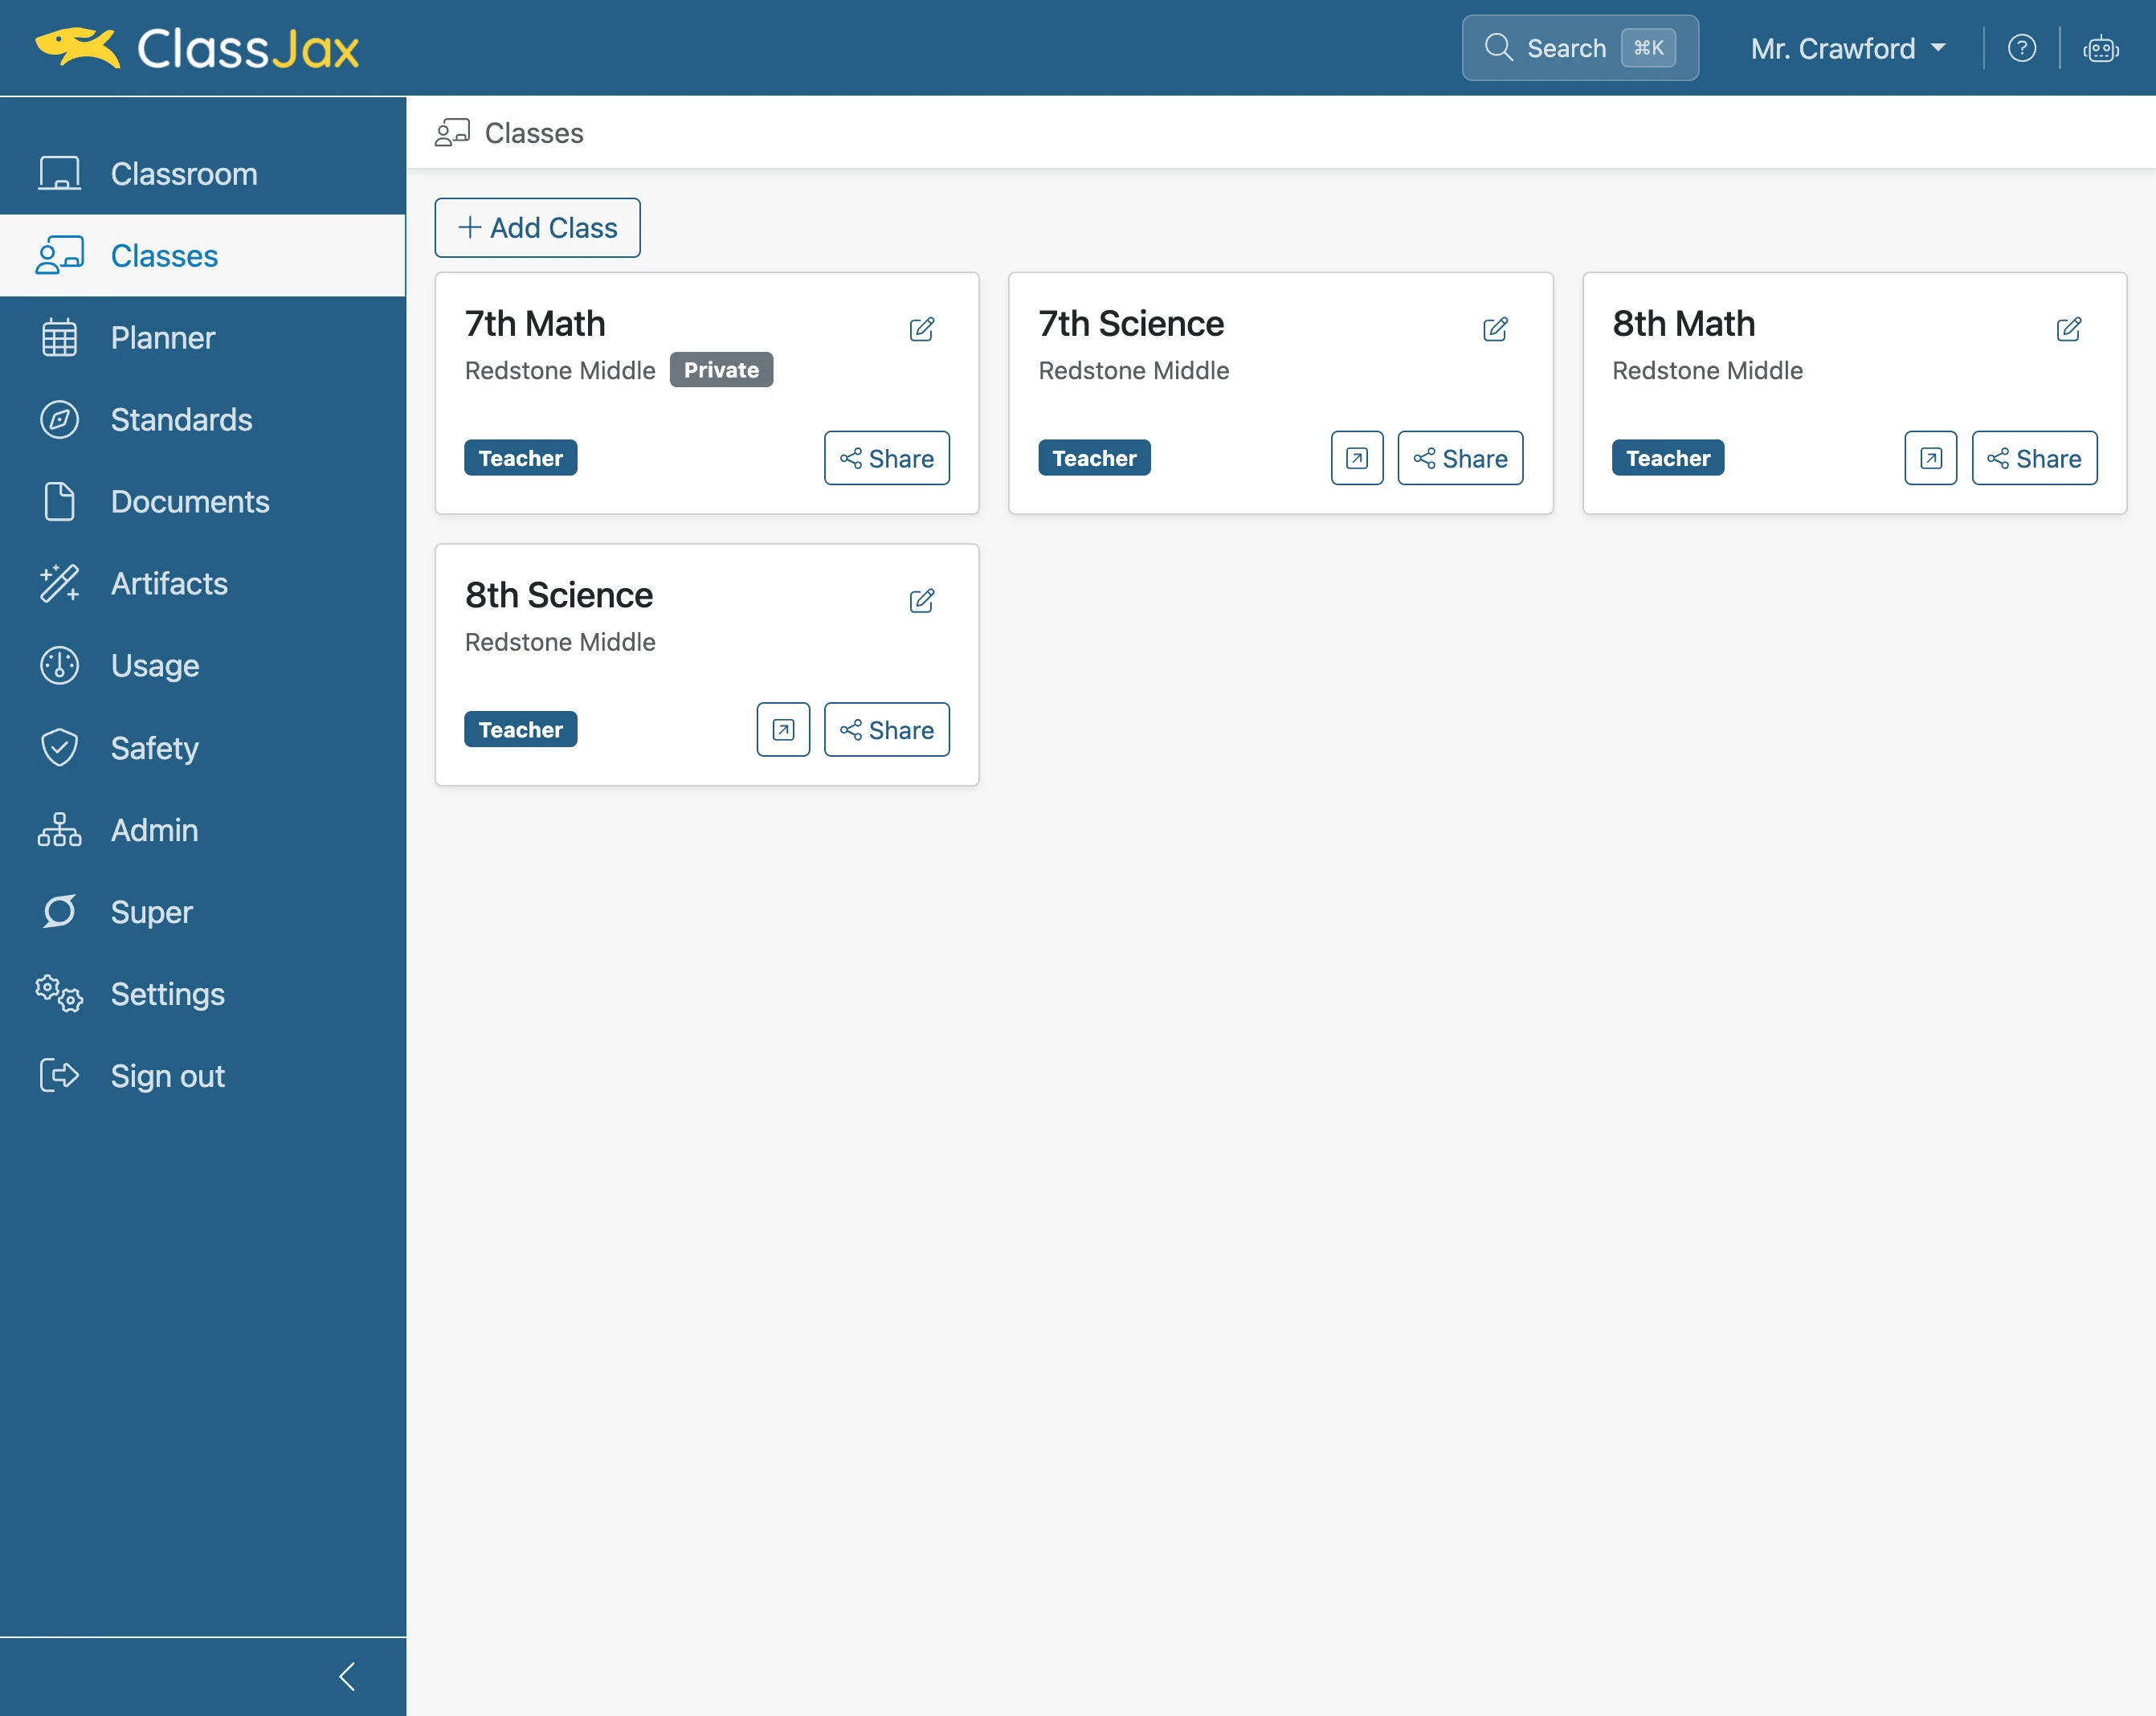
Click the 'Classes' link
- 2
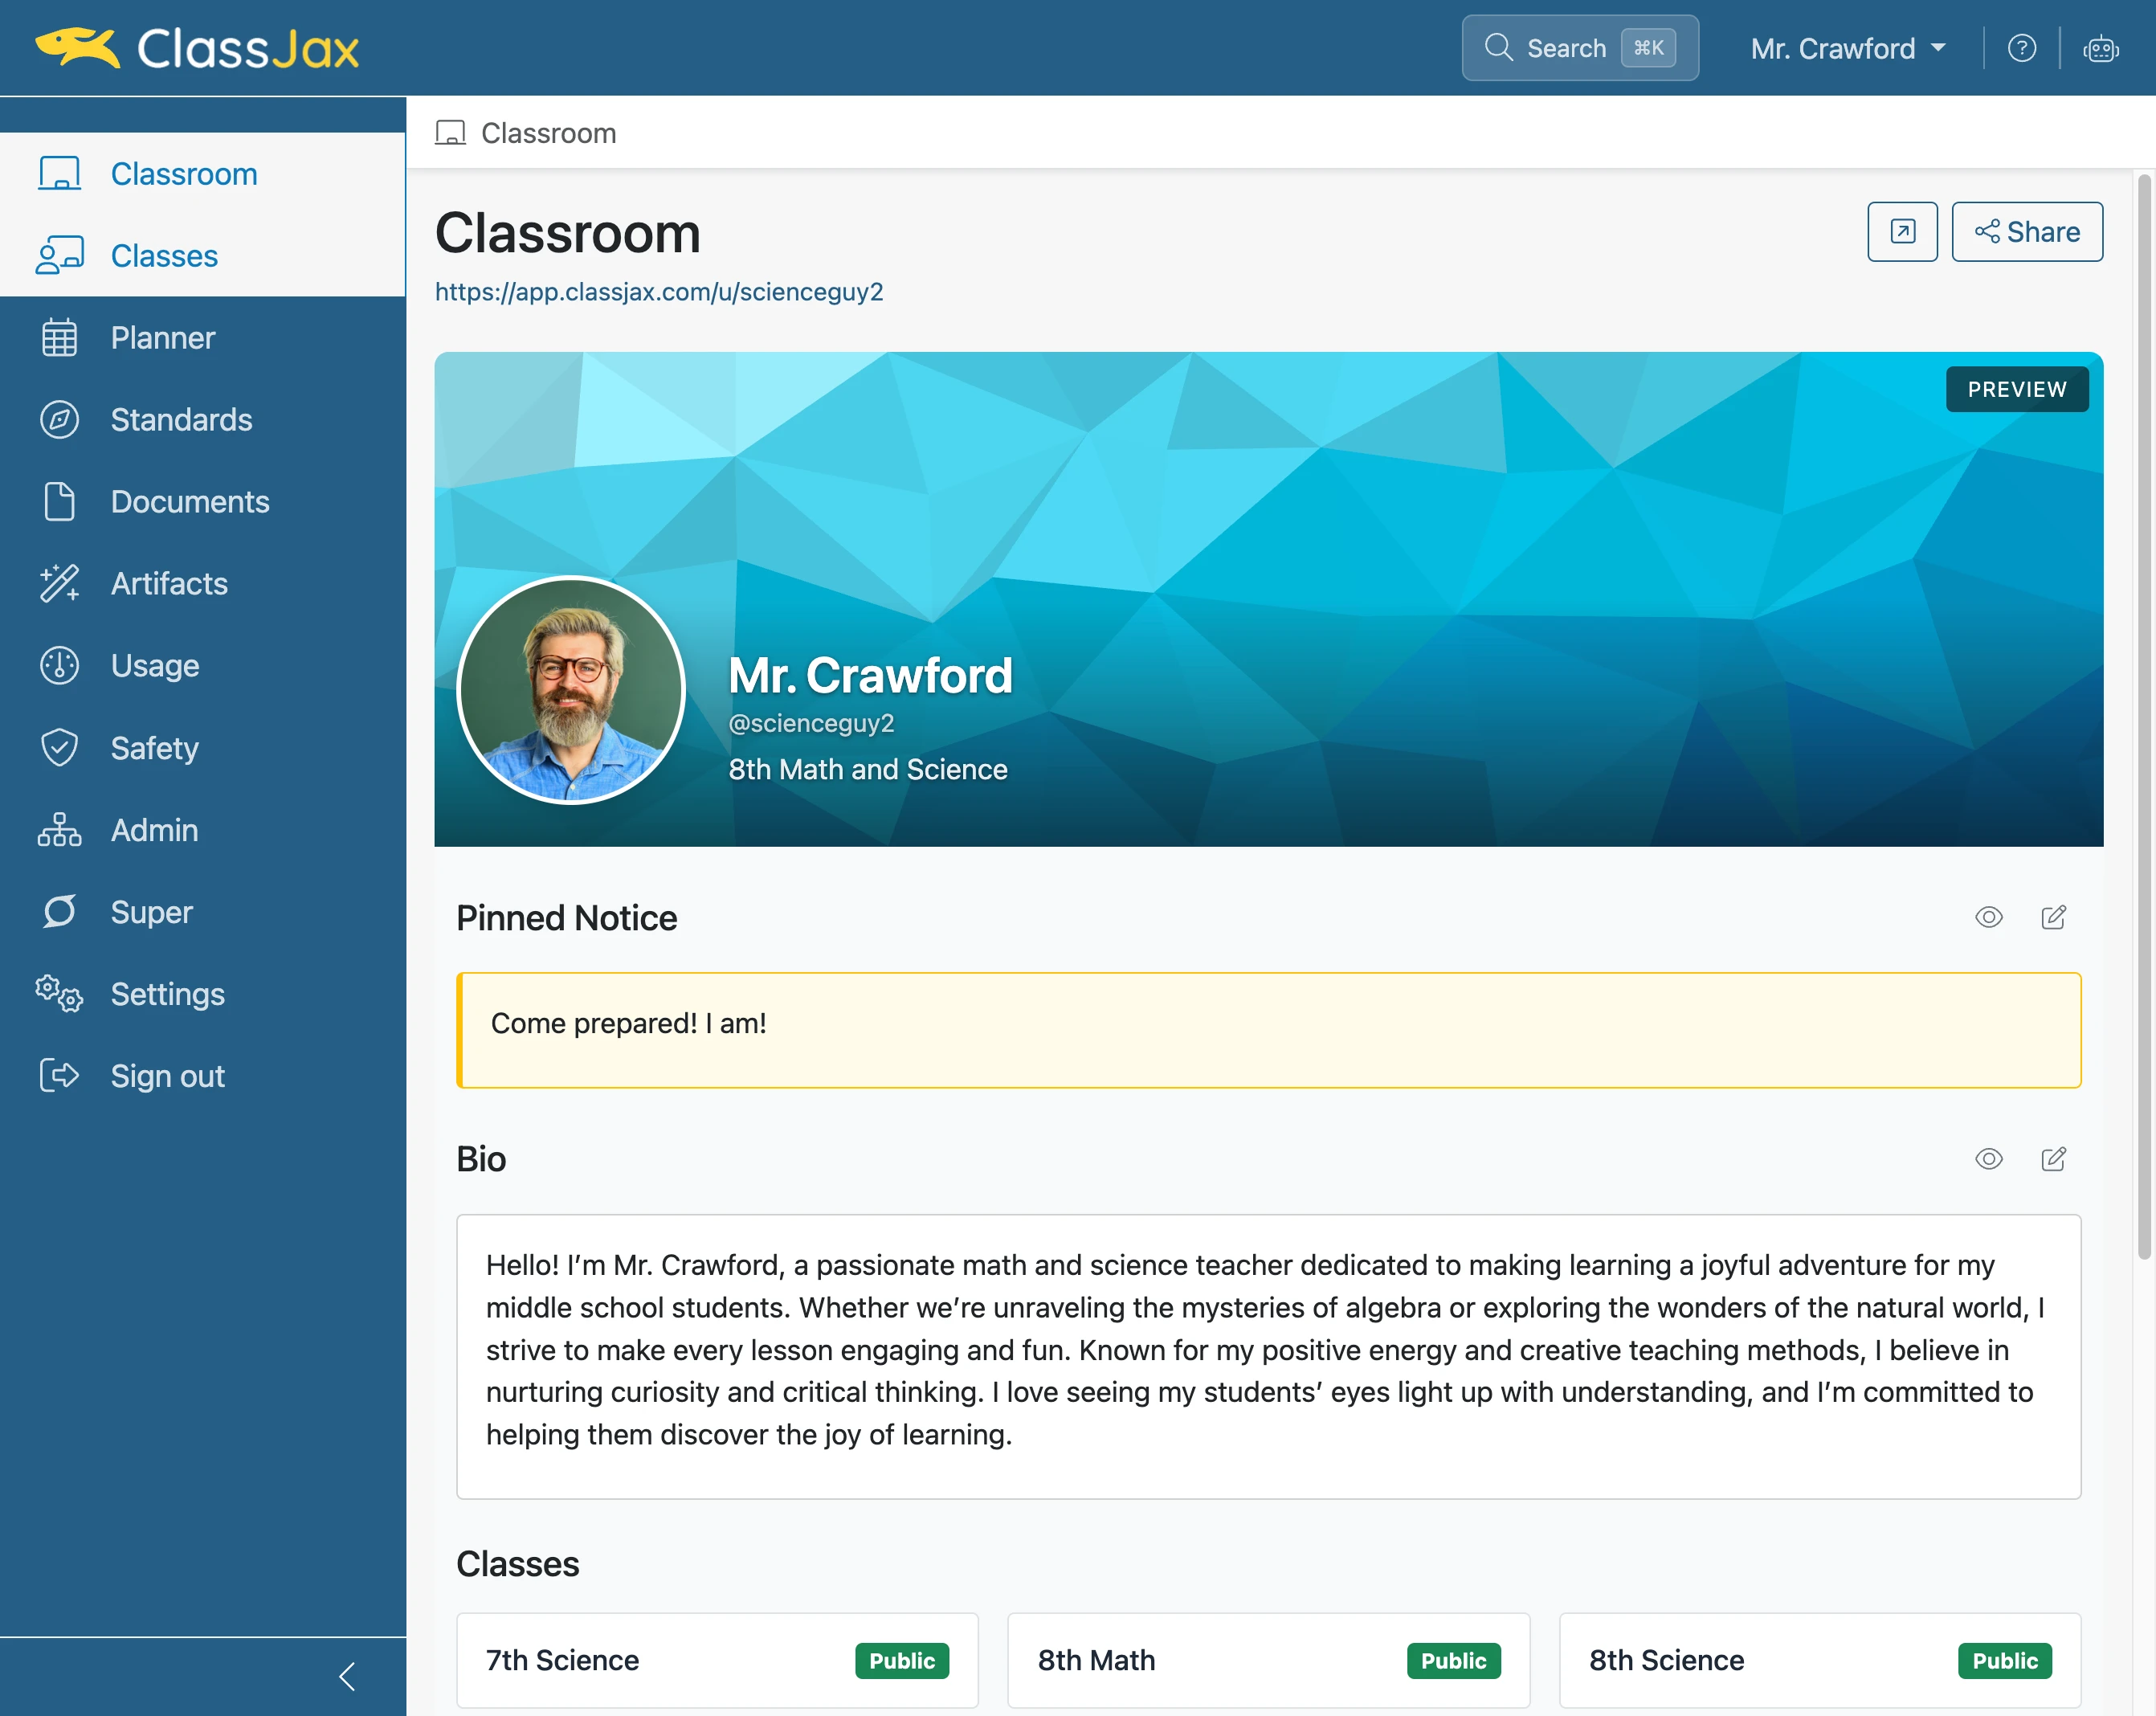
Click 'Add Class'
- 3
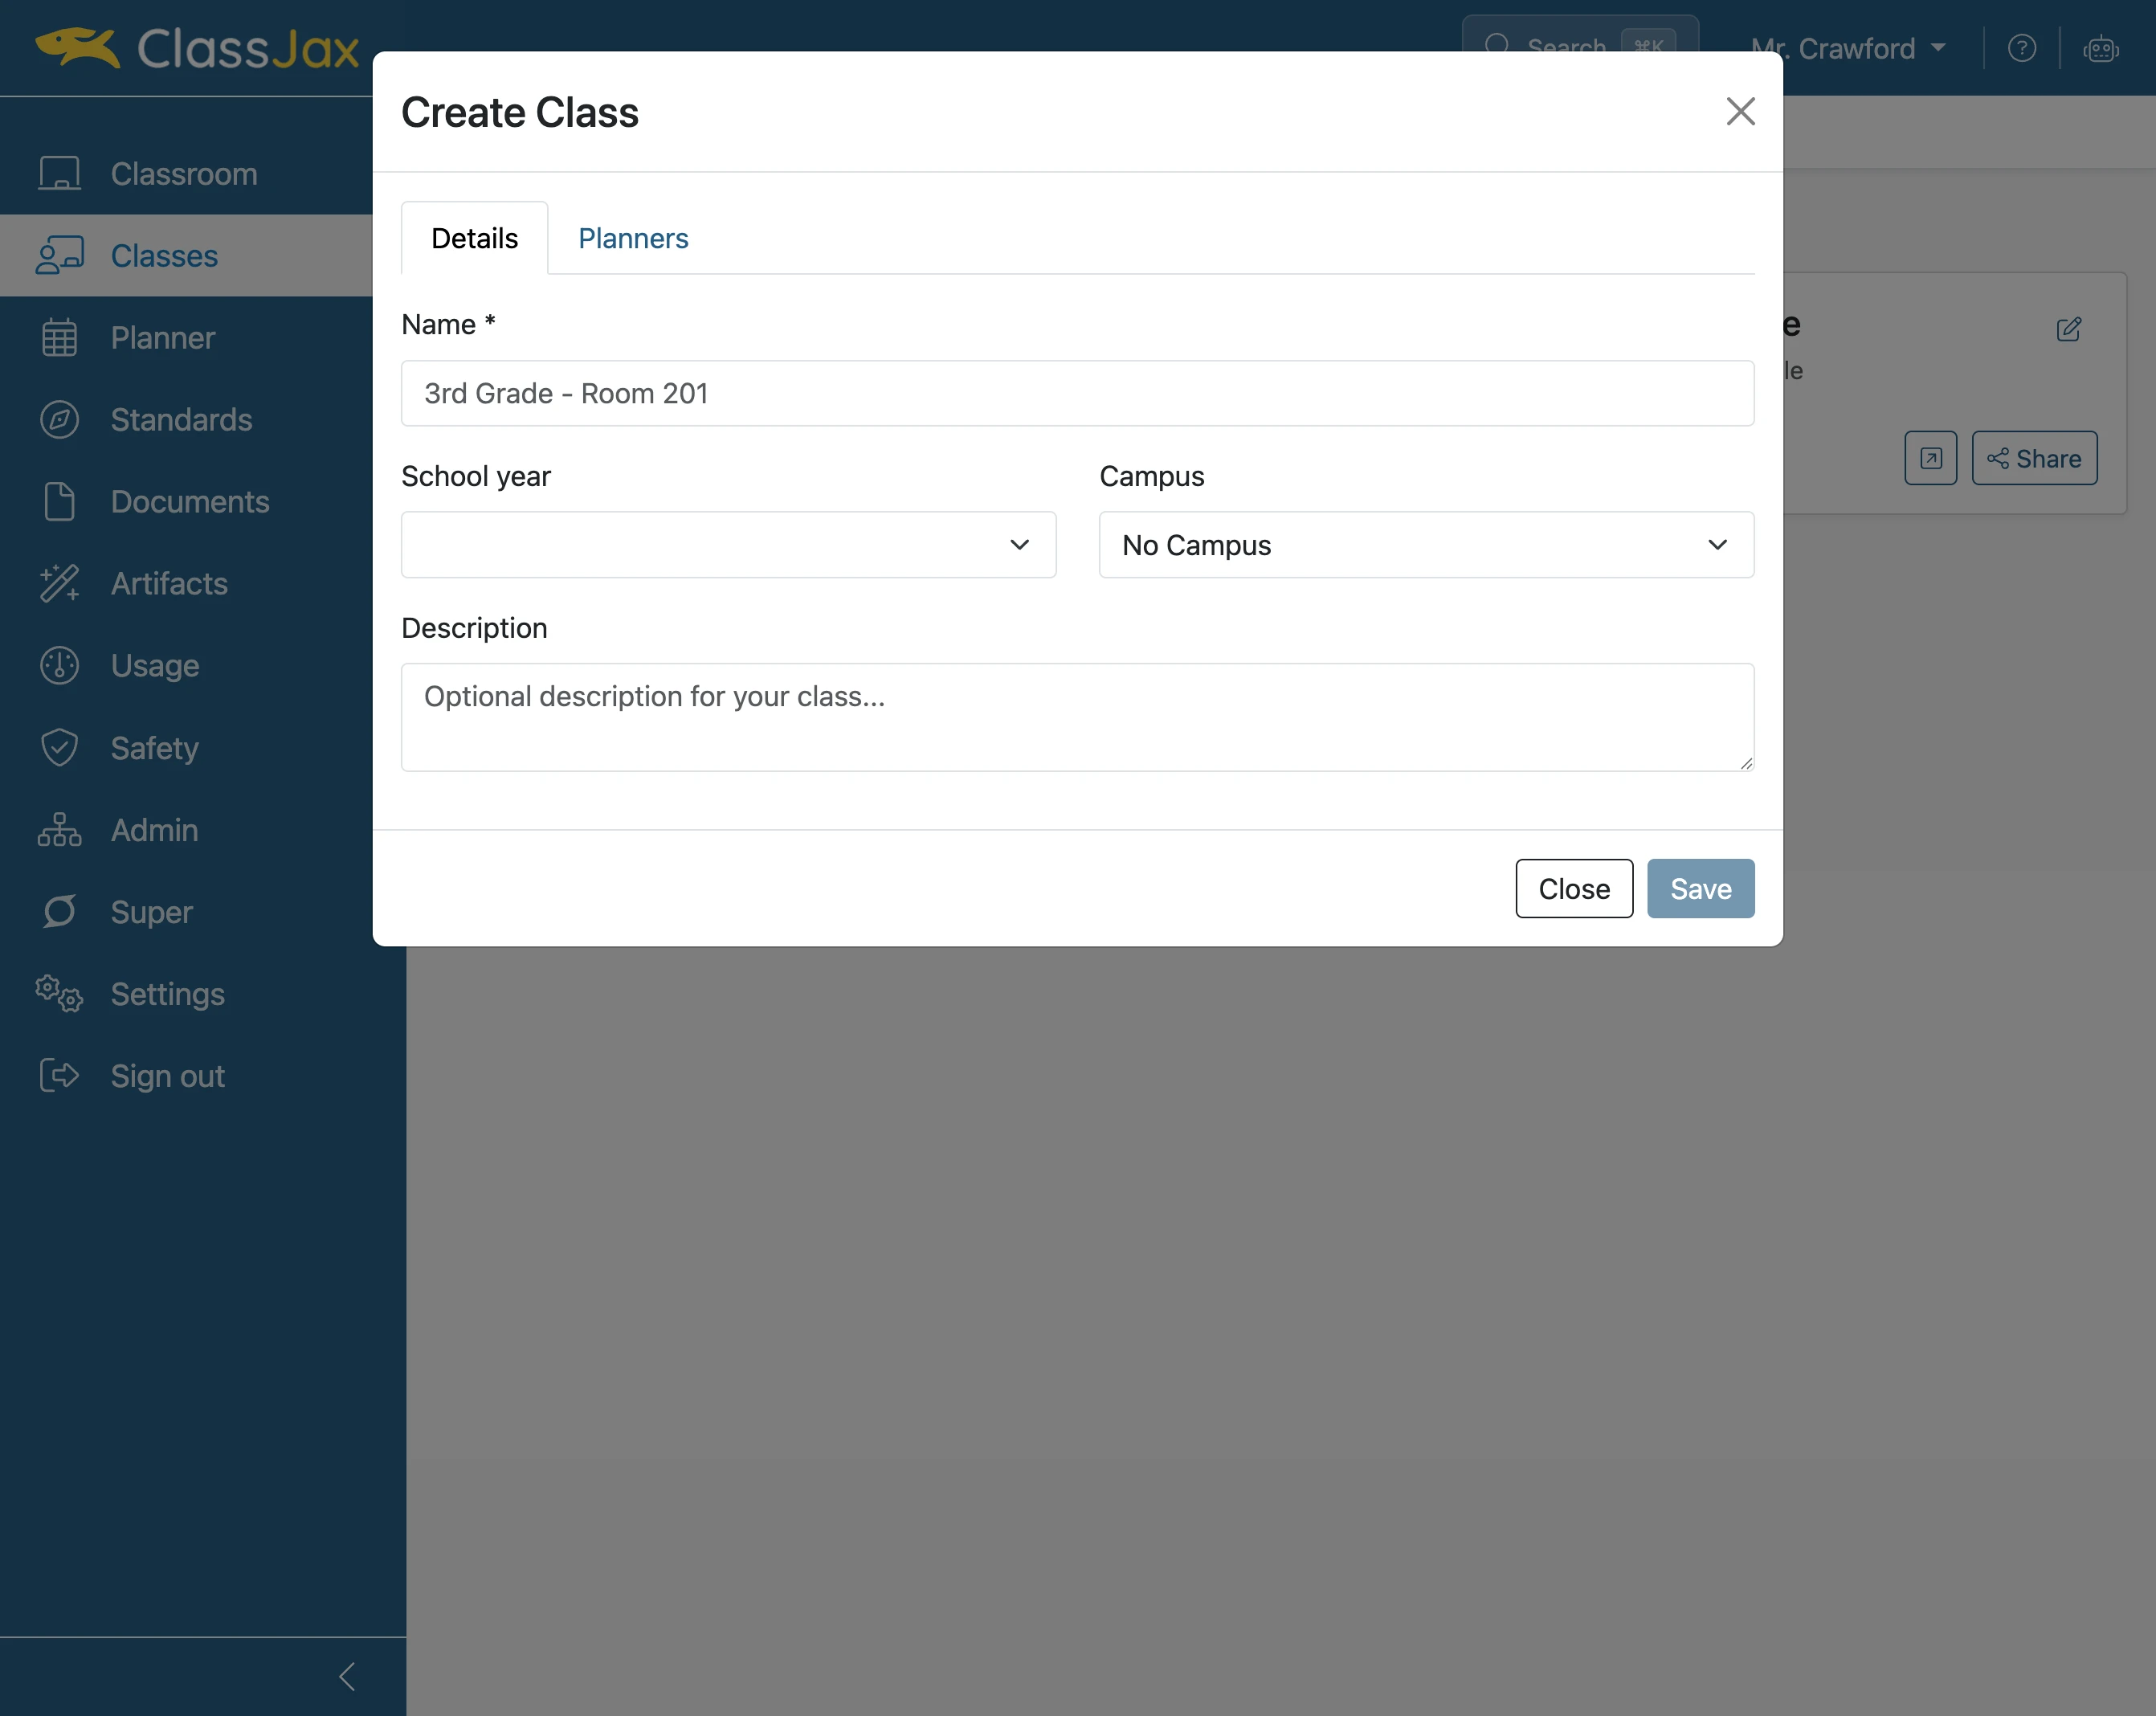
Click '3rd Grade - Room 201'
Enter the name of the new class
- 4
Click the 'School year' menu
Select the academic year for this class.
Note: If you’re not using a school account, the School Year and Campus options will not be available. Also, if your school admin has not set up a school calendar, you will not see it as an option here.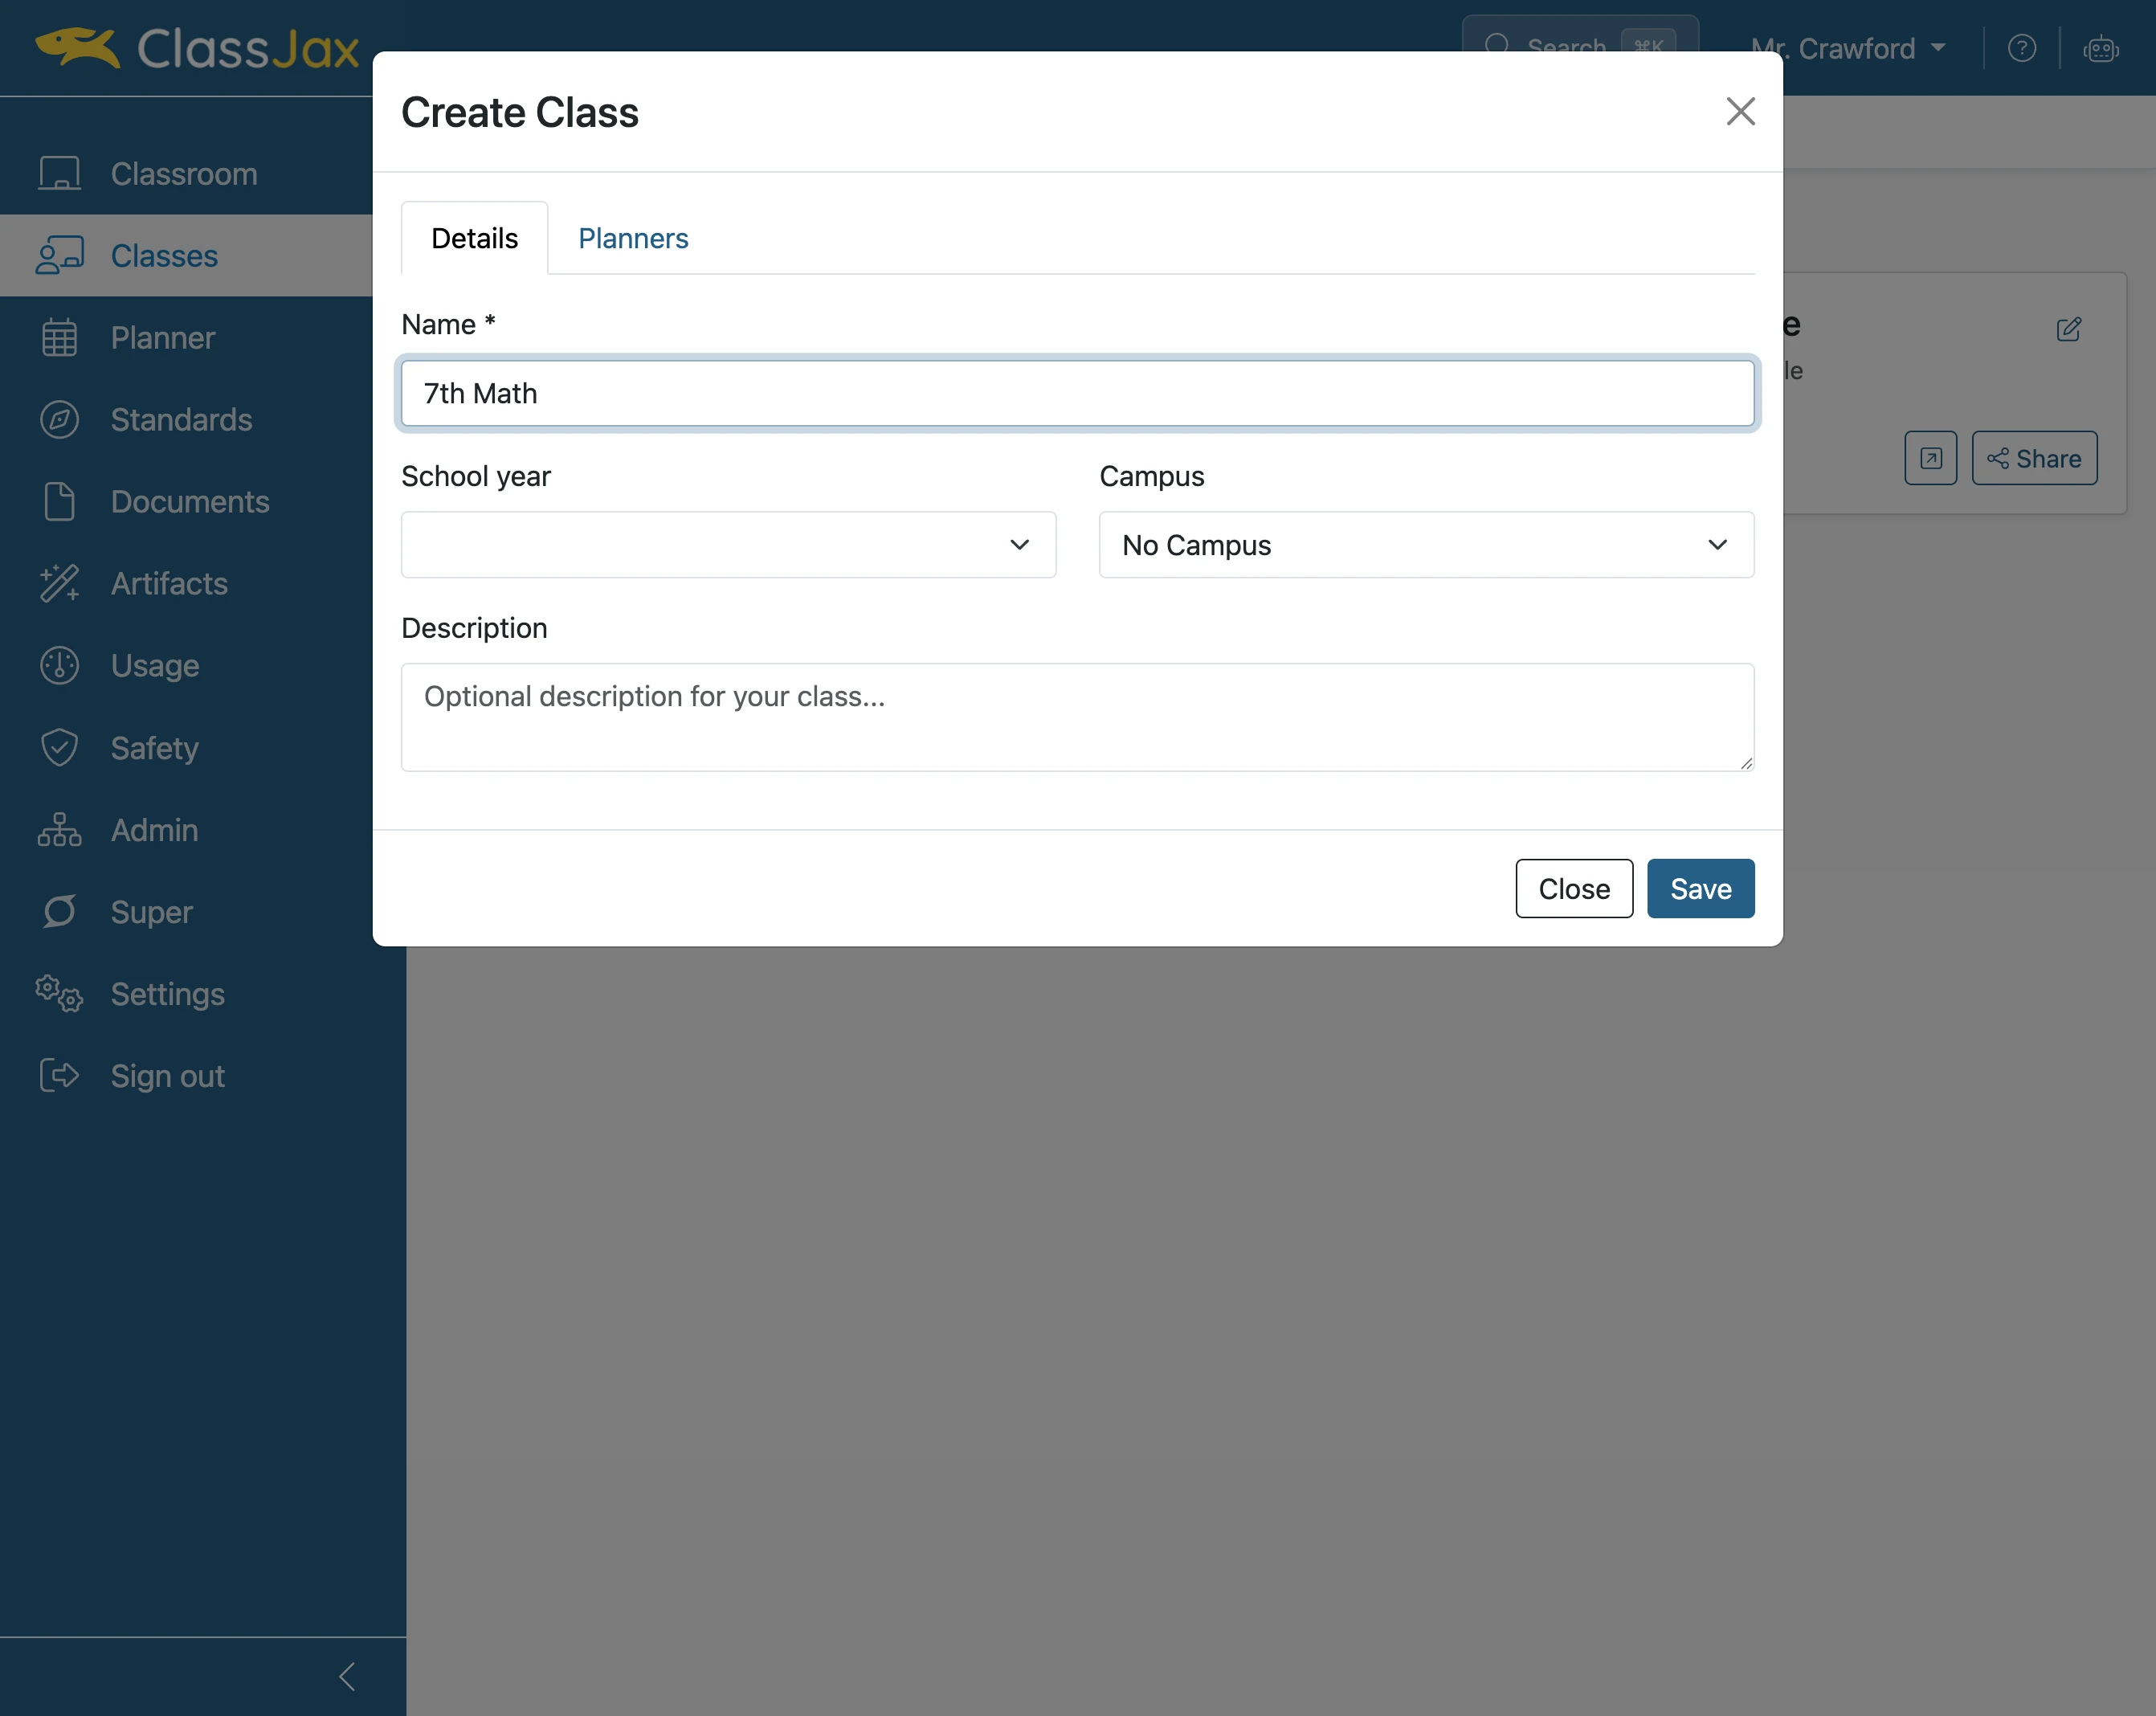
- 5
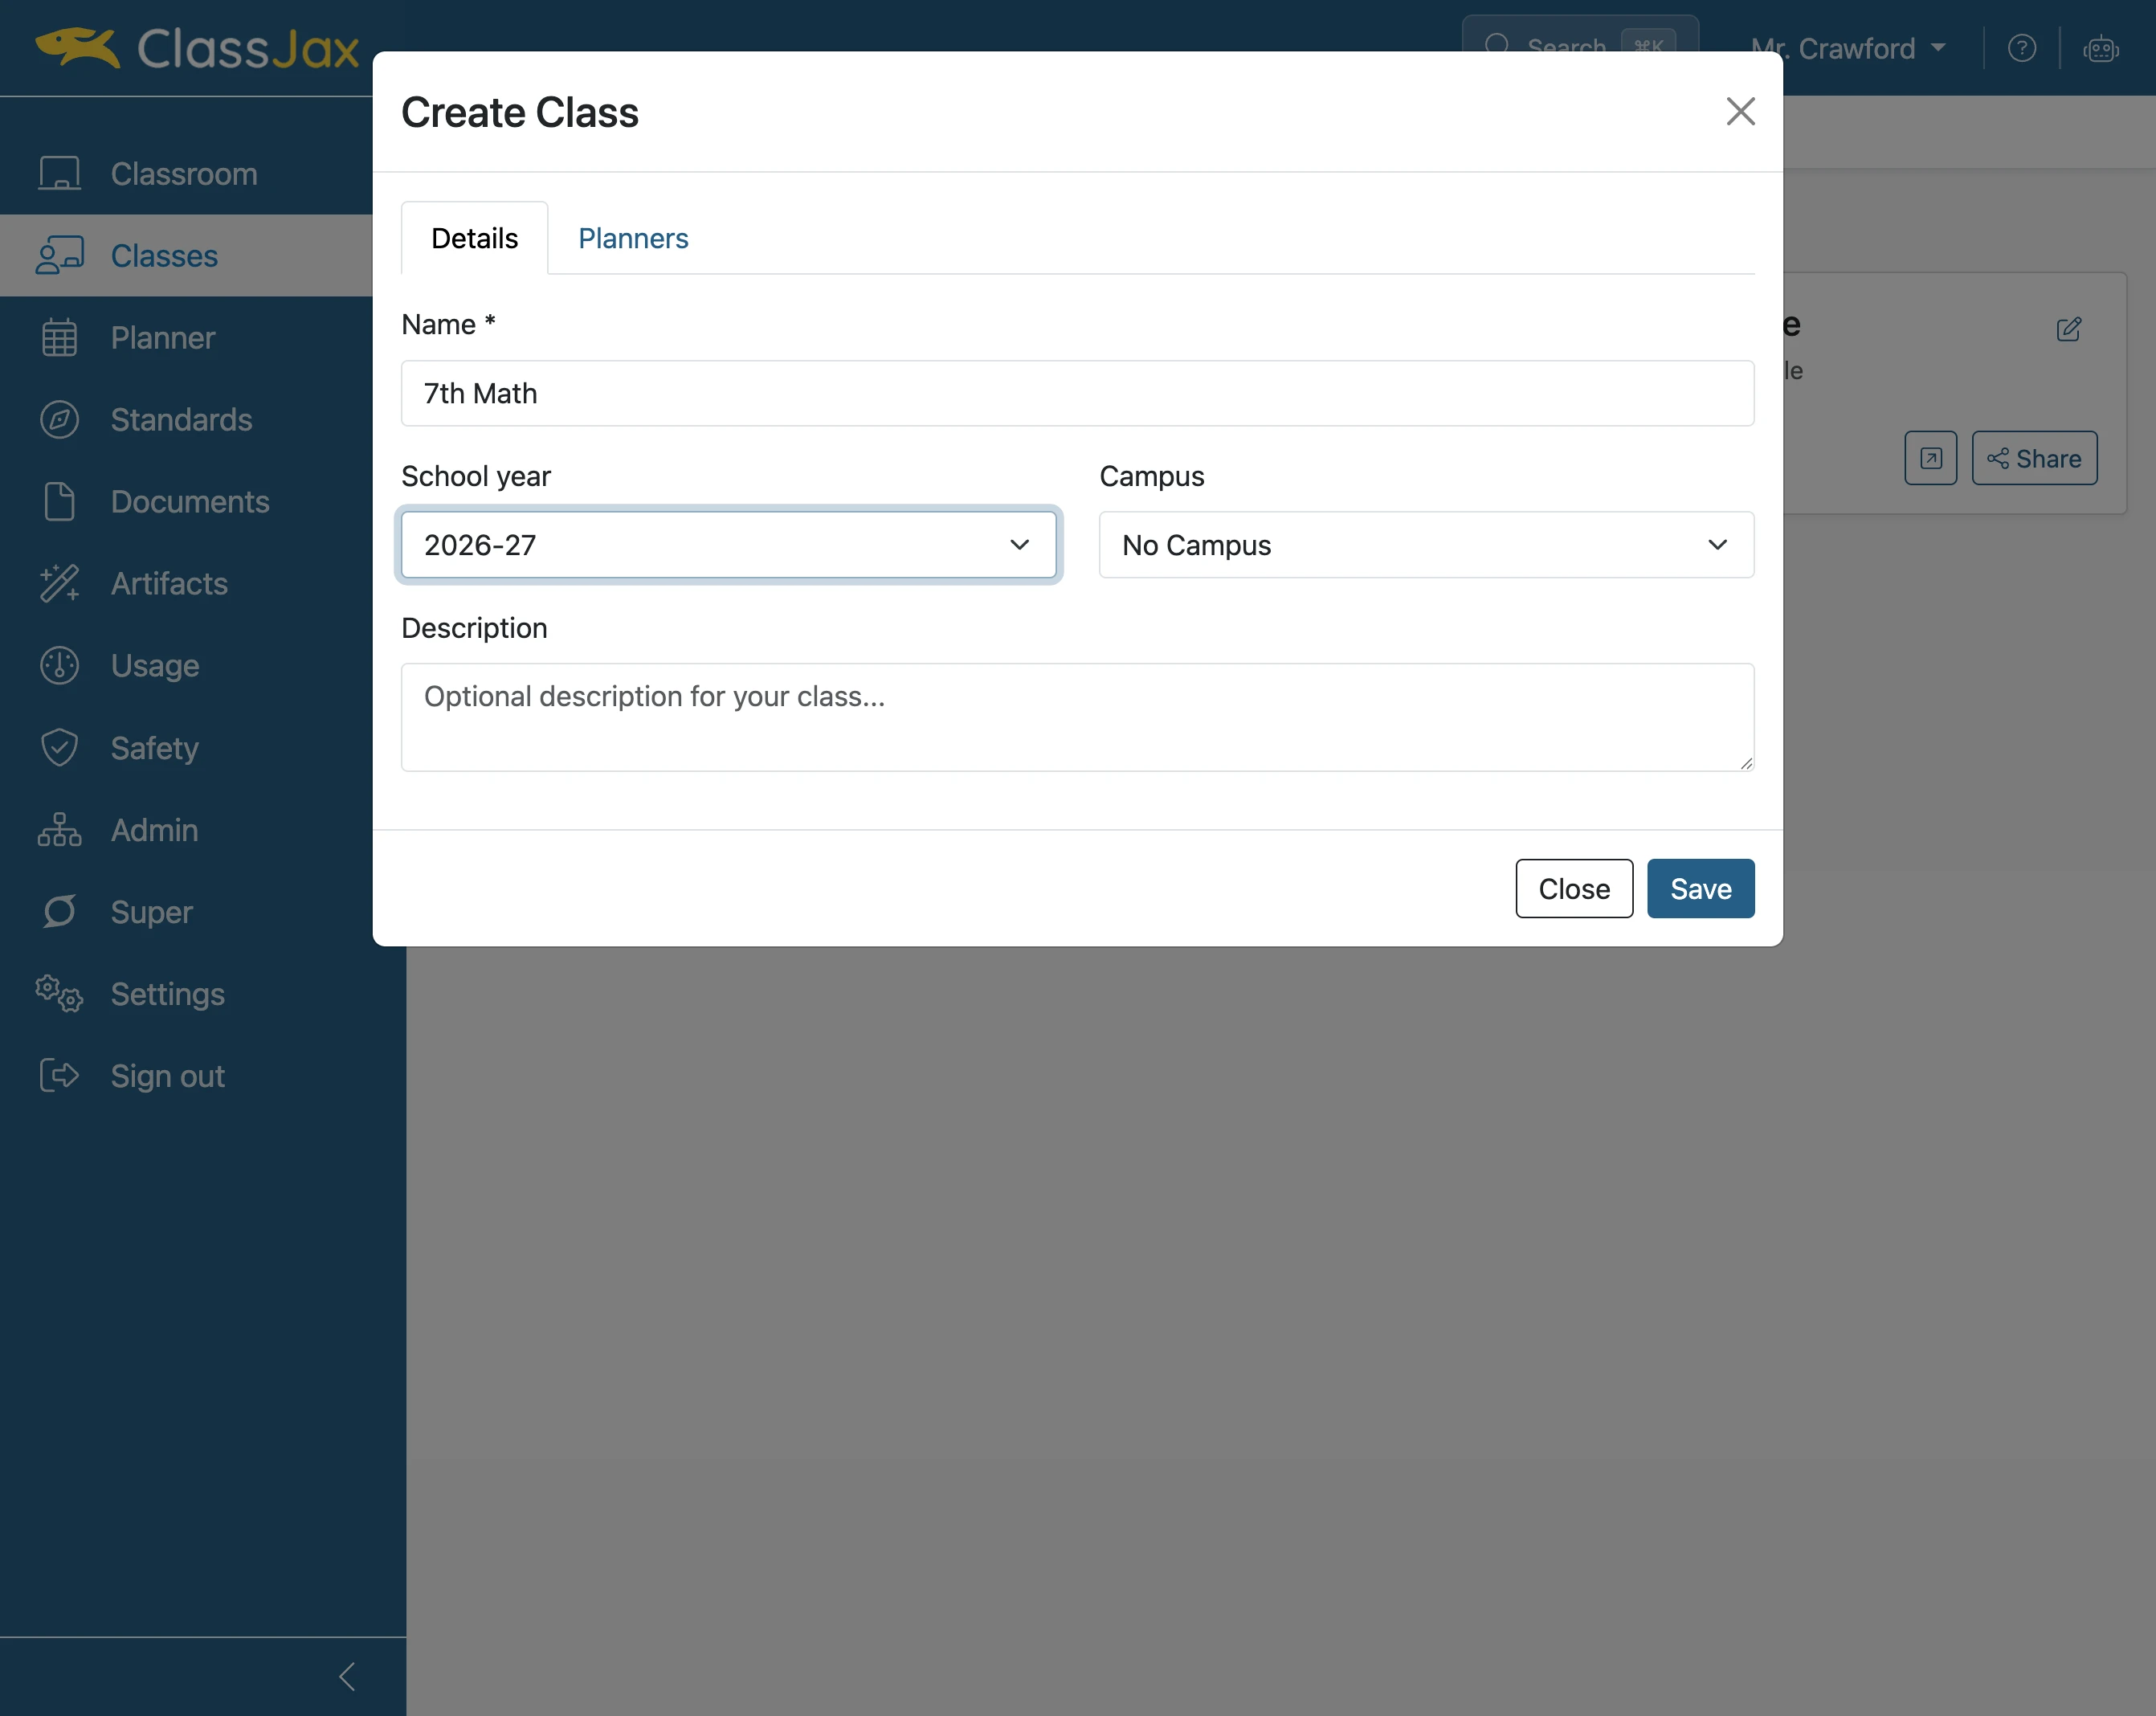
Select the campus the class is being taught in.
- 6
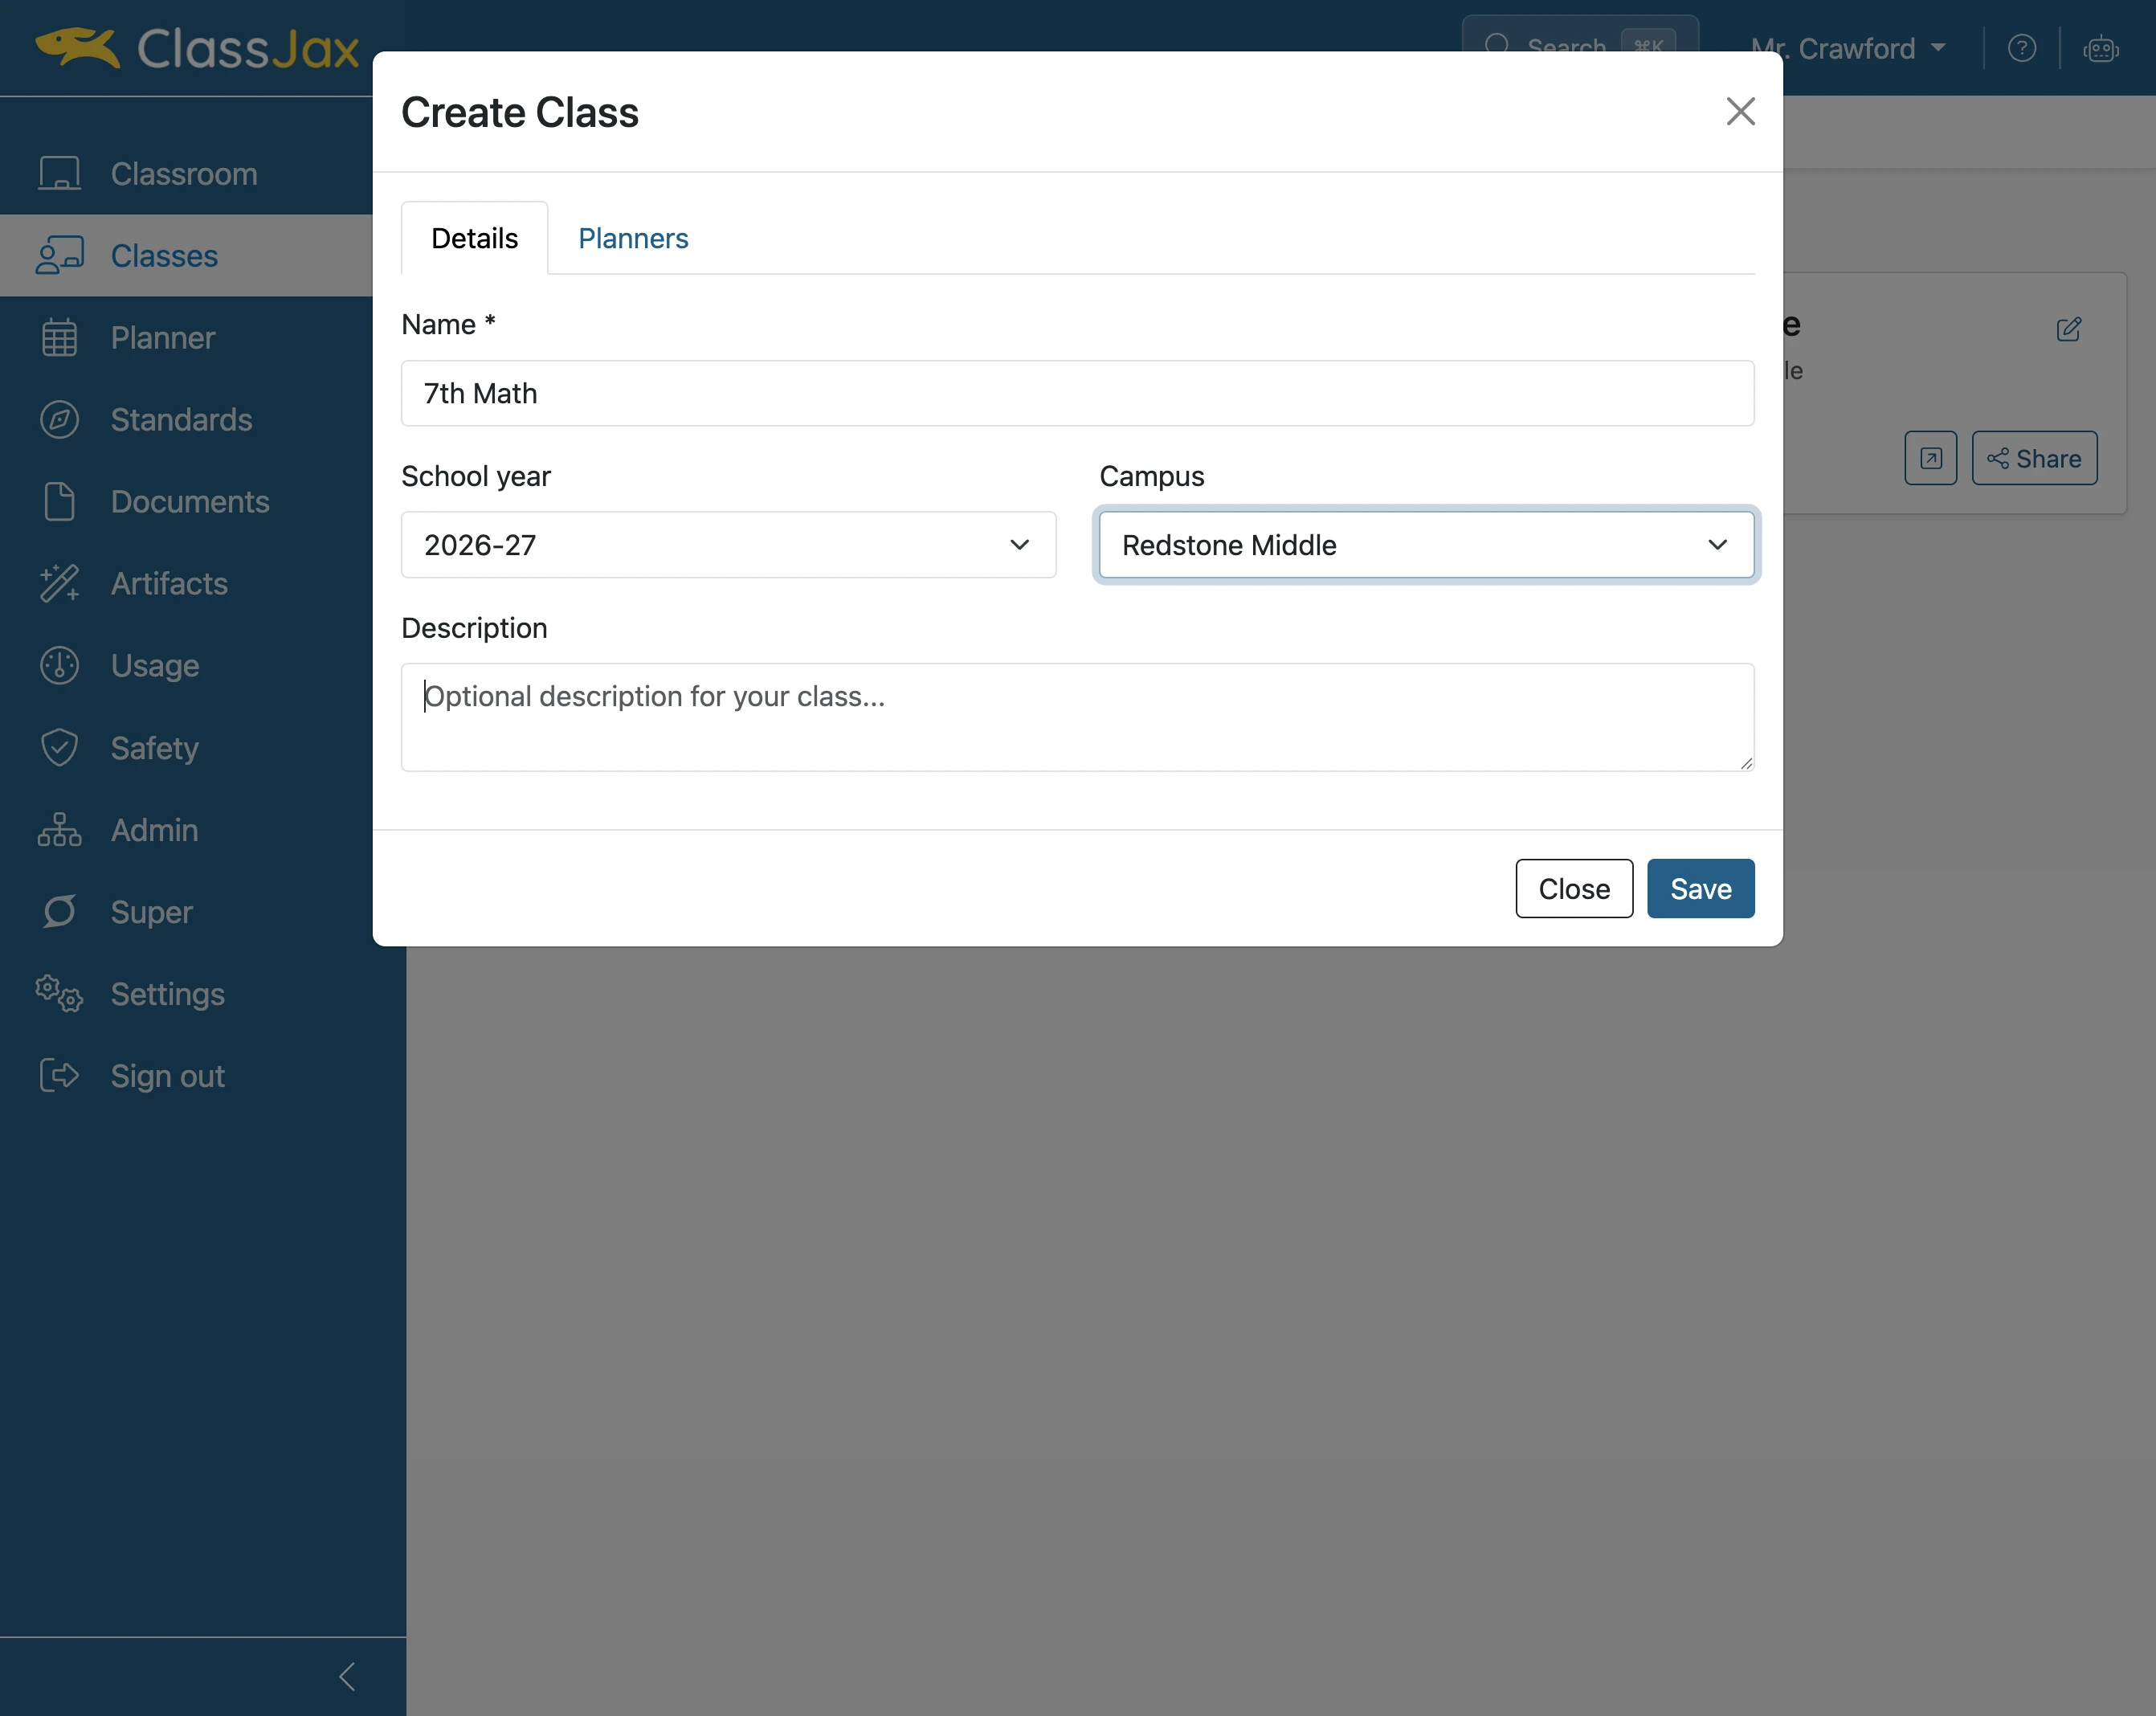
Enter a Description for the class
- 7
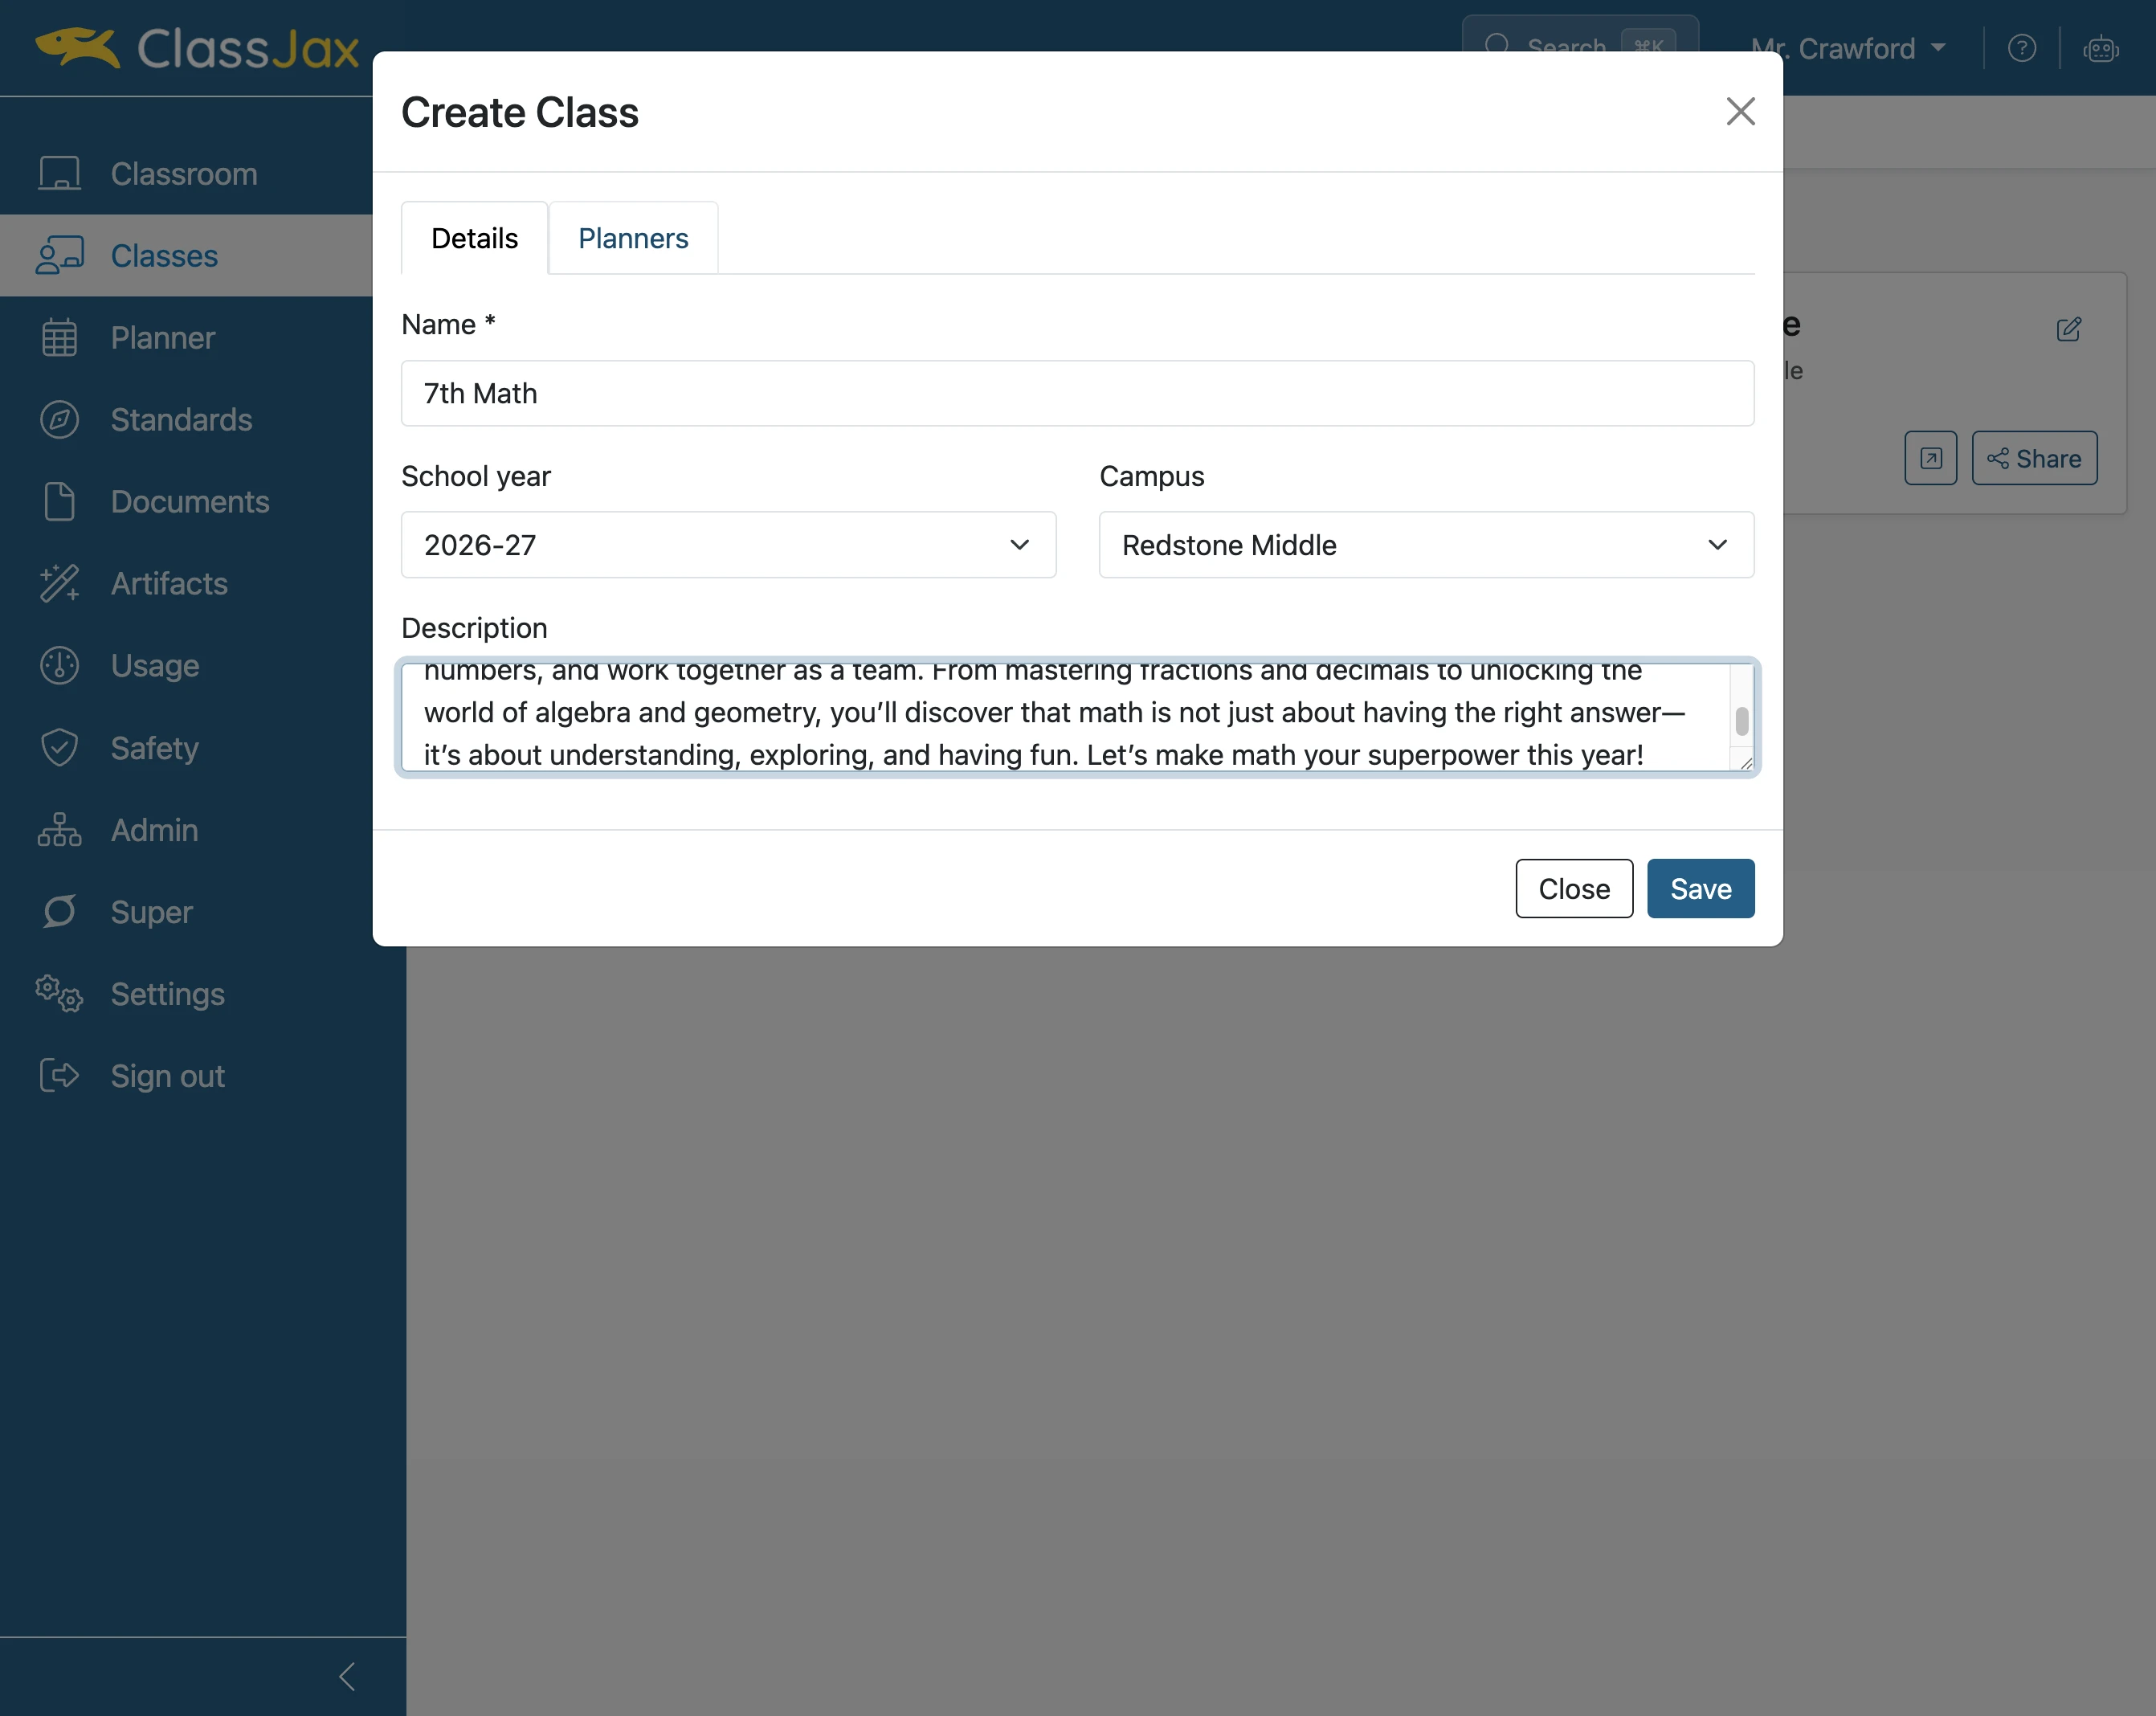
Click the 'Planners' link
- 8
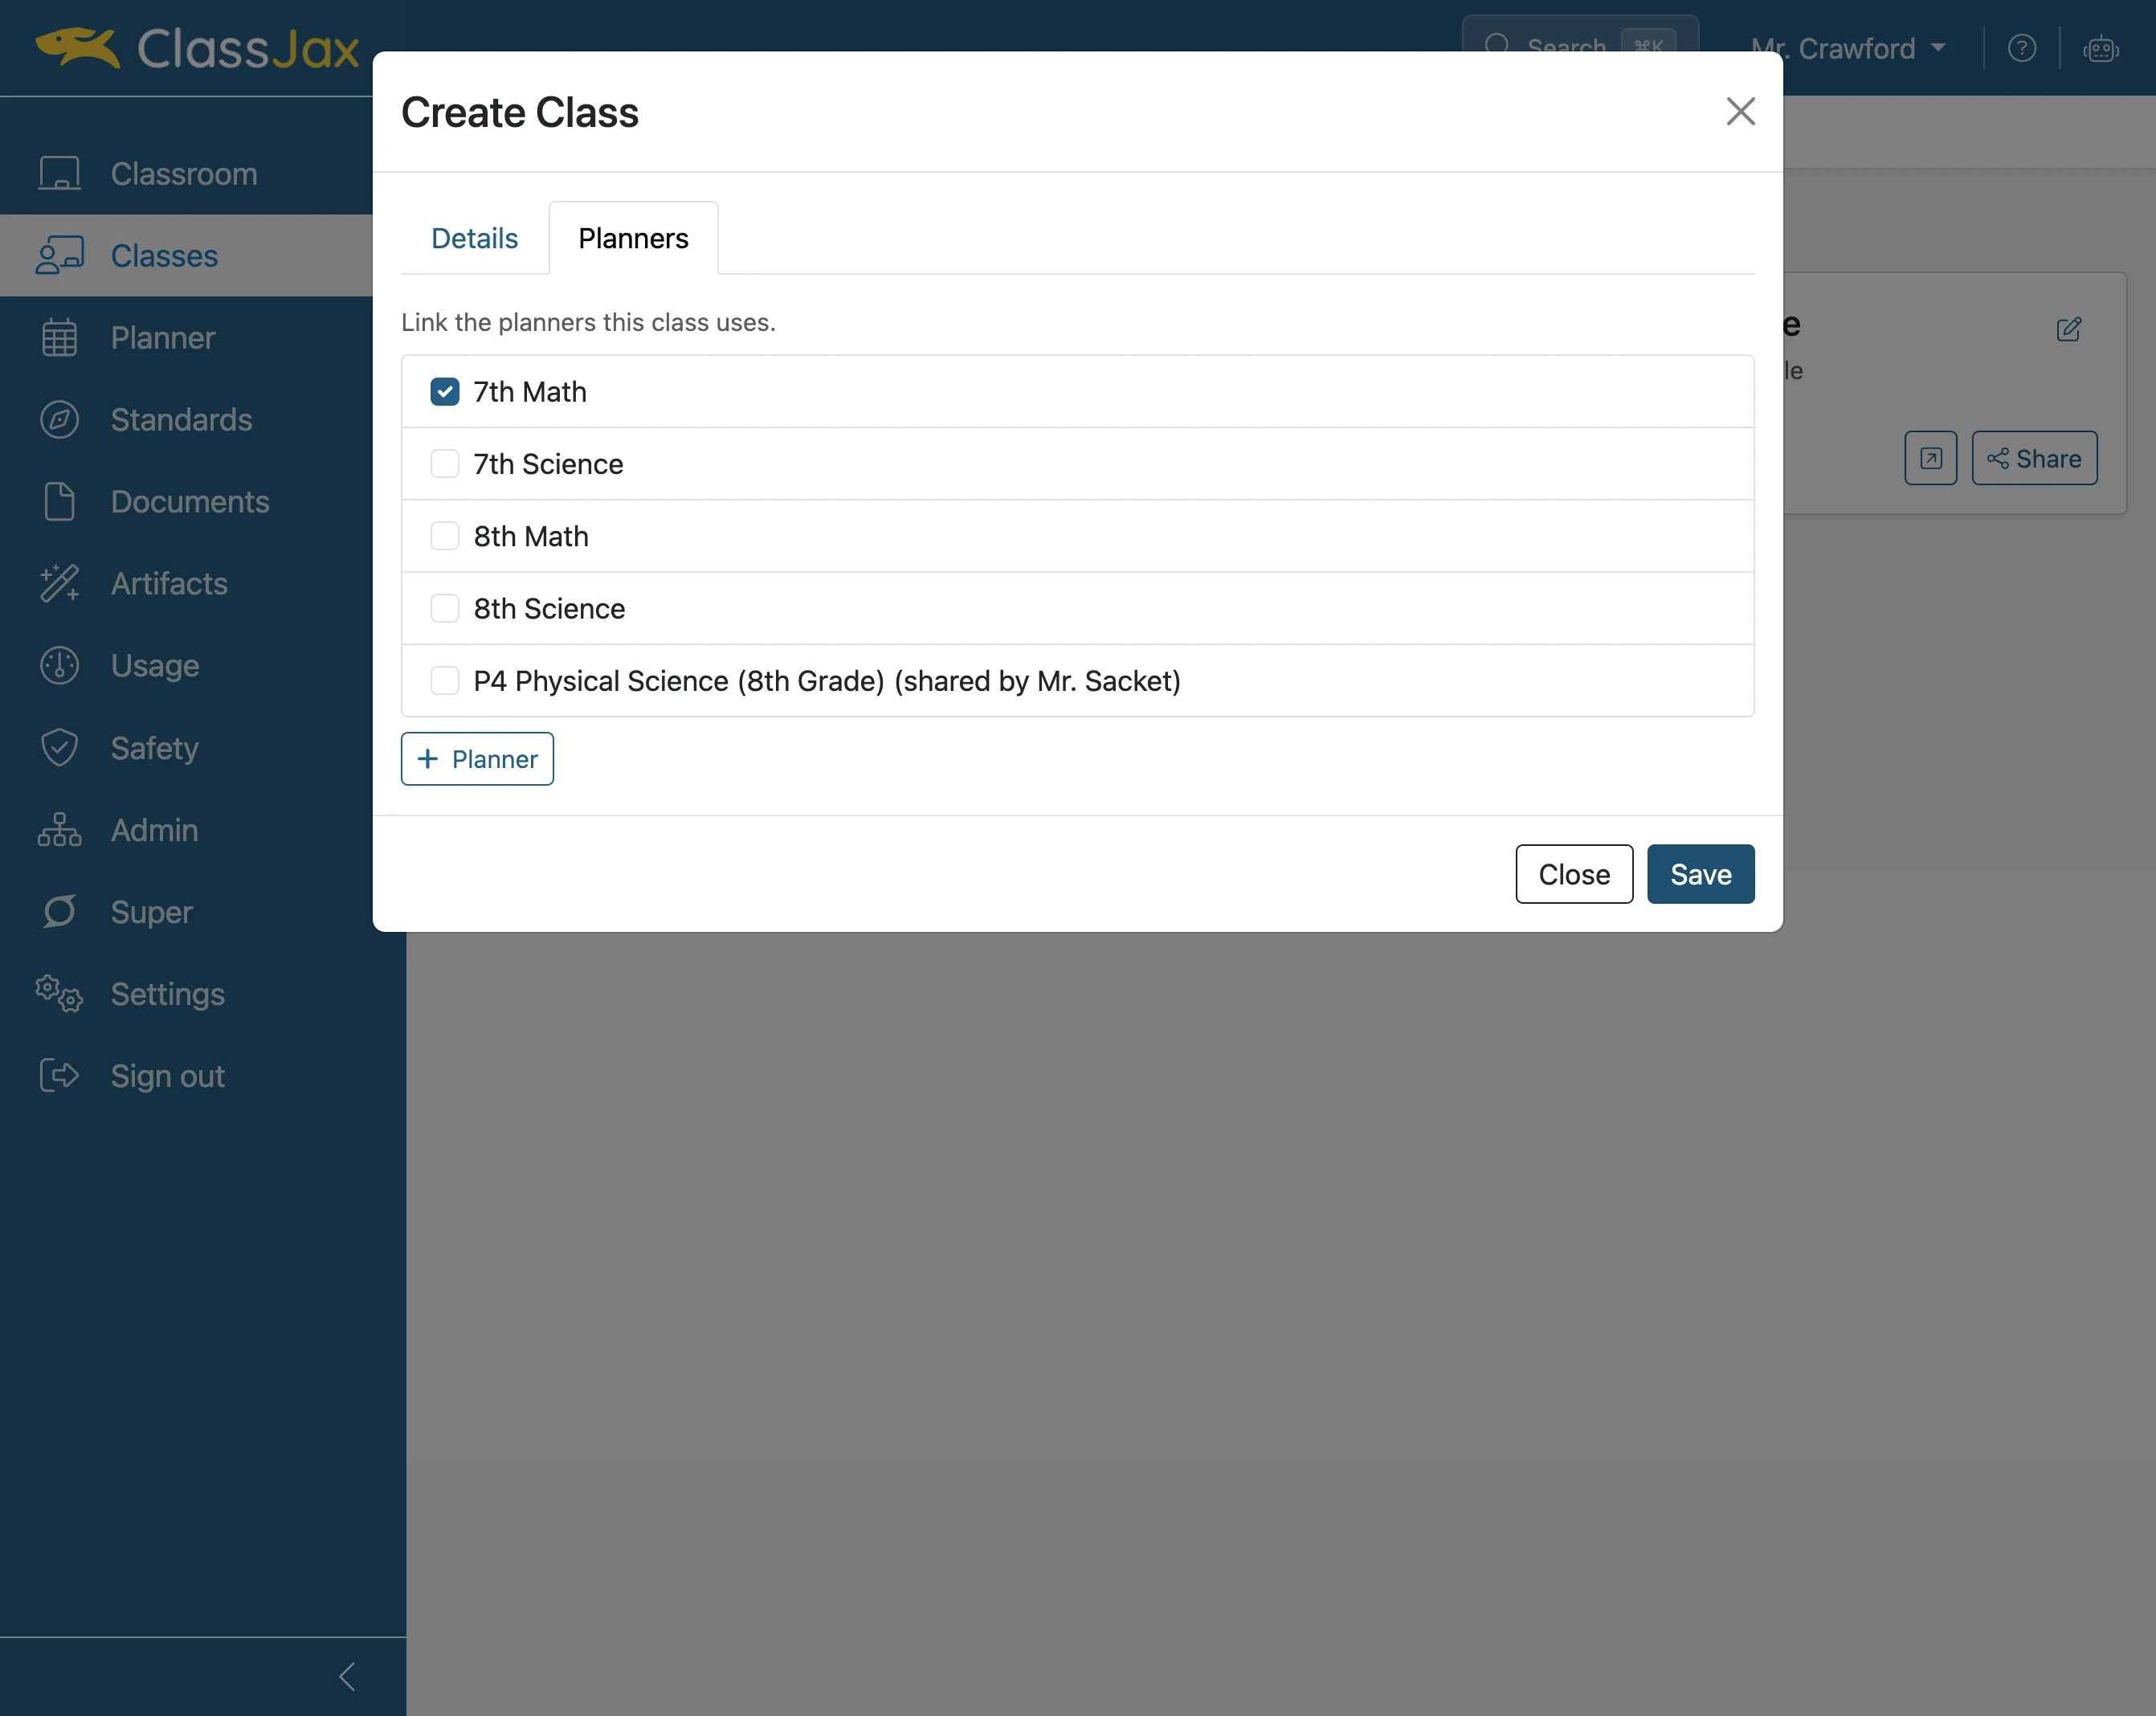
Check Planner(s) being used in the class
Select the planners to use for this class.
If the desired planner is not available, create a new one by clicking + Planner.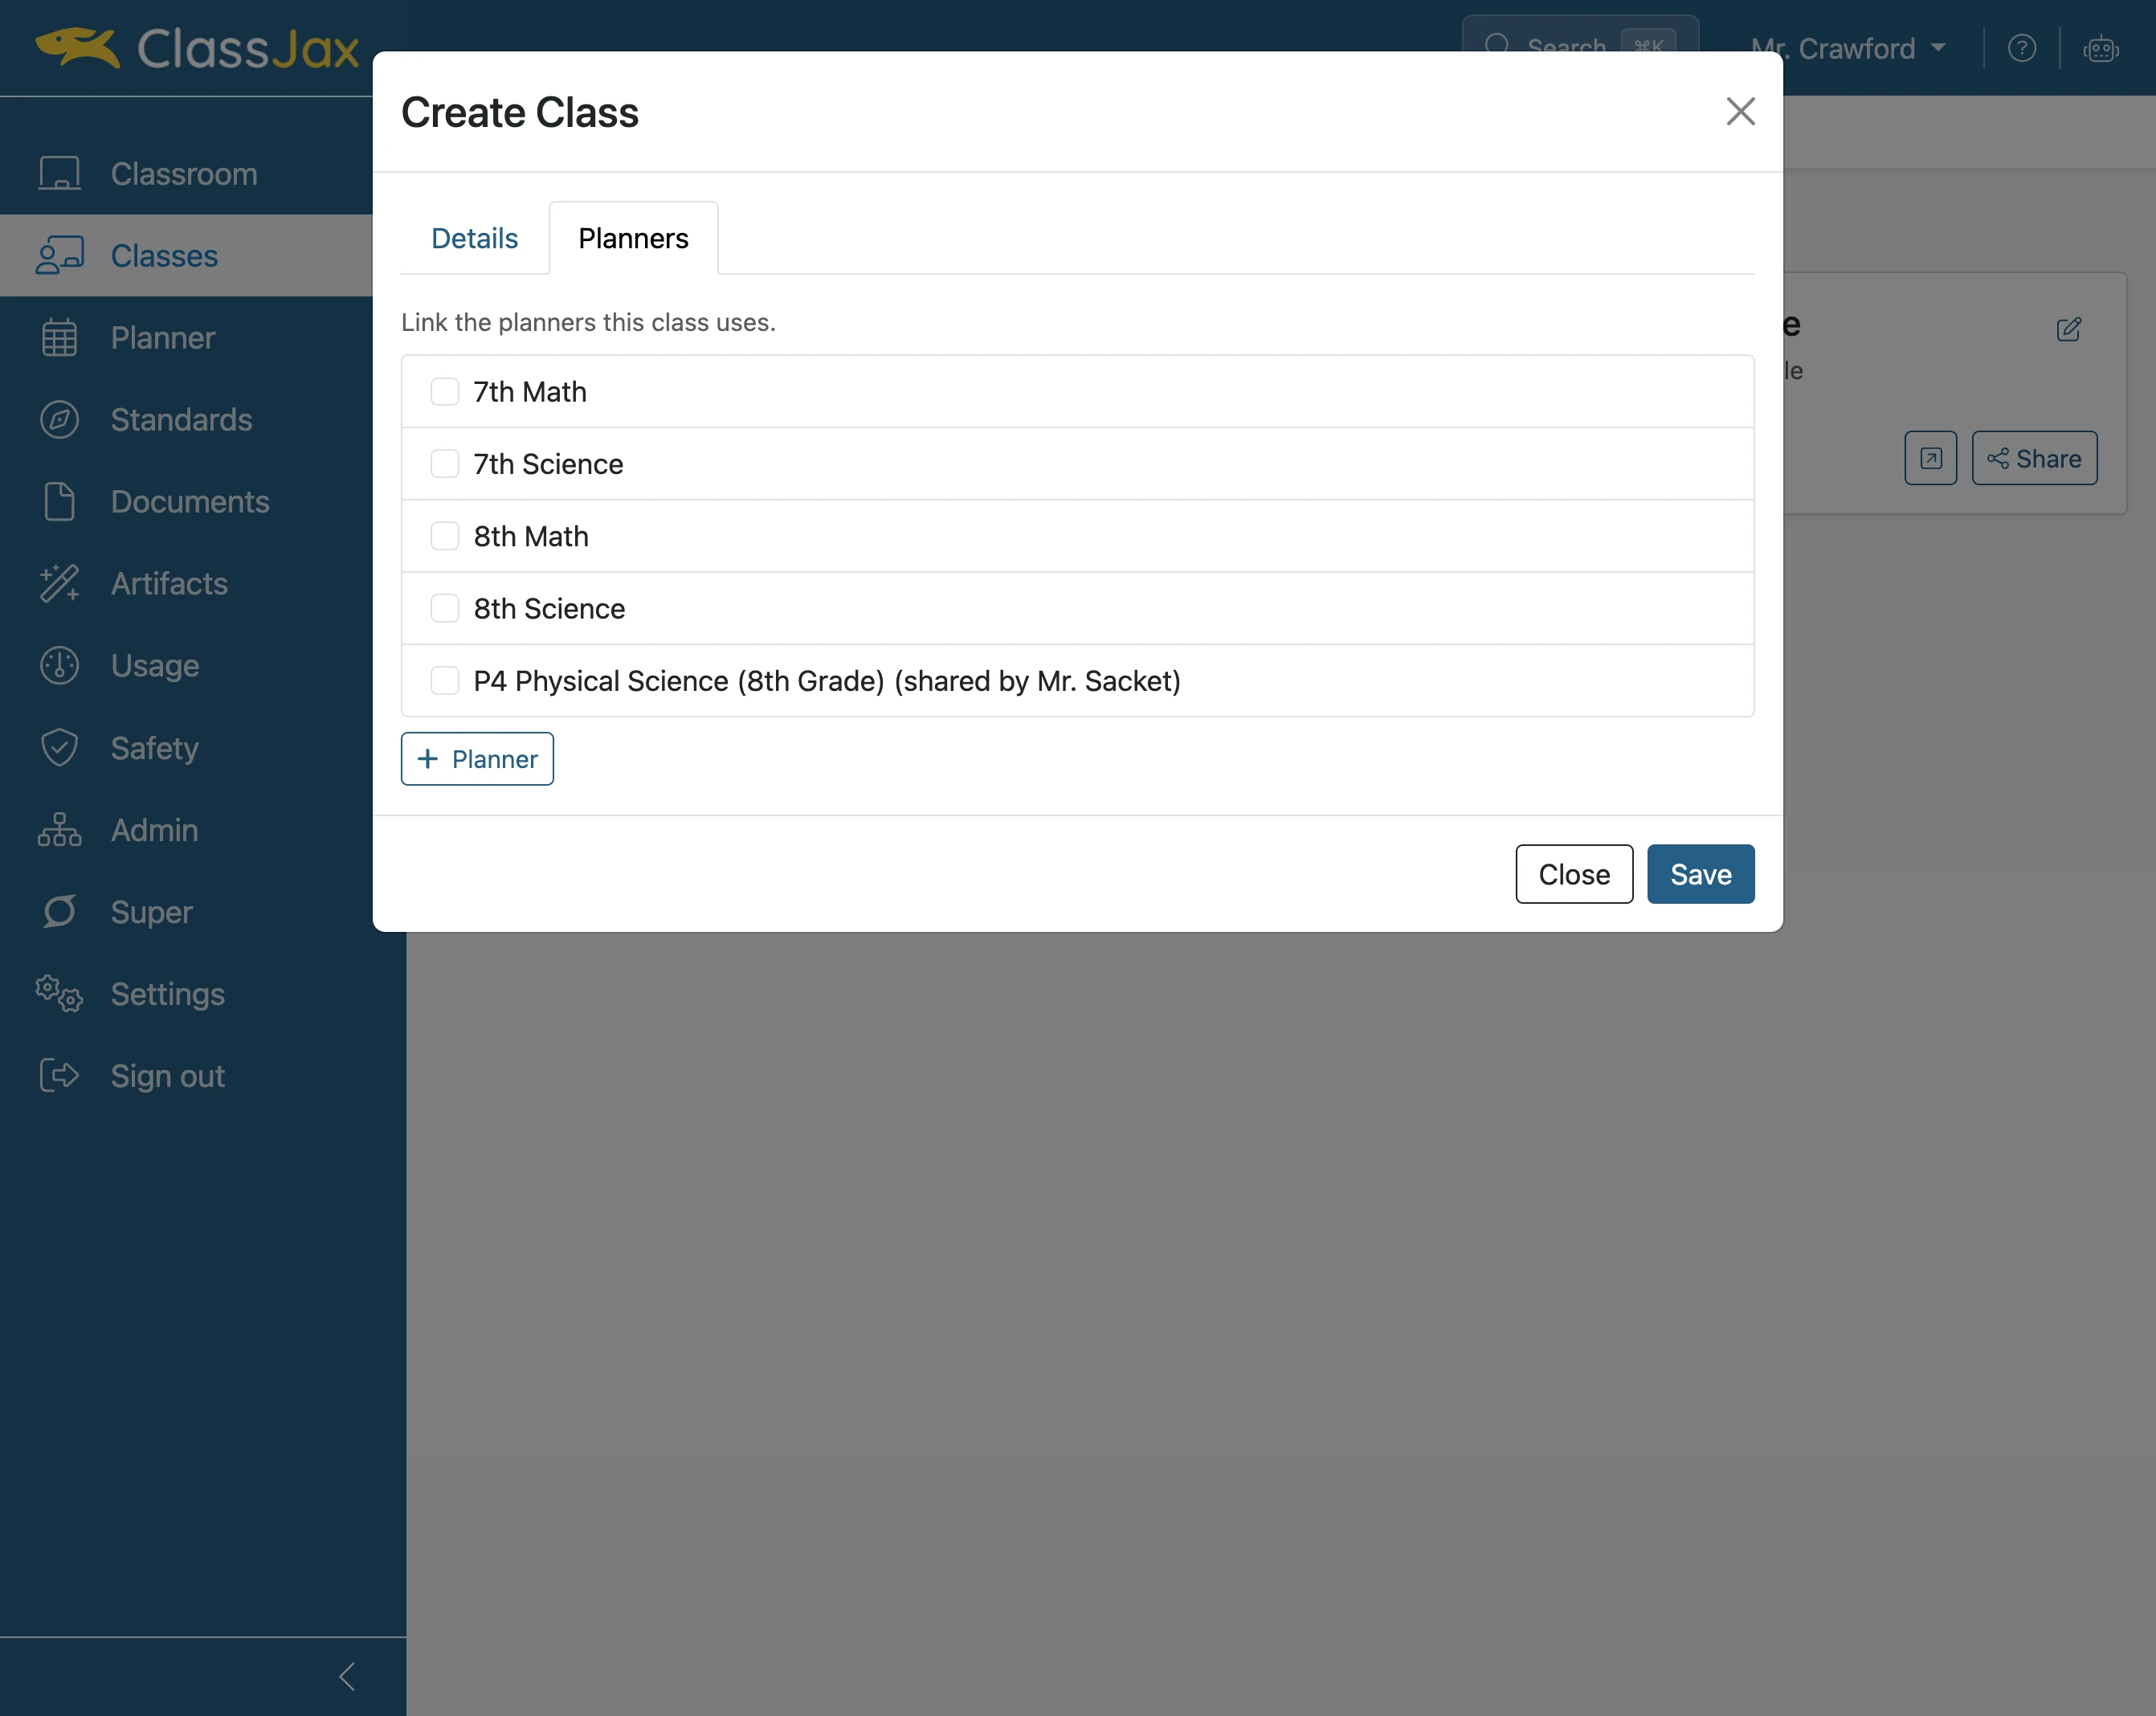
- 9
Click 'Save'
- 10
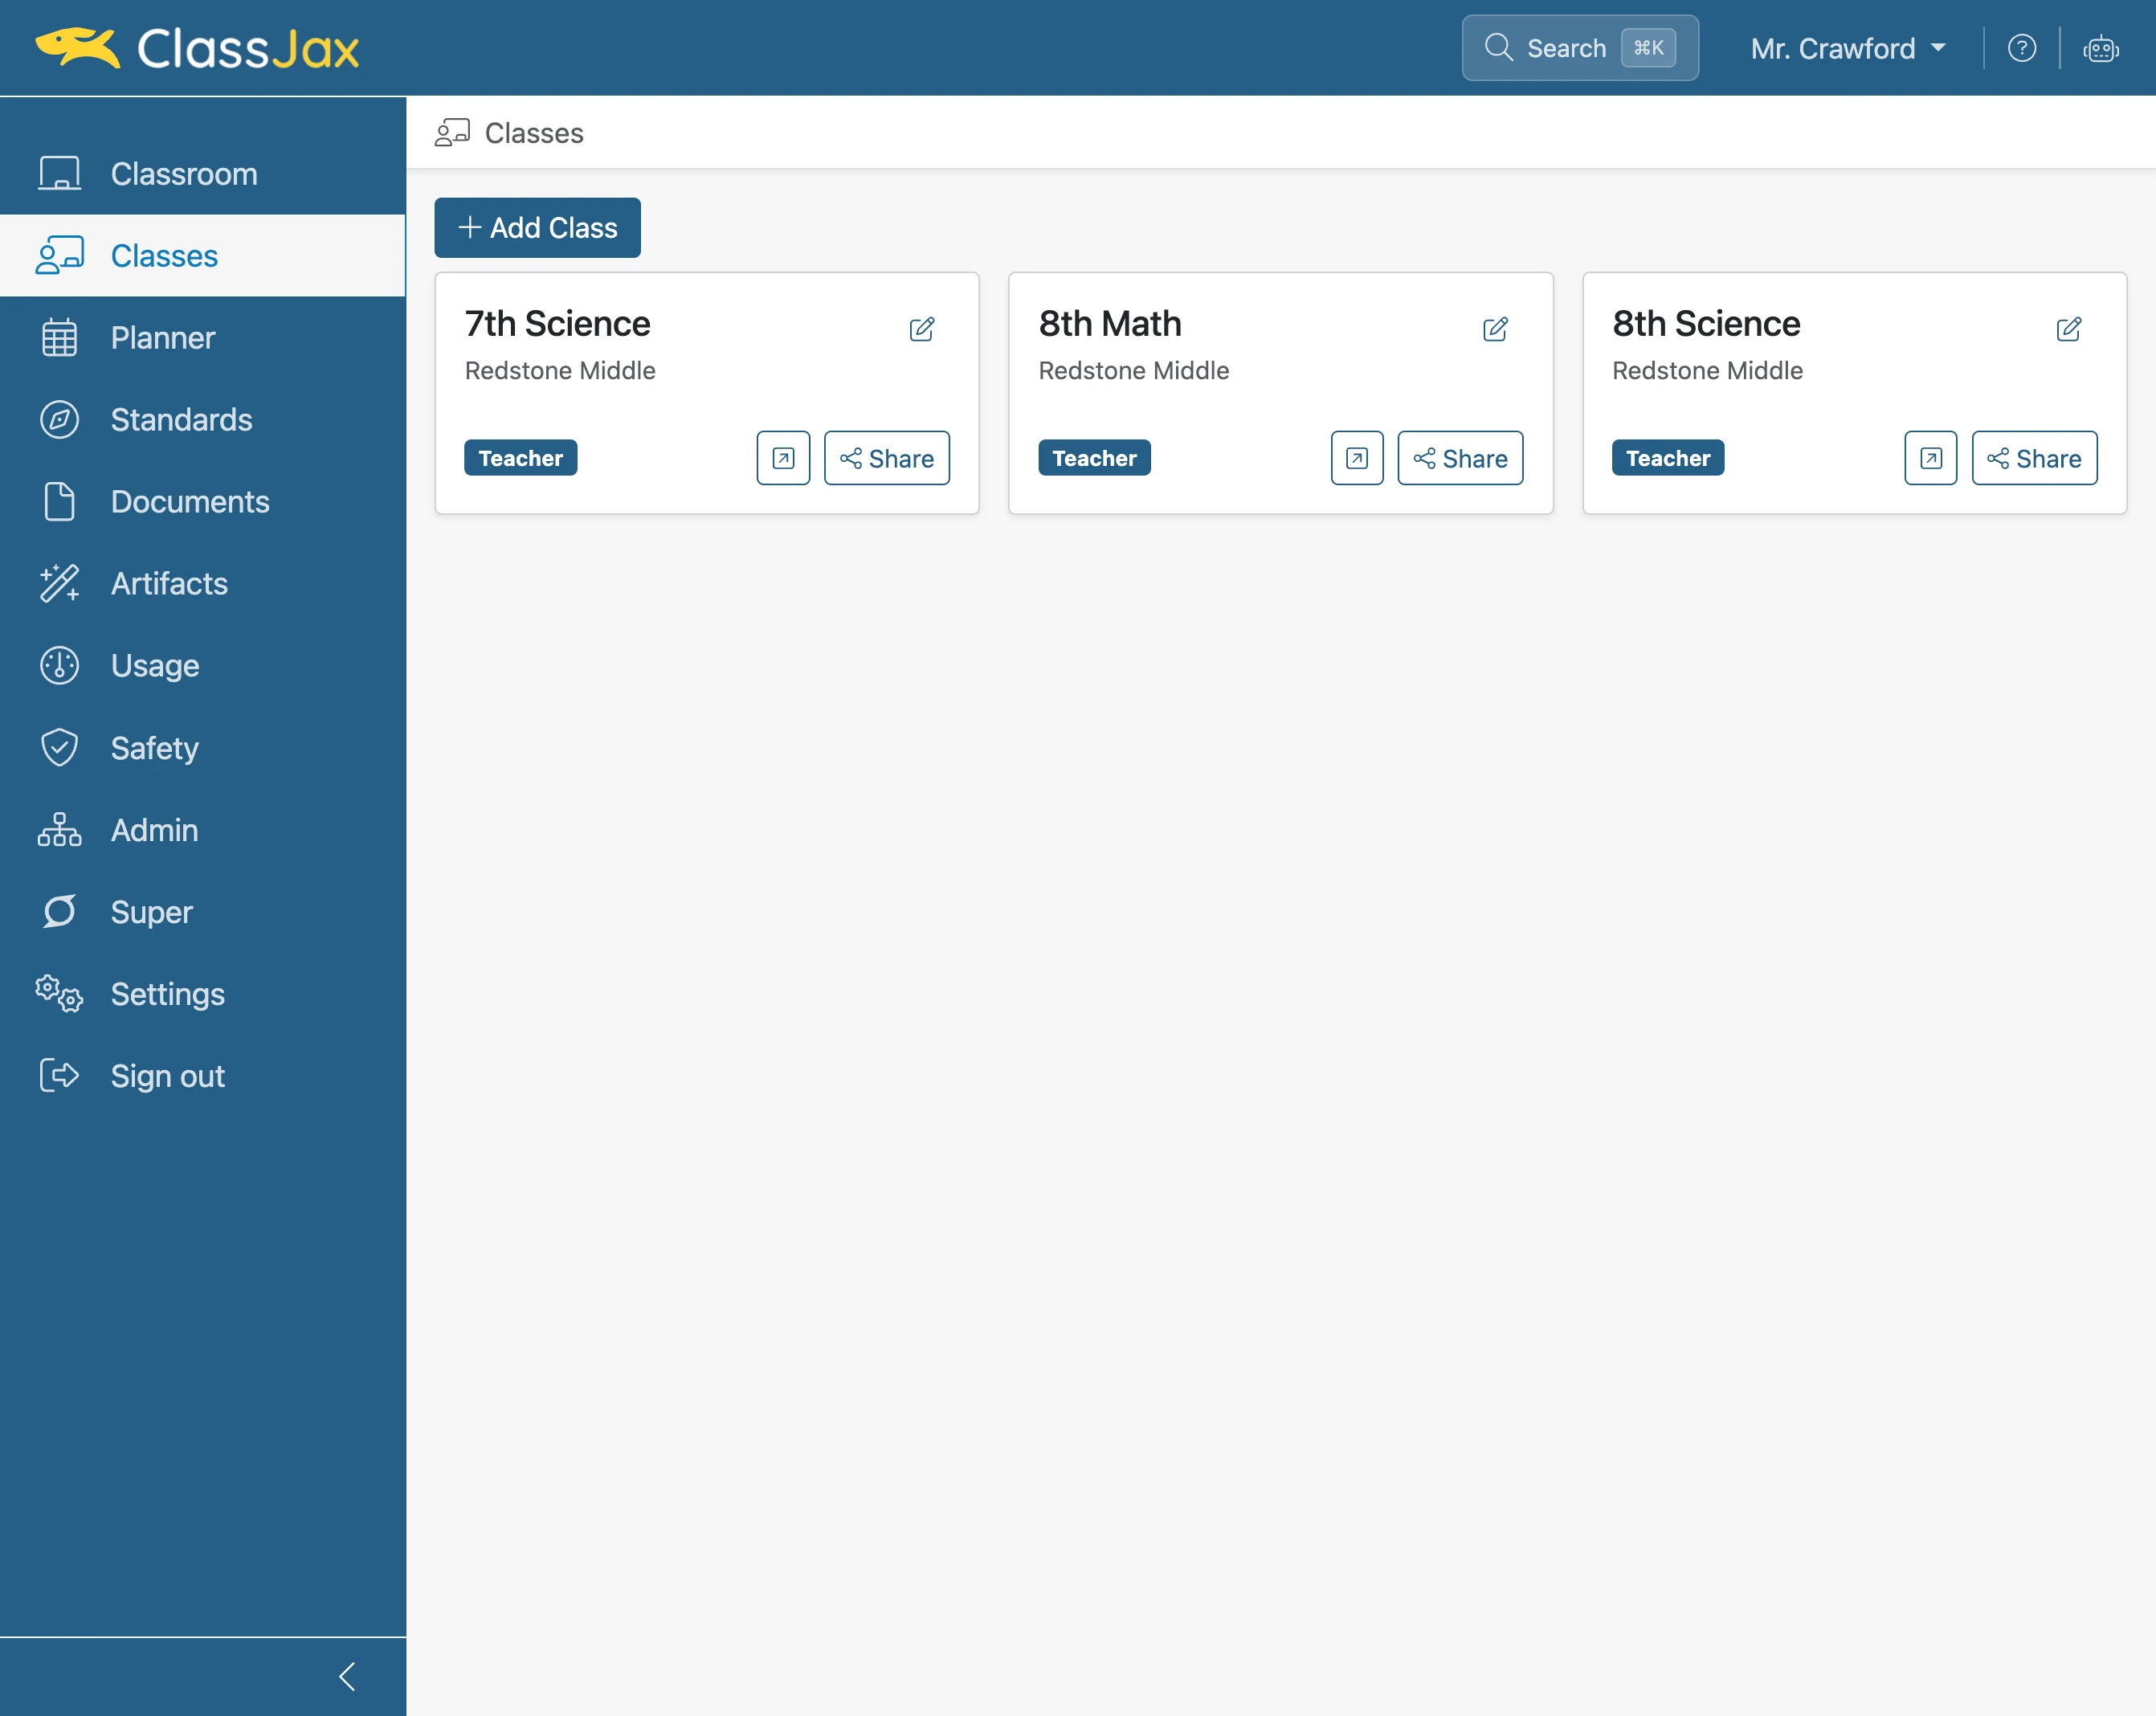
The Class is now available for use
Next Steps: Consider Sharing the class to provide access to parents and students.